This tutorial is outdated. We're currently working on an updated version. In the meantime, for instructions on building a chat app using CometChat, please visit our documentation.
We often hear of the word push notification but what is push notification? Vue push notification is a small library to add for sending information to our devices from an application server rather than by an explicit request from the client. For example, we get notifications on our mobile phone sometimes when a WhatsApp message is sent to us without actually triggering it by any event.
In this tutorial, we will be using that same technology on our web application, combined with the CometChat SDK, CometChat UI kit, and firebase we will be building a chat application and also adding the push notification on our web application. we will be using Vuejs for our frontend.
The image below illustrate our end result.
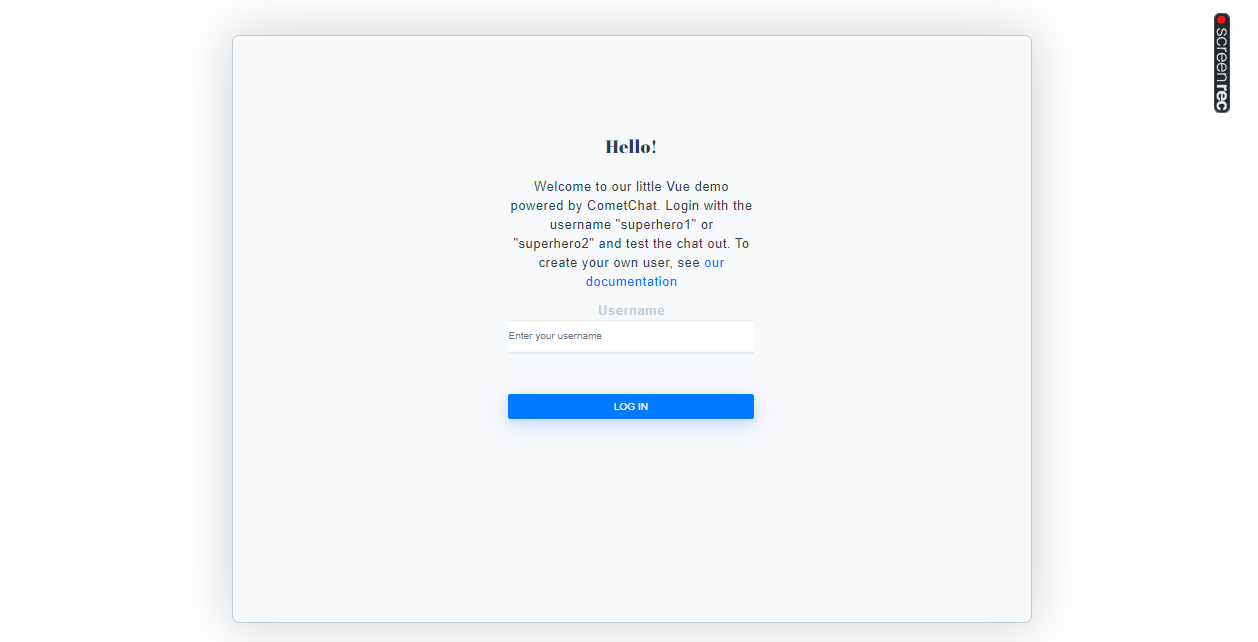
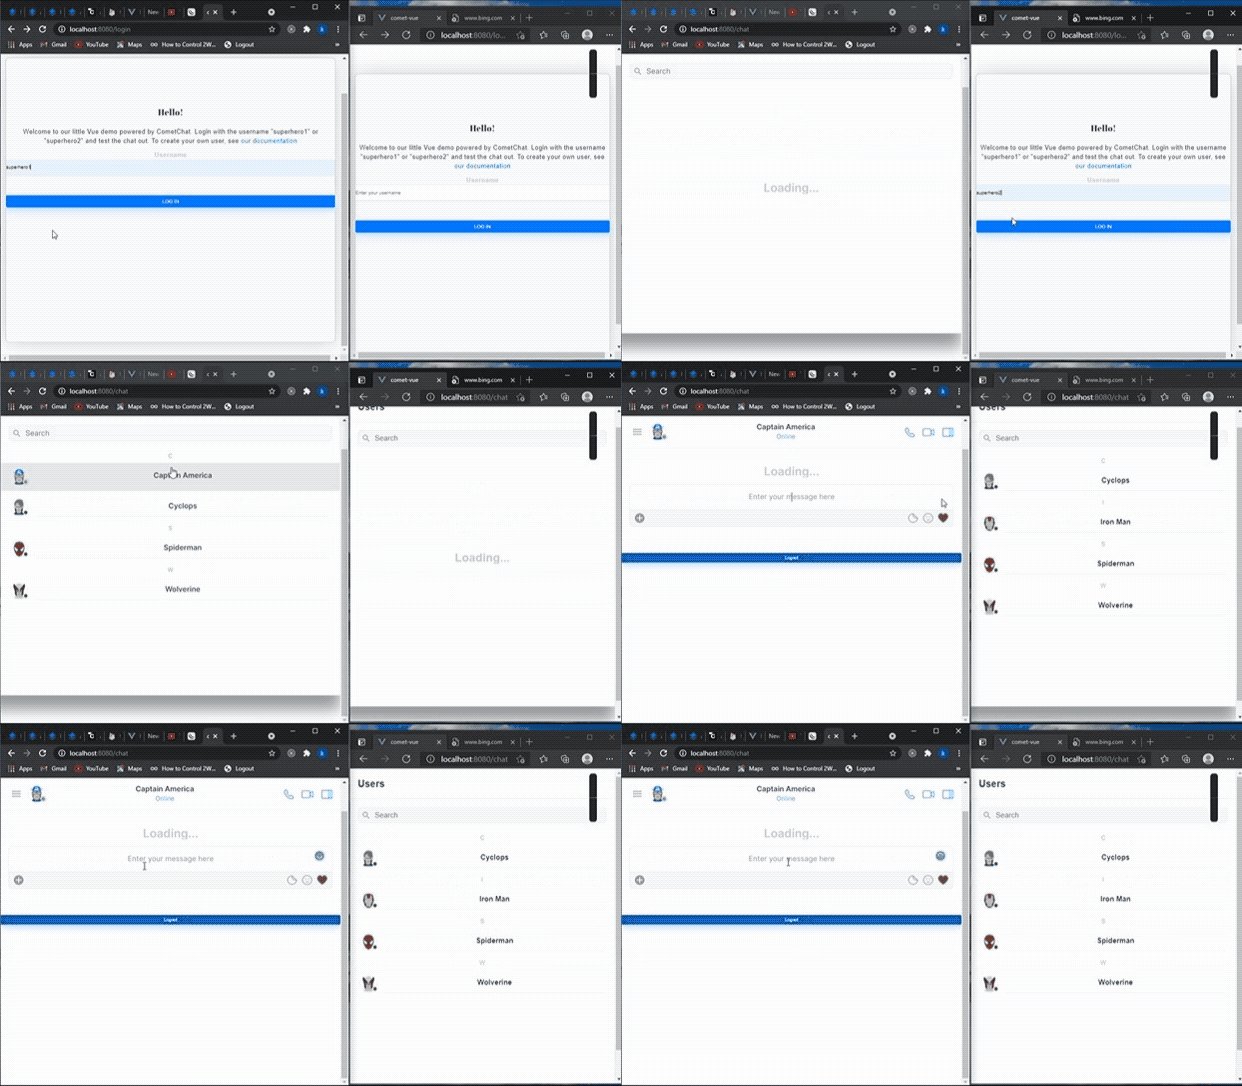
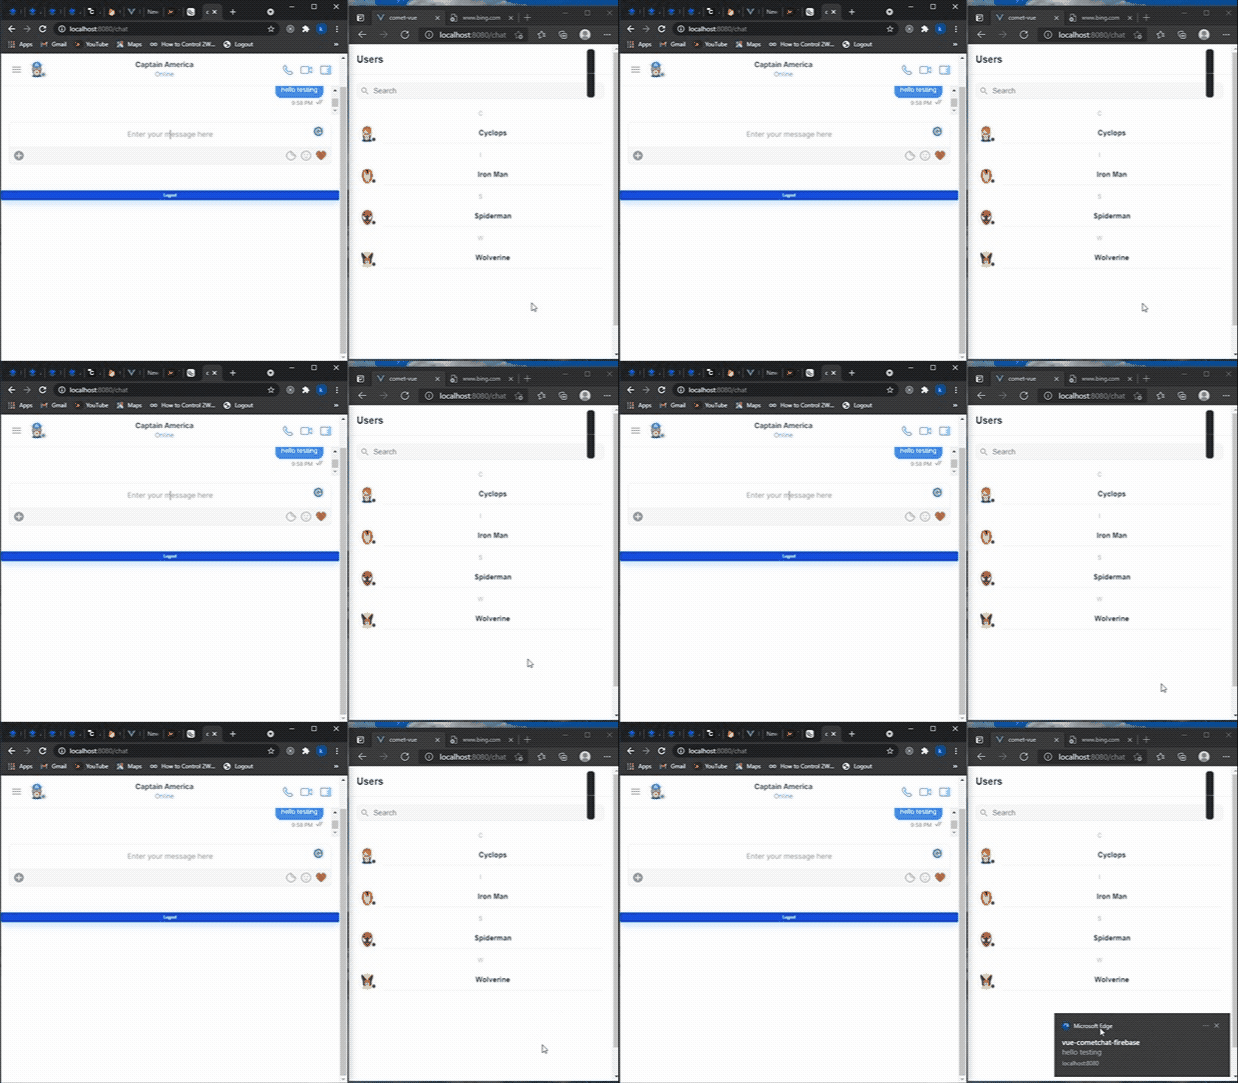
Prerequisite
Before we dive into the main functionality, there are some things you will be needing to get started.
Setting up a CometChat account.
Undertanding of VueJs.
Setting Up a Firebase account and creating a project.
Note:
We will be using the “vue 2” for this tutorial and also “vue create” to create our vue application .
Setting up a CometChat app
After settingUp the CometChat account, we need to create an application for us to be able to integrate with. To do that, navigate to your CometChat Pro account dashboard, click on Add New App. On the modal window that pops out, fill in the necessary details then click Add App:
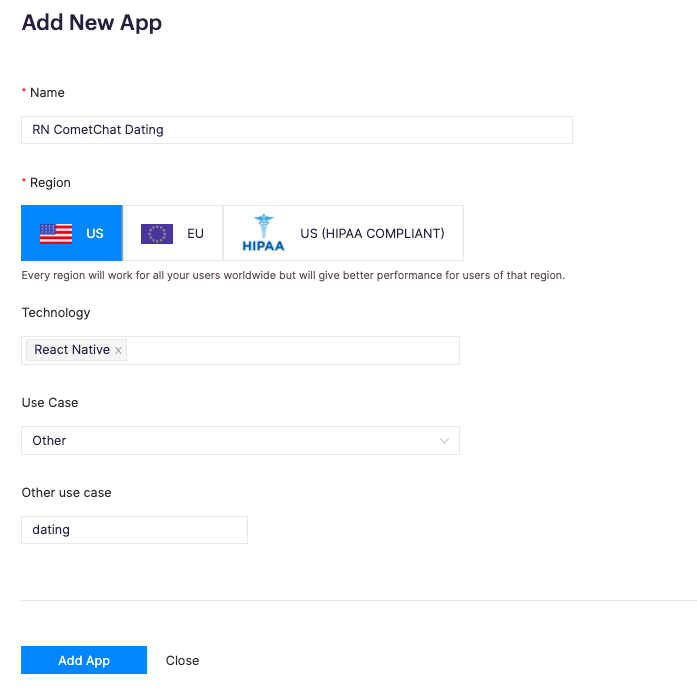
Setting up a CometChat app
Once the app is created, you’ll be provided with the app credentials. We’ll specifically be using the app ID, region, and auth key to connect to CometChat’s API.
Setting up CometChat
After initializing our Vue application, before we dive into push notifications and firebase, we will first set up a fully functional chat application.
To set up our CometChat SDK, run the code below.
npm install @cometchat-pro/chat --save
After installing our CometChat SDK, we will need to initialize it at the beginning of our
application. Navigate to the App.vue file and paste the code below,
if you take a look at the code, we created a function initializeComet() in the method object of our file. This function handles the initializing of CometChat by calling the AppSettingsBuilder() to build our request.
we then call on the CometChat.init() and pass the built request with our APP_ID to initialize CometChat.
NOTE: Don’t forget to replace the APP_ID and REGION placeholders with your credentials.
Setting up the CometChat UI KIT
To setup the CometChat UI KIT we need to first clone it to our project directory. To achieve that run the command below:
git clone https://github.com/cometchat-pro/cometchat-pro-vue-ui-kit.git
Once this is done, we copy the source folder to our source folder and rename it cometchat-ui. Next is for us to install all the needed dependency for the CometChat UI KIT, to do that, copy the dependency below to your package.json file.
To install these packages run the following command:
npm install
After setting up and installing all needed dependency for the CometChat UI Kit, we can now be able to make use of the components to add chat interface and logics to our application.
Create Login Component
After initializing and setting up our CometChat UI KIT, we will proceed with getting our authentication ready. For this tutorial, we will be using the default users (superhero1,superhero2,superhero3) found on our CometChat dashboard.
Navigate to src/view and create Login.vue file. open the file and Paste the below code.
Onsubmit of the form we triggered the Login() which handles the API calls to CometChat. To authorize a user we called the CometChat.login() method which accepts our username and AUTH_KEY as parameters. This method returns the authenticated user details if the user is successfully authenticated.
NOTE: Don’t forget to replace the AUTH_KEY placeholders with your credentials.
Create Chat Component
After authenticating a user, we will be redirecting the user to the chat component which handle our chat functionality.
Navigate to src/view and create Chat.vue component. paste the code below
Looking at the code above, it looks very simple with no logic, that is because we are using the CometChat UI KIT which handles all of our design and logic. We import the CometChatUserListWithMessages for a user to user messaging and include it to our page components to display a user interface for chatting.
Setting Up Firebase Cloud messaging
Now that we have a fully functional chat application, we will process to add push notification,
Navigate to your firebase console and select the project you created.
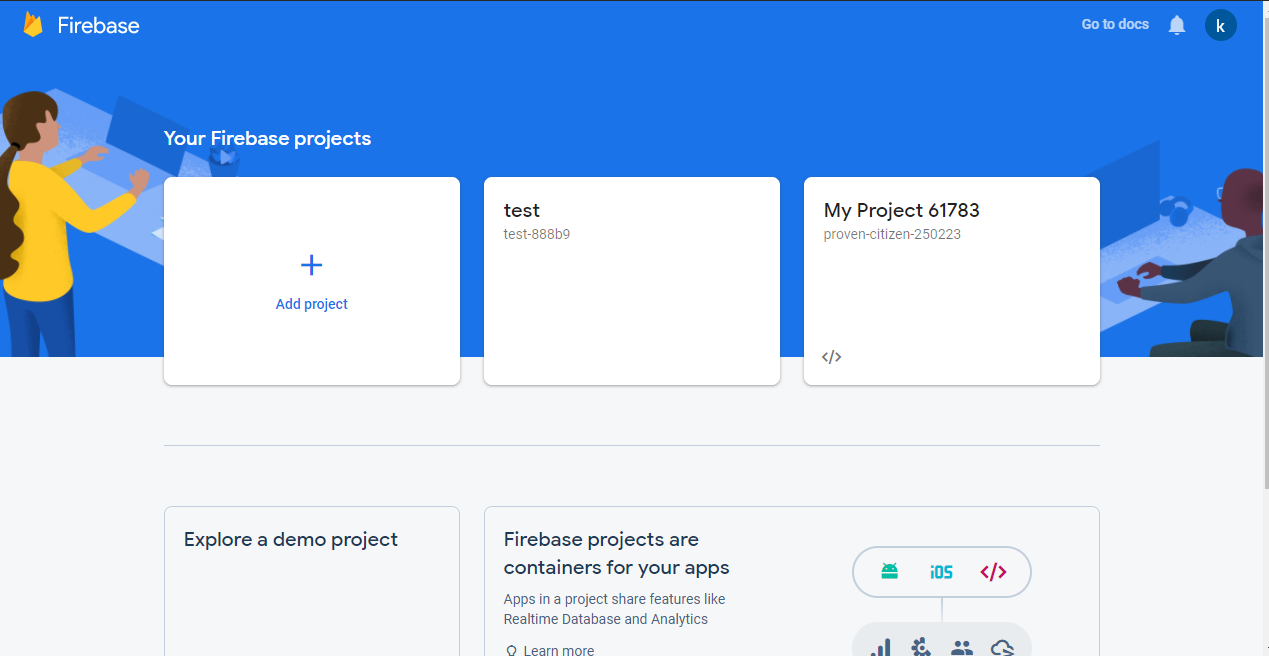
Setting Up Firebase Cloud messaging
Create an app inside of the project.
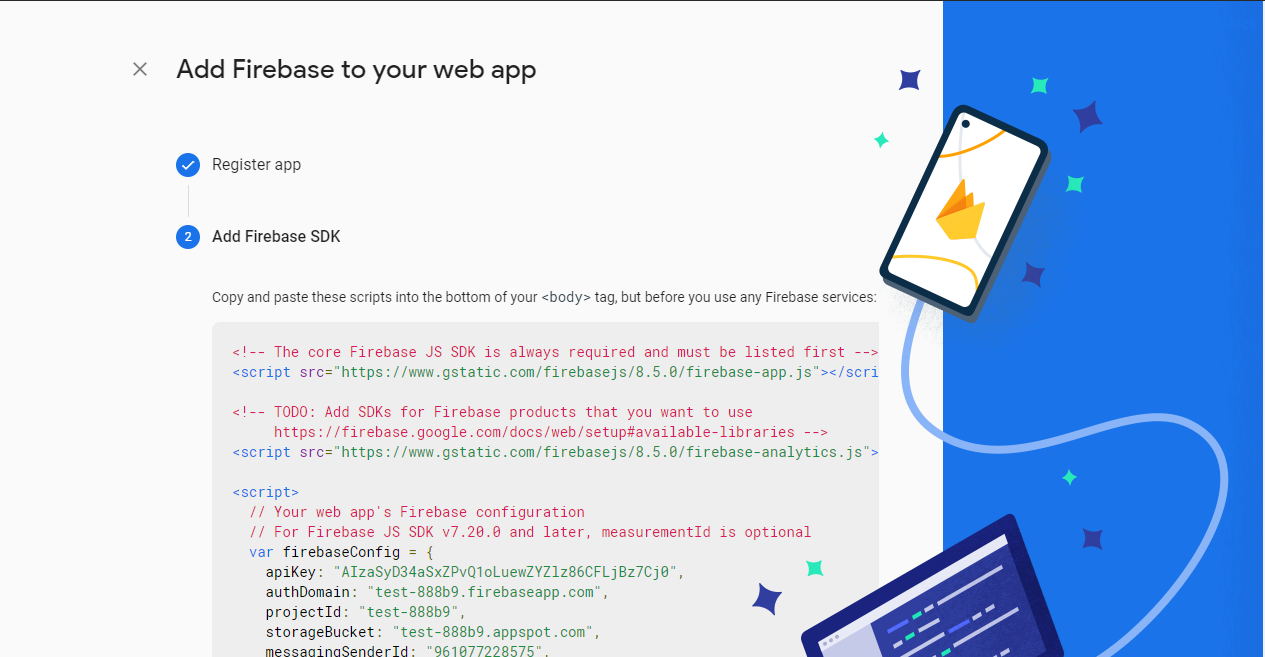
Setting Up Firebase Cloud messaging
After creating the app , navigate to the console and click on project settings,
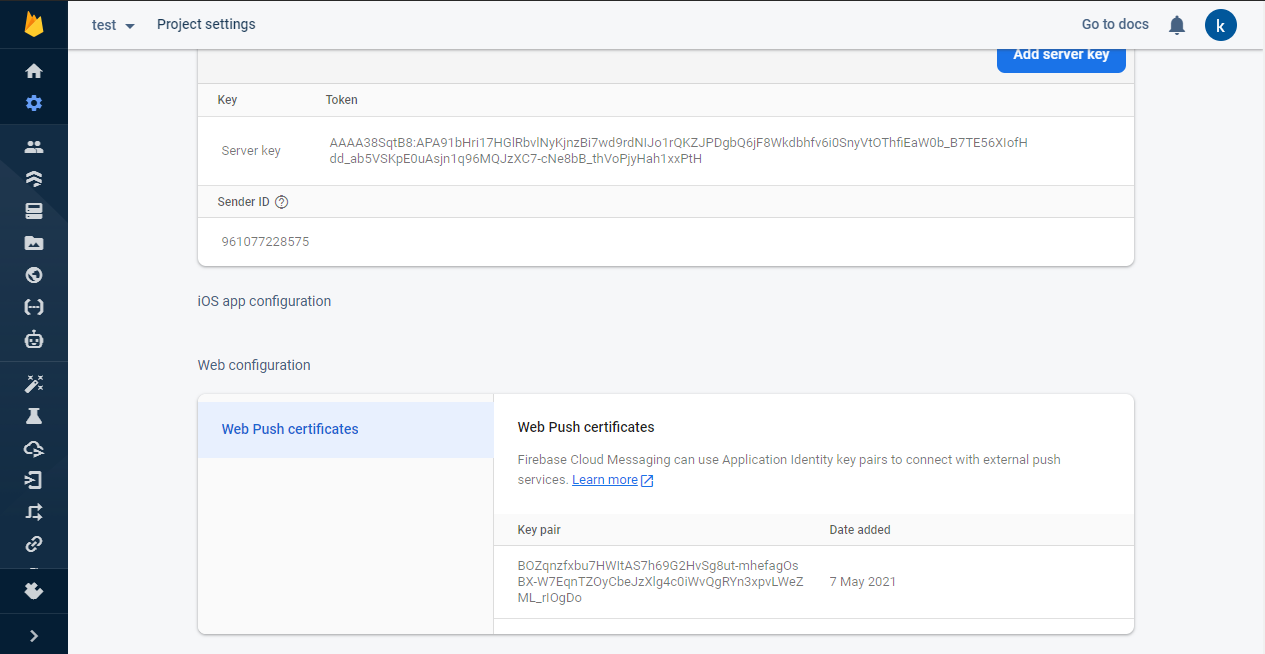
Project settings
Click on cloud messaging to create key pair and also view the firebase server key which we will be using later in our CometChat.
Setting up CometChat Vue Push Notification
After setting up firebase, Navigate back to your CometChat dashboard and select the application you are using for this project.
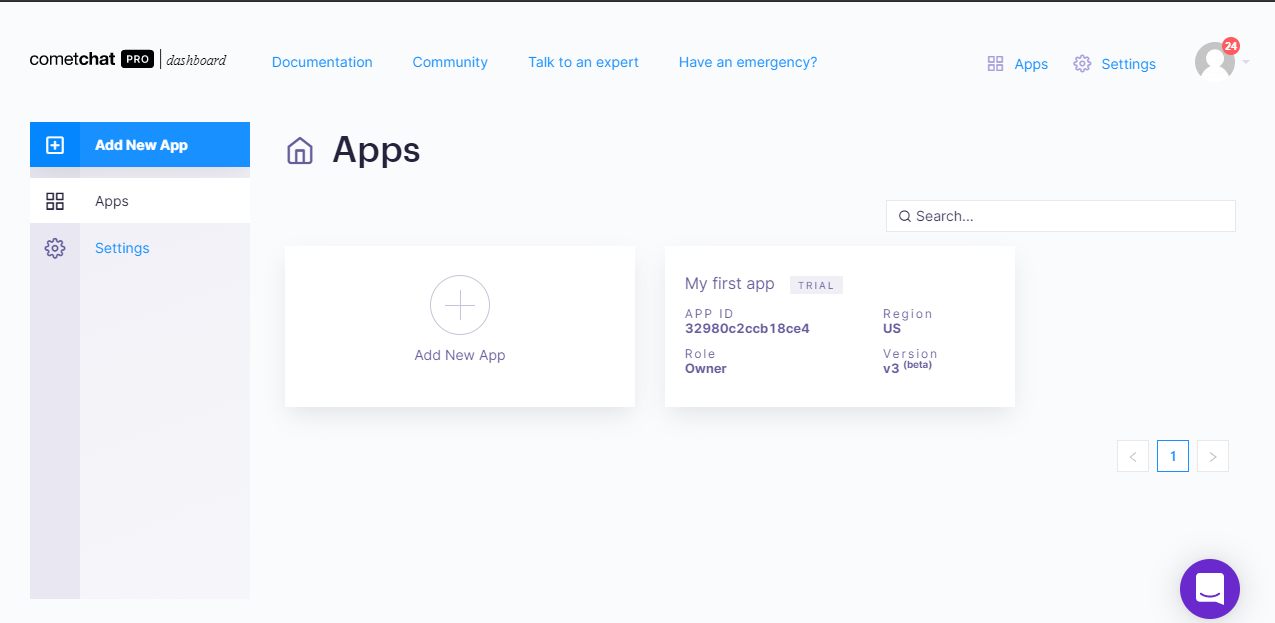
CometChat dashboard
Navigate to the extension and add the push notification
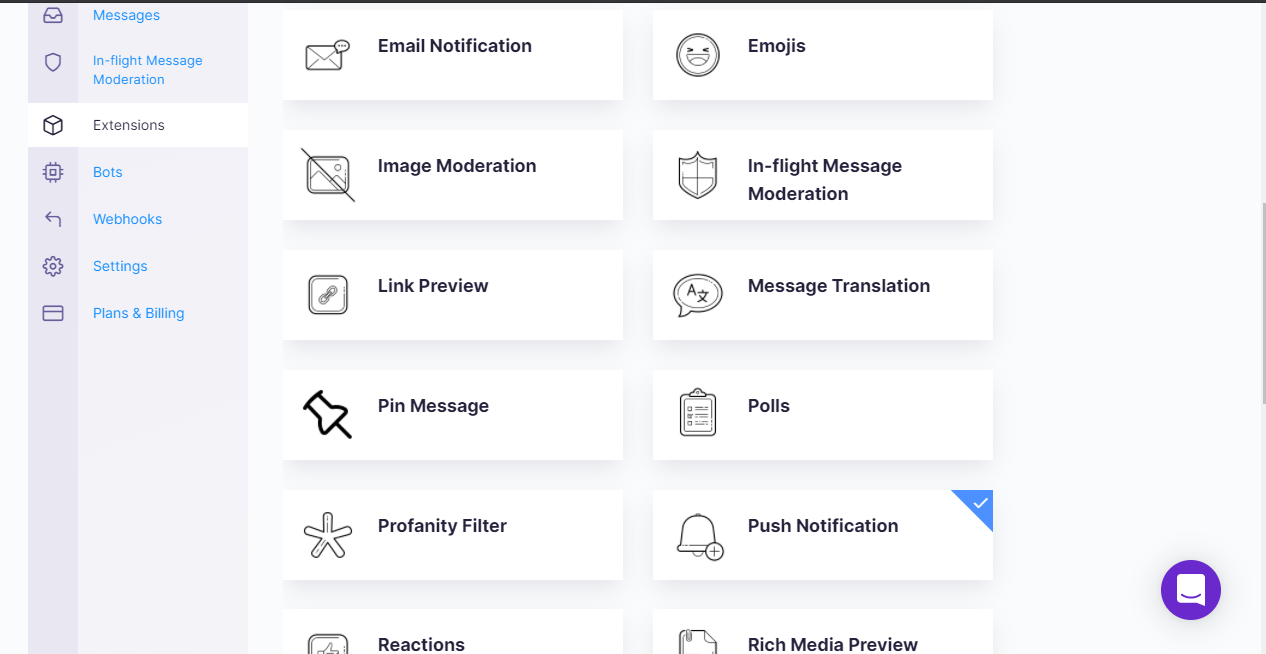
Navigate to the extension
After adding the push notification extension, click on installed button to confirm if the extension is added. if the extension is added click on settings
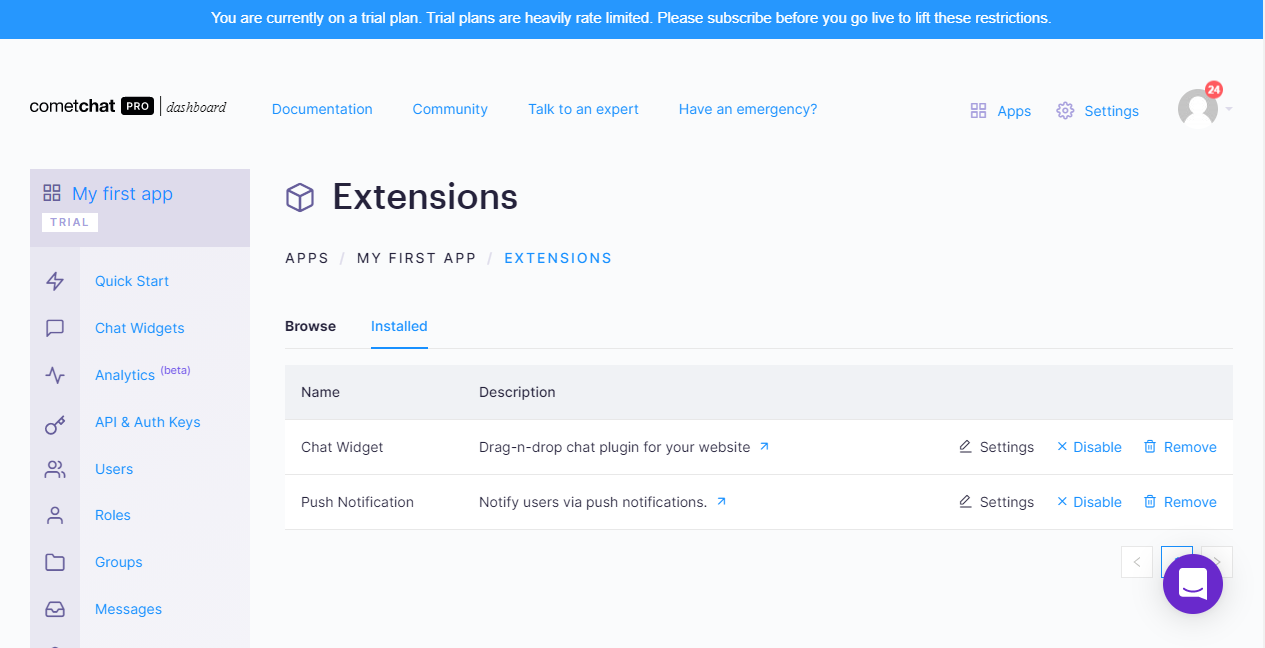
Extentions

Copy the Firebase server key and paste it on the FCM Server Key, this key connects the two platforms. we can also set what notification we want.
NOTE: we will be using V2 of the extension for this tutorial
Creating Firebase Service Worker on vue
Now that we have integrated our CometChat project to our firebase server, we will navigate back to our chat application for us to set up our service worker and initiate our firebase.
To receive a push notification from firebase cloud, we need to set up a service worker, service worker allows our application to receive notifications even if the application is inactive.
To install firebase, run the command below,
npm install firebase
Navigate to the public folder, create “firebase-messaging-sw.js” and paste the code below
We first initialize firebase by using the firebase.initializeApp() function and passing the parameters we obtain when creating a project in our firebase console.
The messaging.onBackbroundMessage() allows us to receive notifications even when our application is inactive.
NOTE: Don’t forget to replace the placeholders with your credentials.
Initializing Firebase in Our App
Navigate to src folder and create firebase.js file and paste the code below.
We initialize firebase and also subscribe to firebase to be able to receive and display notifications.
messaging.onMessage() handles the subscribing and display of notification from firebase by initiating the Javascript Notification method which triggers the notification pop up.
NOTE: Don’t forget to replace the vapidKey placeholder with your firebase key pair.
Lastly, we will update the App.vue file to include the firebase class created above, Open the App.vue file and replace with the following code.
Test app
To test our application, run the following command to start it up:
npm run serve
Navigate to your browser and open http://localhost:8080 to access the application

Test app


Conclusion
With the help of the CometChat SDK, Vue Push notification Extension, and UI KIT, we can simplify our code and also integrate our chat application to firebase, allowing us to send and receive push notifications without having to write our backend and configurations for it.
I do hope that you found this tutorial helpful. Don’t forget to check the official documentation of CometChat and firebase to explore further and add more features to your vue application. The complete source code for the application built here can be found in our Github repository.
About the Author
Umar is a software enthusiast skilled in PHP, Javascript, Python and other frameworks. Has a strong engineering professional background with a Bachelor’s Degree in Computer Engineering Technology.
Umar Elbelel
CometChat
