This tutorial is outdated. We're currently working on an updated version. In the meantime, for instructions on building a chat app using CometChat, please visit our documentation.
WebSockets enable seamless two-way communication between a client and server; in other words, they allow websites to send and receive data in real time. Developers can use WebSockets to build chat applications, multiplayer games, or user interfaces which expose events in real time.
In this tutorial, you will build a simple chat app that allows users to talk to each other. If you are looking for a more advanced solution be sure to checkout CometChat. Our real time messaging product is free to use, fast, scalable, feature complete and easy to add to your existing product with our SDKs.
Check out the demo, or dive straight into the code, it's on GitHub.
What You Will Need
In order to follow this tutorial you will need to have a basic understanding of web development with HTML and CSS as well as:
Node.js 12+ installed on your machine
Dependencies
Express: a lightweight and flexible Node.js framework that provides robust set of features for building web applications.
Socket.IO: enables real-time bidirectional event-based communication. Socket abstract WebSocket connections. It uses WebSockets for transportation and automatically falls back to long polling if Websockets aren’t supported by the client.
Moment: helps you manipulate and format dates in JavaScript.
Nodemon: a tool that helps develop Node.js applications by automatically restarting the node application when file changes in the directory are detected.
Getting Started
You will need to create a project directory and install some of the dependencies required for the project from npm.
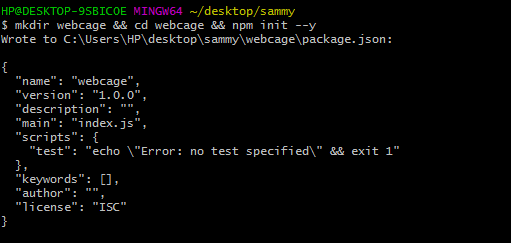
Run the command mkdir webcage && cd webcage && npm init --y to create your new project.
A basic package.json file will be created for you.

package.json file open in the console
Now, you can install the required dependencies for the application with: npm install express moment socket.io
Finally, in order to run the server install nodemon as a dev dependency with the command: npm install -D nodemon
Once all of the dependencies are installed edit your package.json file to match the example below:
Setting up an Express Server
Create an index.js file in the root directory of your project, with the code below:
This will be the entry point for our app.
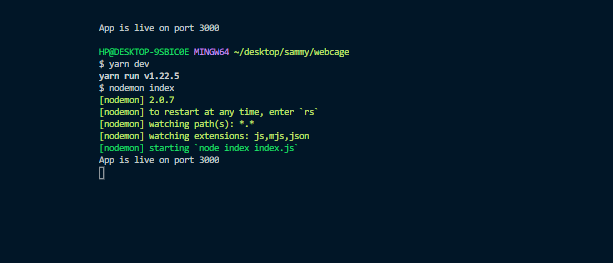
Now you can run the server with this command: npm run dev

The Express server running in the console
Serving Static Assets
Now that your server is running you need to set it up to serve static assets including the HTML, CSS and JavaScript files that will makeup your application.
Modify the index.js to contain the following code:
This specifies that static assets should be served from the public directory. You can create this directory with the command: mkdir public
Inside the public directory, create an index.html file with the following content:
This will serve as the homepage for your chat application.
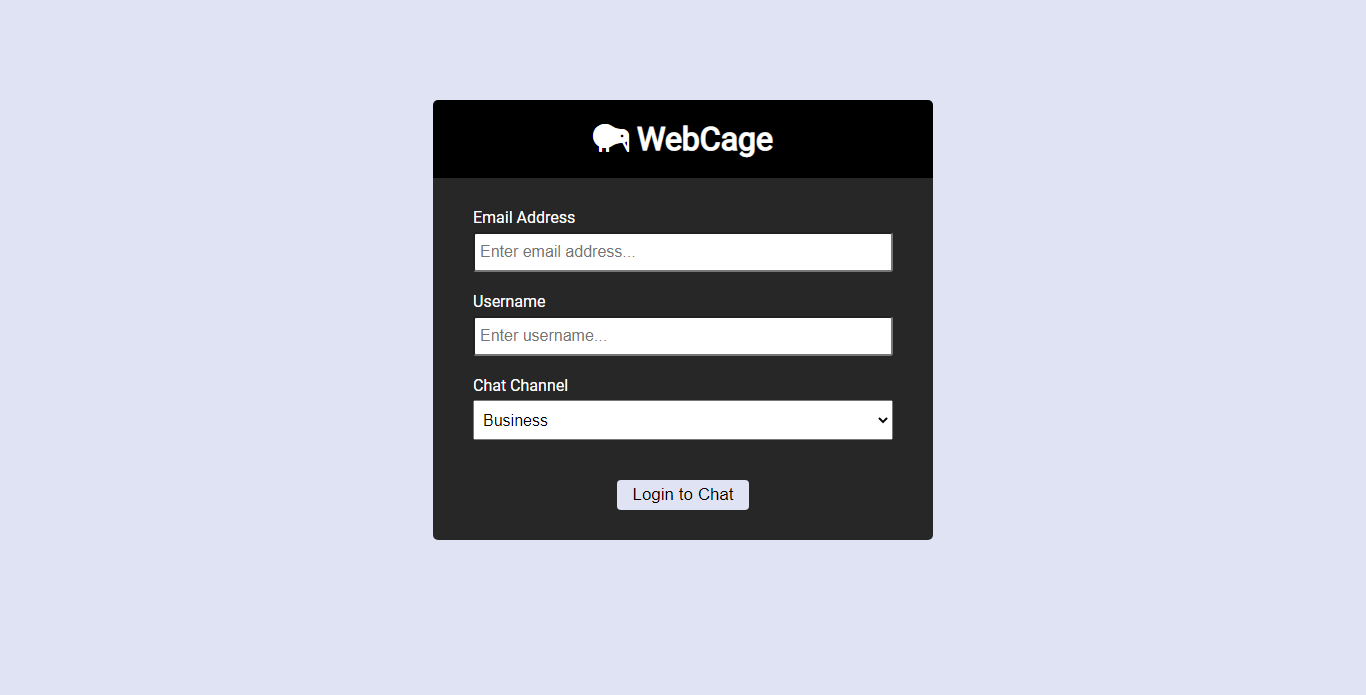
Users will have to provide an email address, username, and specify the room/channel they want to join before they can chat with other people.
In order to style your application you need to create a new css folder in the public folder you created earlier. You can then copy the content of the referenced CSS file from the GitHub repo and add it to your own style.css file; this should be stored in the public/css folder.
Now when you open http://localhost:3000 in your browser, you should see the login page below:

The login page for the application
Setting up Socket.IO
In order to use Socket.IO you need to edit your index.js file.
Replace existing code in index.js with this
Let's break down the code above in order to understand what’s happening:
First, you created an Express server then used it to initialize a Socket.IO server.
Once the Socket.IO server instance is initialized, you can emit and listen to events between the server and clients.
The joinRoom event handler handles the following:
Sending a message to the user once they connect
Sending a message that a new user has joined the room
Emit an event with the current users in a room
In the section of code below, the server listens for messages from the client and sends them to other users in the room.
When a client exits a room, the code below will remove the current user and update the list of active users.
You may have noticed some additional helper functions are called in code, you can add them now. In the root of your project, create a helper directory, and add these two files formatDate.js and userHelper.js
The formatMessage() function in formatDate.js takes the username and message as arguments, and returns an object containing a formatted time, username, and message.
The userHelper.js module contains several functions to handle user behavior.
Handling Socket.IO on the Client
Now, let’s focus on the frontend.
In the public directory, create a new chat.html file with the following content:
You will also need to create a new js folder inside the ‘public’ directory. Then create a new main.js file with the following content:
In the code above:
The DOM is used to target HTML elements which will be updated.
The QS library is used to parse the username and room from the URL.
Initalize a new Socket.IO connection
Emit the joinRoom event which is subscribed to by the server
In order to handle events sent by the server, you need to add these lines of code:
Remember, the server emits the roomUsers event, which contains the current users in the room and the room name. The code above subscribes to this event and modifies the DOM to update the room name and active users list using the outputRoomName(name) and outputUsers(users) functions which you will define later.
Next, add these line of code:
The server emits a message event with the message "Messages are limited to this room!" whenever a new user joins a room. In the code above you are subscribing to the message event and then calling outputMessage() in order to display the message to the user. You then trigger the page to scroll down to display the last message.
To enable users to send a message, add the following code:
In this code you:
Added a submit event listener and prevented the default behavior with e.preventDefault()
Select the text entered in the message box by the user and removed any whitespace from the beginning or end of the string
If the message doesn’t contain any text, return false
Otherwise, emit the chatMessage event and send the message to the server before clearing the message box
In order to define the outputMessage(), outputRoomName() and outputUsers() functions mentioned above, you need to add the following code:
Finally, add the following code to he main.js file
This code is called when a user wants to leave the chatroom
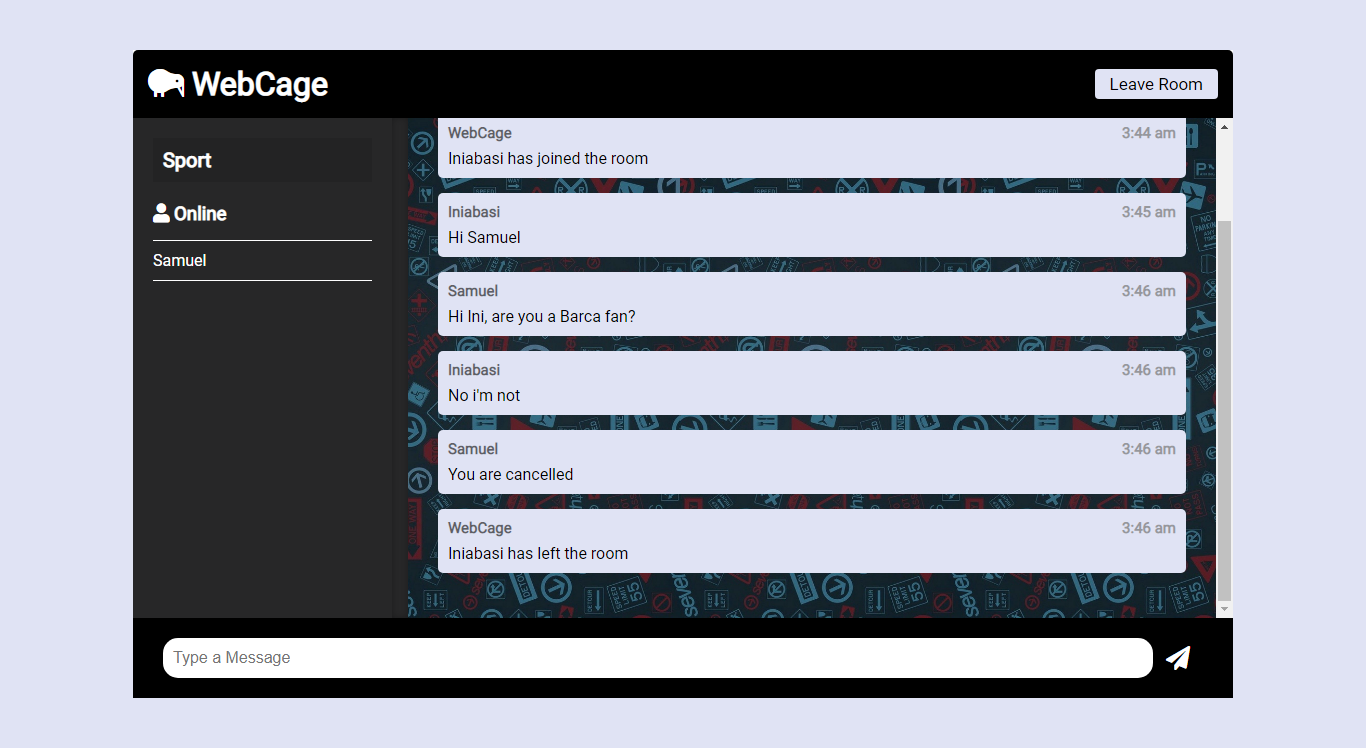
Now, when you restart your dev server and navigate to http://localhost:3000 you should be able to log in your app. If you open the application in two different browsers you should also be able to send messages between each instance.

The completed application
Conclusion
In this tutorial, you built a simple chat app with Node.js and Socket.IO.
If you want to add live chat to your application you should consider CometChat. Our fully featured platform includes realtime chat, online presence notifications, typing and read notifications as well as rich media attachments and message history. We offer a range of SDKs making it easy to use with your existing technology stack.
About Author
Chimezie Enyinnaya is a software developer and instructor with passion for teaching and sharing his knowledge. You can learn more about him here: https://adonismastery.com and https://twitter.com/ammezie.

Chimezie Enyinnaya
CometChat

