This tutorial is outdated. We're currently working on an updated version. In the meantime, for instructions on building a chat app using CometChat, please visit our documentation.
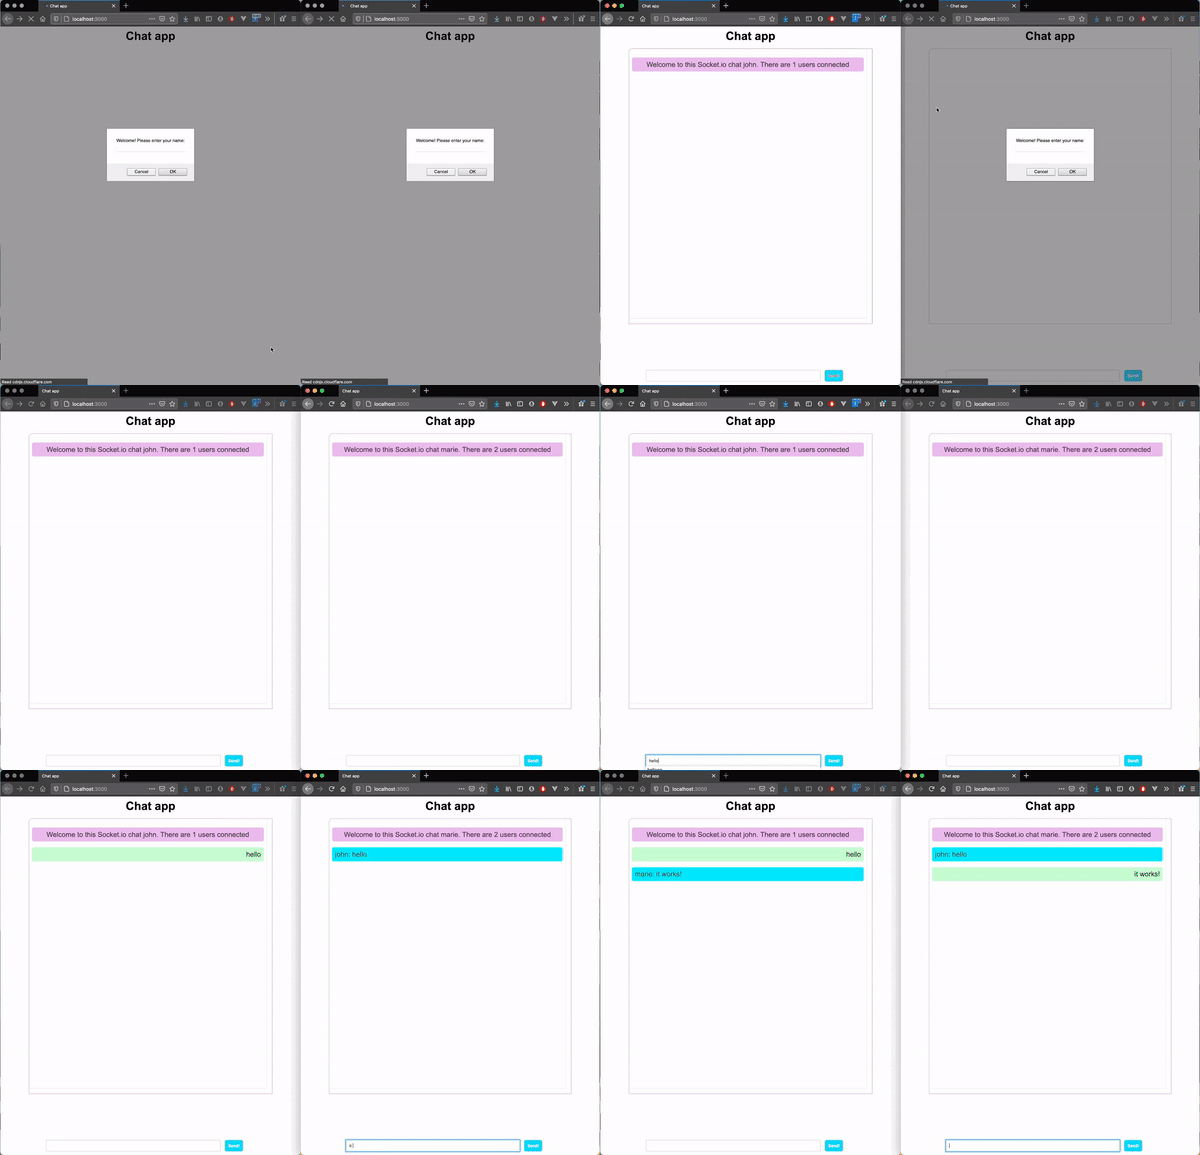
The completed chat application
Socket.io is a JavaScript library that allows real-time communication between clients and servers. It's built on top of the Websockets API. The most common use cases for Websockets and socket.io are chat applications or social media feeds in which a user's page receives messages or posts from other users without needing the user to refresh the page. If you want to learn about Websockets, watch this quick video to understand the basic concepts.
In this tutorial, you'll build a simple chat application that allows users to talk to each other in real-time. Our application will consist of two separate components, a server, and a client.
Setting up the web server
The server is responsible for, serving the HTML, CSS and JS files, starting the Socket.io connection and receiving and broadcasting events to clients.
To get started you will need to setup a new project with the command npm init
To start with we need to create a web server that serves the HTML, CSS and JavaScript files to our clients. To do so, we'll use Node's integrated http module. We'll create a file named server.js and include the following code:
The code above starts a server that handles requests and serves files contained in a folder named client.
Now, go ahead and create a client folder with an index.html file inside it with the following content:
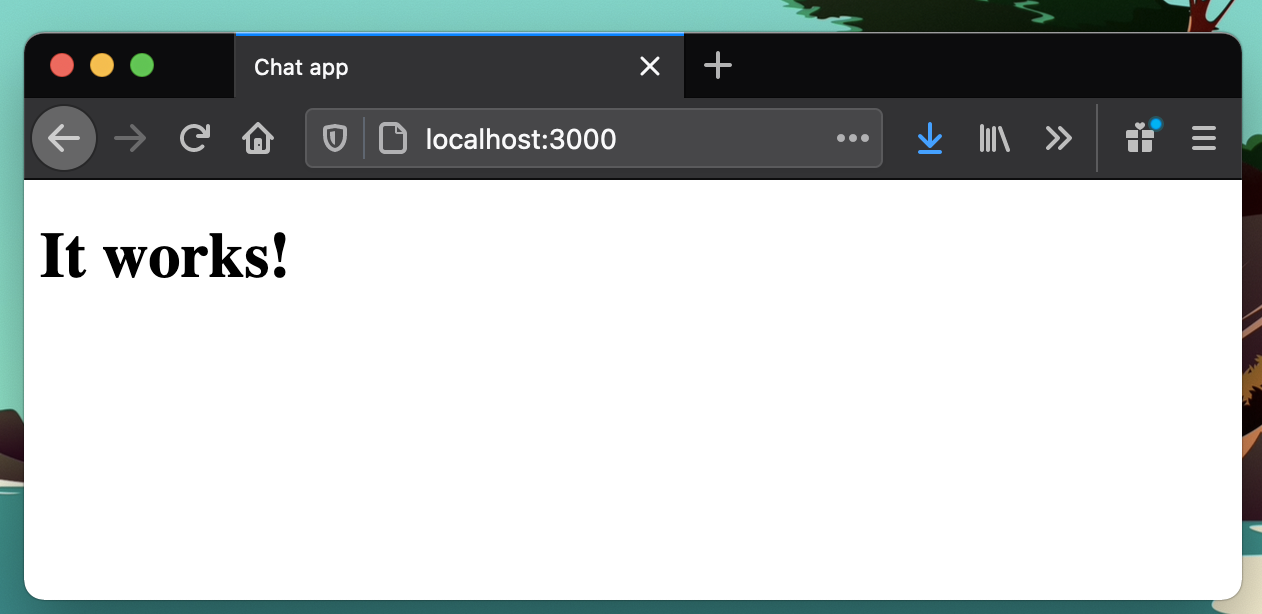
Run npm start and open http://localhost:3000 in your browser to see the index page.
Initializing Socket.io
Our basic web server is working and serving HTML files (we'll take care of serving JavaScript and CSS files in a bit) so now we can start working on our application. Install socket.io by running npm i socket.io and then edit the content of server.js to include the code below:
This code:
Imports socket.io and attaches it to our app server
With the io.on('connection) function we detect a new connection and log a message in the console including the socket object, which will contain some information from the client.
Now we have to modify our index.html document to load the socket.io library from a CDN and also load a chat.js file that we're going to create inside the client folder of our server:
In the chat.js file we will add all the code to emit and handle events for our chat. For now, it will just have the following code which connects the client to the Socket.io instance running on the host that served the page (our server):
If we test this, we'll see that the page loads both JavaScript files and in our server console we'll see the "👾 New socket connected!" message.
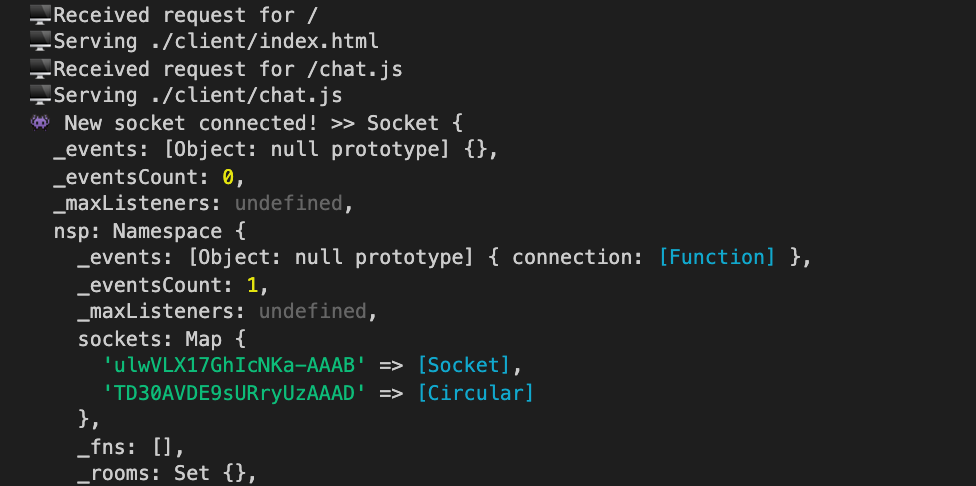
If we open multiple tabs/windows, we'll see multiple messages in our server console.
Creating the application
Now that we have our Socket.io instance running in the server and our client (the page) connected to it, it's time to move on and start creating our application
Storing connected clients
Let's start by storing the information of each client connected to our server. To identify each client, we'll ask the users to enter their name in a prompt and additionally, we'll save their socket id. Modify your chat.js file like this:
We're using the prompt() method to request the username. With socket.emit() we're emitting (sending a message) to our server. The first parameter is the event name and the second parameter is the data we're sending, in this case, just the username. Using socket.on() we capture events sent from the server to the clients.
In our server, we have to capture the event like this:
As you can see, we've added a users object in which we'll store all the users who are connected. To capture the event sent from the client, we use the socket.on() method which receives the data sent from the client, containing the username. After we save the user details we emit another event, this time from the server to the client with a welcome message.
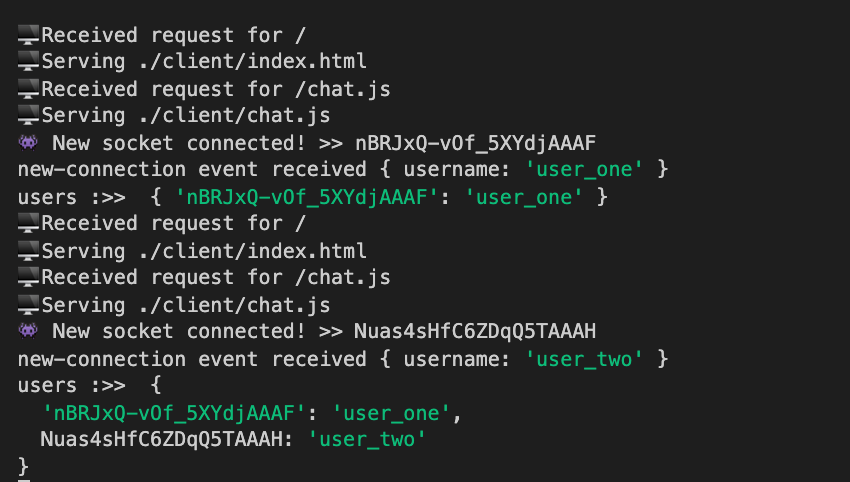
The most used functions when working with Socket.io are socket.emit(eventName, data) and socket.on(eventName, data) to emit and capture events in both the server and the clients. As a rule of thumb, just remember to have an socket.on() function for each event you send with socket.emit()
Handling chat messages
Now that we know how to emit and handle events in both the client and the server, we can start working on the events to send and receive chat messages. But first, we need to create the HTML input to enter the message to send and the container that will hold all the conversation's messages.
I'm including some styles to help us position all the elements and differentiate between our own and other user's messages on the chat. There is an empty container with id chatContainer in which we'll append any messages. At the bottom, there is a form with the input and button to send the messages.
Moving to our chat.js file, we'll create a helper function addMessage() to append messages to the chatContainer and invoke it right after we receive the welcome-message event from the server.
This function will receive a data object which will contain the username and the message itself, and a isSelf flag which indicates if the message is ours. We'll use this second parameter to choose a different style to display the message. This is how it will look:
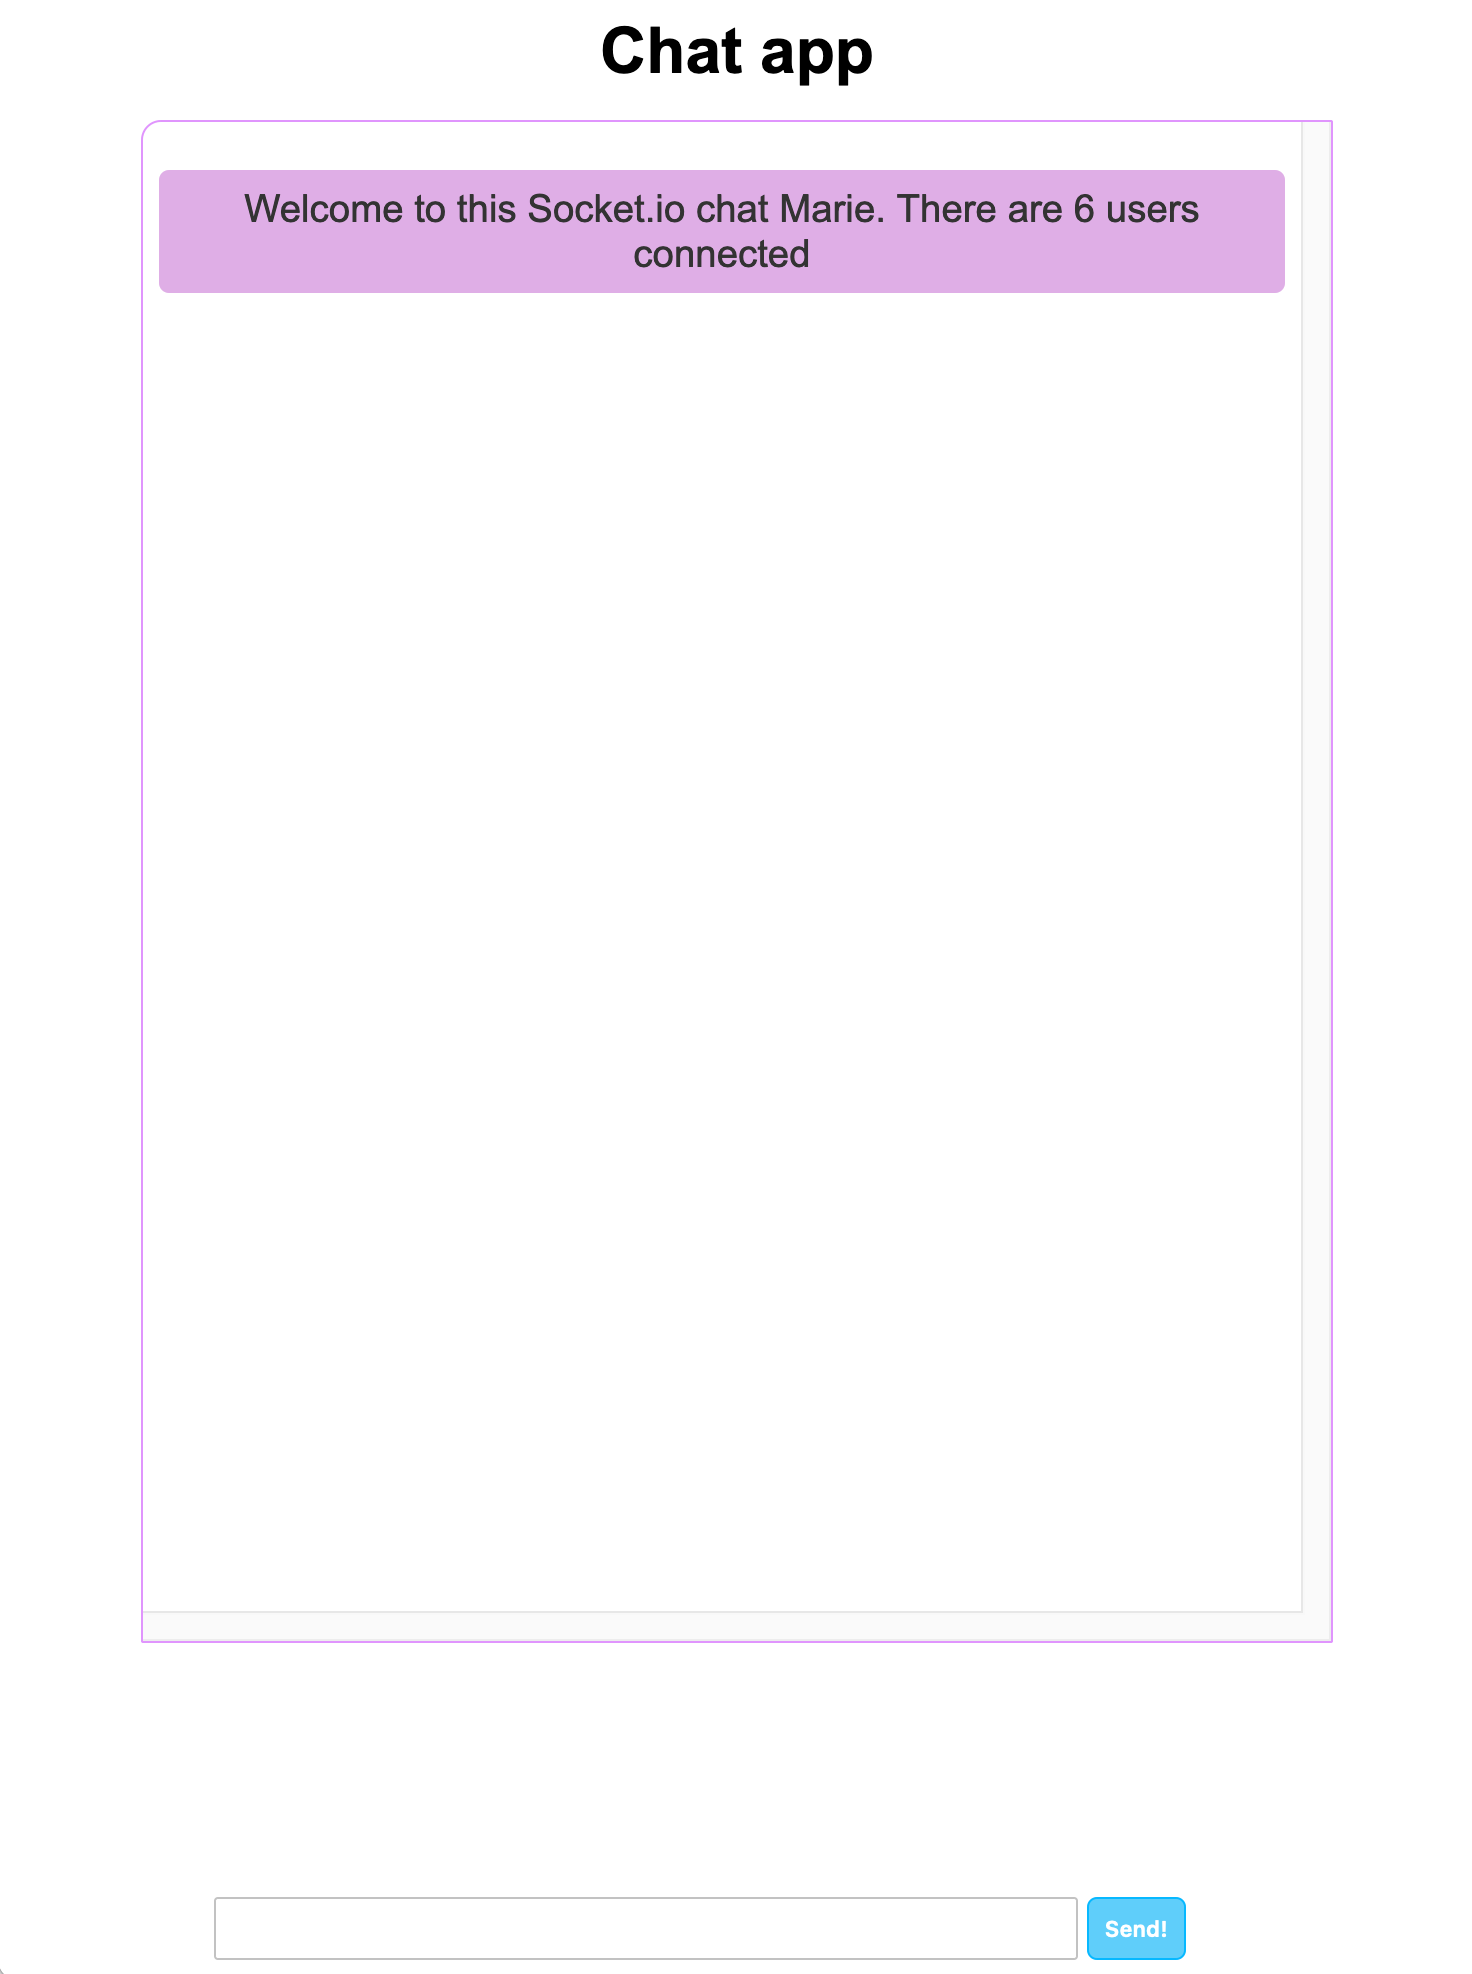
The next step is to send messages from a client and broadcast them to all the other clients. We'll have to add an event listener in our submit button and, as we've done before, use the socket.emit() function in the client to send the message to our server. We'll also add another event handler for broadcast-message which we'll emit from the server when other clients send a message:
As you can see, we're calling the addMessage function to append our own message to the chat container without involving our server.
On the server, we need to capture the new-message event using the socket.on() method and emit the broadcast-message event:
Notice that when the server receives the new-message event, now we're using socket.broadcast.emit() instead of just socket.emit(). The difference is that when broadcasting, we're sending an event to all clients, except the one that sent the original event.
Conclusion
Socket.io is a powerful library and we've just scratched the surface of some basic methods from its API. It contains a lot more functions like assigning namespaces to sockets so they have different endpoints, create rooms and, even integrating with Redis. Make sure to check out their documentation to learn more.
About Author
Antonio is a full stack developer from Spain currently living in UK. He has more than 12 years of professional experience working on a wide variety of projects, from small personal websites to complex web applications or corporate projects built with microservices and REST APIs. Now he's working on my his projects: thelifeboard.app and quicktalks.io
Antonio Ufano
CometChat
