This tutorial is outdated. We're currently working on an updated version. In the meantime, for instructions on building a chat app using CometChat, please visit our documentation.
Next.js is a full stack framework built with JavaScript. In simpler terms, it's a combination of React library and Express Framework. If you are coming from a React background, then picking up Next.js will be relatively simple. In this tutorial, we'll show you how to build a simple chat application using Next.js and Firebase.
Note: If you're open to an alternative, consider CometChat. Our robust suite of cloud-hosted text, voice & video solutions, ranging from simple drag-and-drop plugins to UI Kits, APIs and fully customizable SDKs, plus a host of unique ready-to-use extensions, will seamlessly integrate onto your website & apps quickly & securely, saving you countless hours & resources, dramatically growing engagement on your website. Give us a try for free today!
How to install Next.js
Before proceeding with this, ensure you have Node.js 10.13 or later in stalled in your machine.
To install Next.js, run the following command in your terminal
Create a Next.js project
Let's create a Next.js boiler plate for the chatApp we are about to build. To do that, run the following command
Ensure you use the default settings when creating the project
Preview the project you just created
To get a preview of our project at the moment, we do the following:
Open the project in a terminal or just navigate into the project folder from the terminal
Start the server
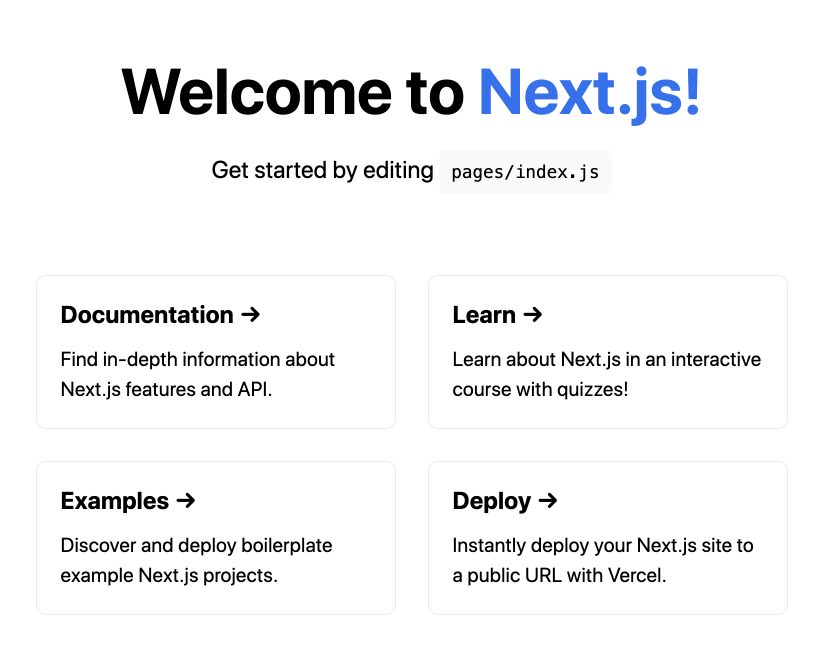
This loads the project in your default browser like so:

Building out chat app
The chat application we are going to build will be made up of four features (sign in, sign out, view chat and send message).
This tutorial assumes you already have basic knowledge of Firebase, React and date-fns.
Now, let's get to work...
Installing dependencies
This project will be depending on date-fns for date/time manipulation/formatting and Firebase for back-end purpose. To install them, run the following command:
Initial setup
At this point, we want to get our project ready for what we are about to build. Do the following with me:
Open the project we just created in your choice editor and navigate to the pages/index.js file. Replace the code there with the following code
Import the following at the top of the file
Create a firebase project and get your configuration code, Initialize firebase below the imports like so
Do not forget to replace the configuration with your own configuration
Authenticating a user
We want to be able to automatically check if a user is logged in or not. To be able to do this, we will use the onAuthStateChanged method provided for us by firebase.
So we begin by creating an initial state for the user just above the return statement like so:
Next we auto-check the state of the user and update the state appropriately with the following code
But something has to trigger the user's state change. Yes! We need to sign in or sign out for that to happen. Let's create those!
Sign in
We will be using the signInWithPopup feature provided by firebase. So enter the following code above the return statement
Sign out
Since we are logging in a user, it will make sense if we allow them leave sometimes when they want. At least for security purpose you know. So let's sign out a user using the following code:
Rendering the authentication component
You will notice that so far, the functions we have been creating are useless because nothing triggers them. Now we want to trigger these functions depending on the user's authentication state. We will use 2 buttons (one for the sign in and the other for the sign out).
Enter the following code within the div tag
The code above displays the sign out button if a user is already signed in and it displays the sign in button if a user is signed out.
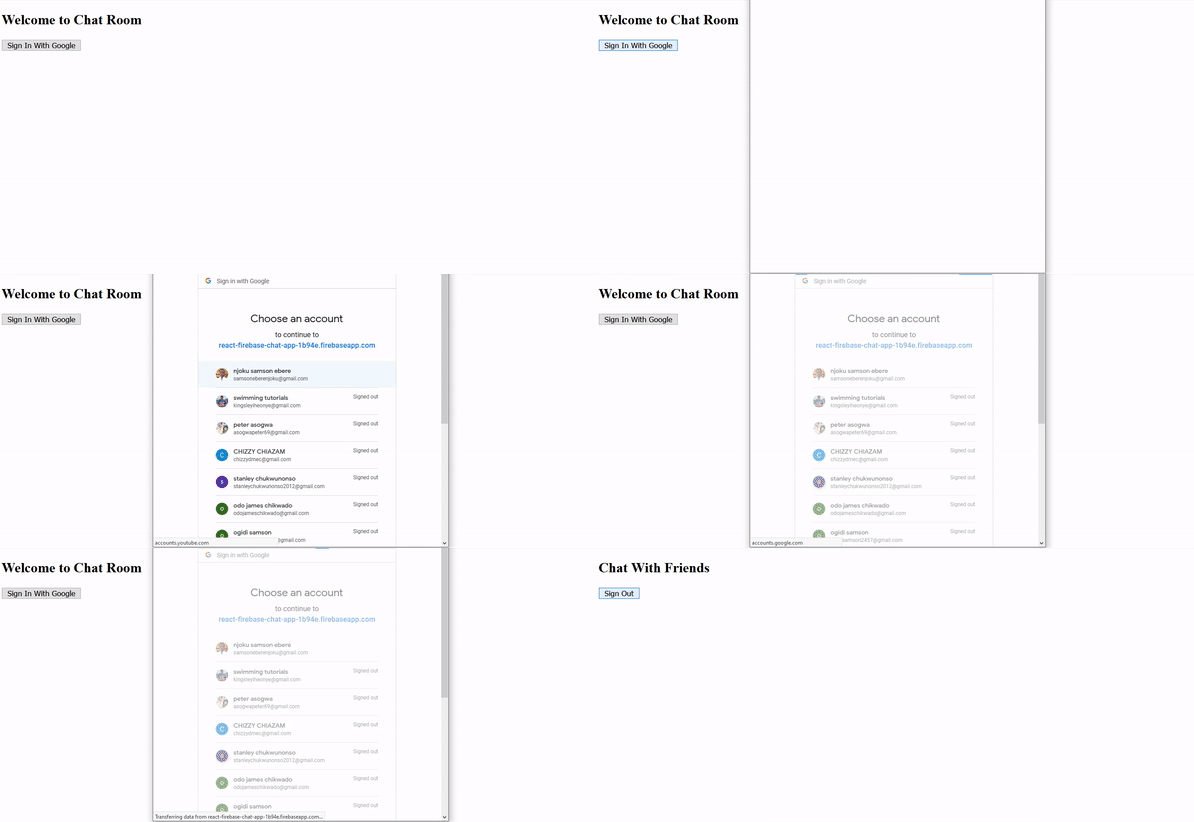
Check your browser for update. See mine below:

Viewing and sending chat messages
Now the moment we all have been waiting for is here. In this part, we will be able to send messages to our firestore database in firebase and view the messages in real time.
Let's begin by creating this component. Create a file and name it _Components/ChatRoom
Enter the following code in the file
Send messages
To send messages, we will add an empty section and a form in the return statement. The form will have an input box and a button like so
The empty section is used to automatically scroll down to the most recent message after a new message is sent
Next, let's get the database, user details, dummy space and set an initial state for newMessage above the return statement like so:
The db and user will be passed from the pages/index.js file
Still above the return statement, we will define a function that will be triggered anytime the form is submitted. Enter the following code
In the code above, anytime a message is sent, the text of the message, time/date and user details is collected and saved to a collection called messages. It then clears the input box and scrolls down the chat to the newest message
View chat messages
We want to view messages but not by continuously refreshing the page manually. We want it to happen without refreshing the page and we also want to see the message as soon as it is sent.
In order to achieve that, we will enter the following code above the return statement
The code above collects all the messages from the database, sort the messages by createdAt field and limits the messages to be displayed to 100
Now to render the messages, add the following code just above the dummy space in the return statement
In the code above, loops through all the messages collected and outputs each message and the user's details. One more thing, let's add our ChatRoom component to the pages/index.js file
Import the component like so:
import ChatRoom from "../Components/ChatRoom";
Add the component just below the nav tag like so:
Notice that it is at this point that we pass the user and db props down to the ChatRoom component
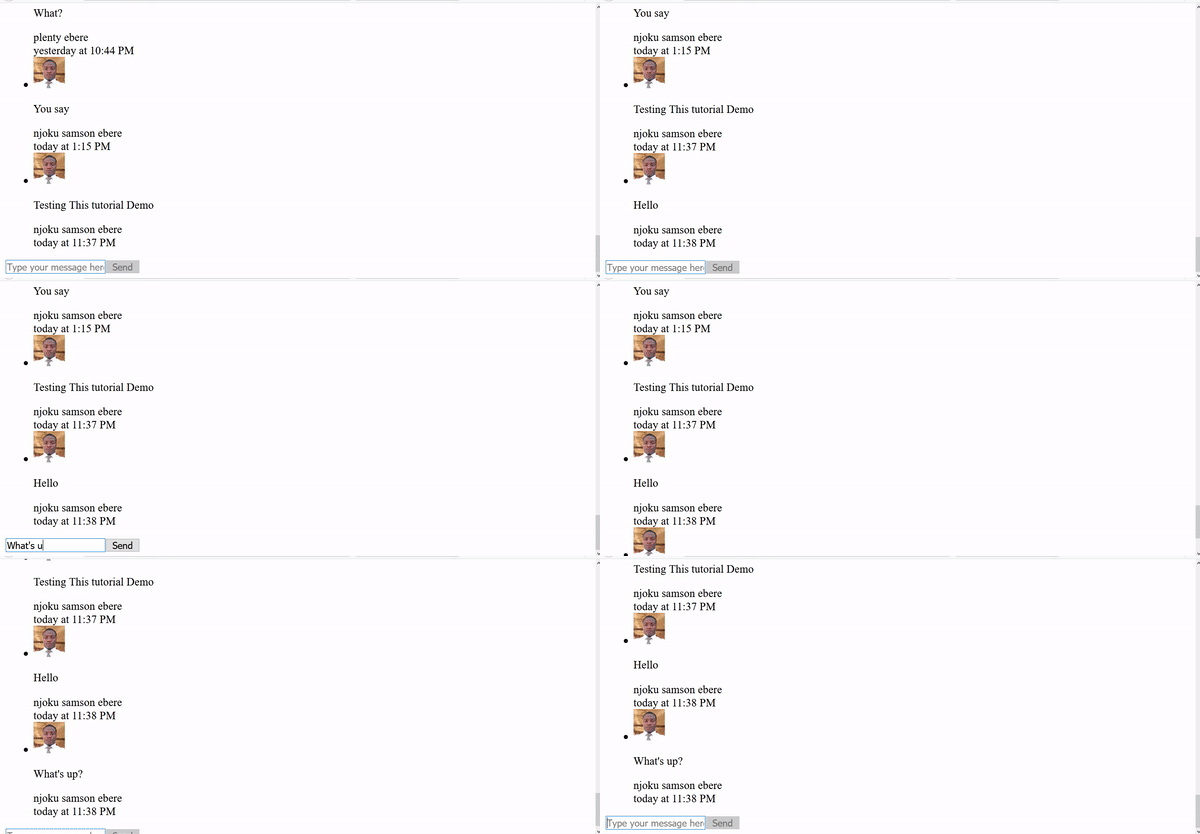
You can check your project in your browser now and try sending messages. See mine below

Looks cool! Yeah?
But it looks a bit unkempt. Let's add some CSS to our styles/global.css file to style the app
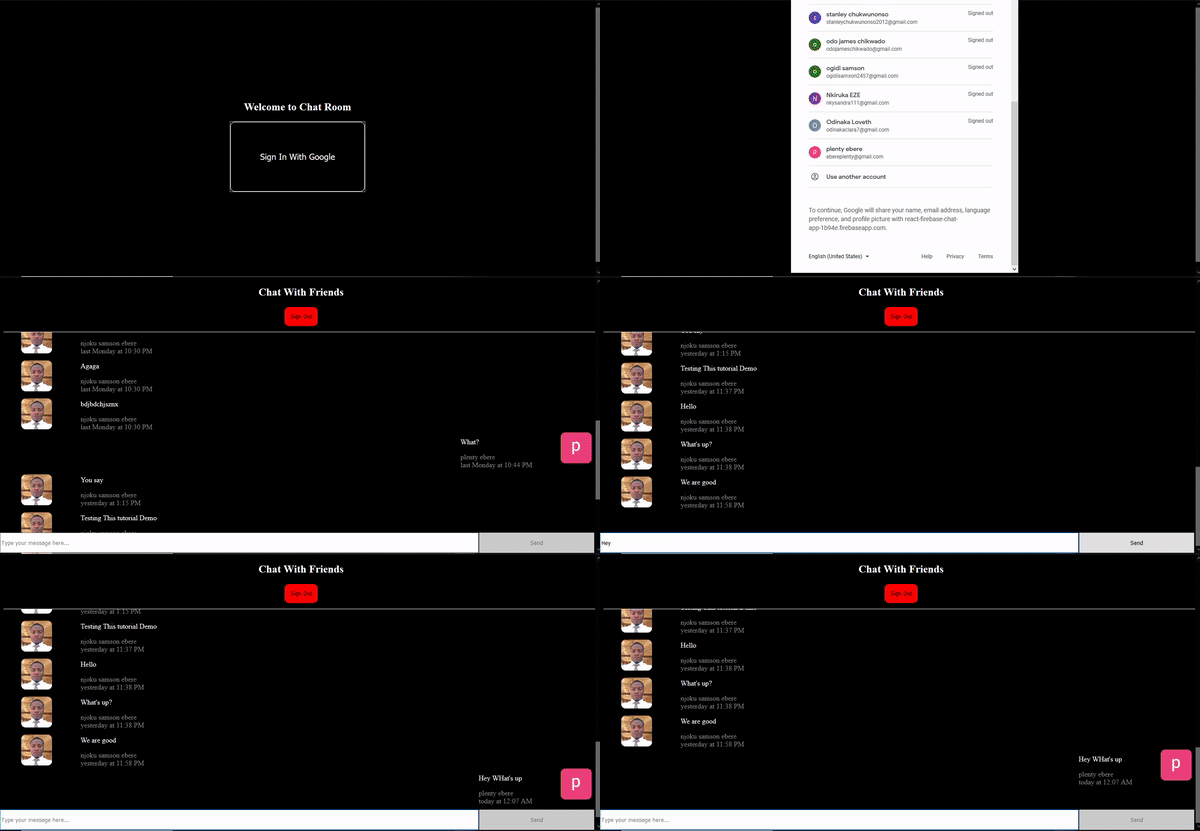
This is what my app looks like now

The source code of the simple chat application we just built can be found here.
If you're looking to build a more robust application that's built to scale, consider CometChat, which is widely considered to be an easier alternative that have you up and running in 30 minutes or less. Create an account for free here, and start building right away. Develop for as long as you need, and don't pay a thing until you're ready to scale. Really!
About the author
Njoku is a software engineer who is interested in building solutions to real world problems and teaching others about the things he knows. Something he really enjoys doing aside writing codes and technical articles is body building.

Njoku Samson Ebere
CometChat