This tutorial is outdated. We're currently working on an updated version. In the meantime, for instructions on building a chat app using CometChat, please visit our documentation.
When building a chat application, it’s often confusing and difficult in terms of what functionality you need. And when developing in-house, this task can turn into a nightmare. Fortunately, CometChat is here to provide you with all the functionalities, leaving you to focus on integration.
In this tutorial, we will explore how to build a chat application by combining the power of VueJs and CometChat’s SDK and UI kit. It will be real-time, easy to build, and we’ll use Vue as our JavaScript framework.
Here are a few things we will be covering in this tutorial:
Creating CometChat account and Setting up CometChat app
Creating Vue app
Setting up CometChat SDK
Integrating CometChat UI Kit
Creating our view Components
Creating CometChat account/Setting up CometChat app
Before we start with any integration, we will need to create a CometChat account. to create your account.
Add real-time chat with minimal effort using CometChat
Dashboard
After setting up the CometChat account, we need to create an application for us to be able to integrate with. To do that, navigate to your CometChat Pro account dashboard and click on Add New App. On the window that pops out, fill in the necessary details before clicking on Add App:
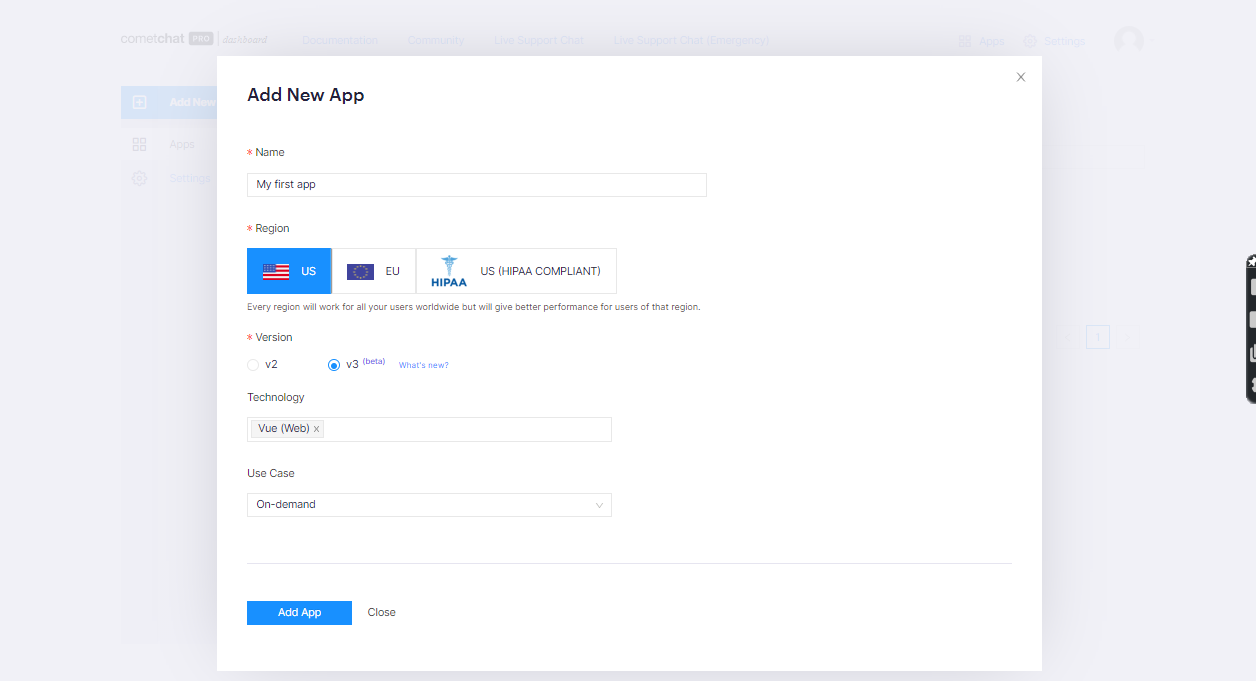
Add New App
Once the app is created, you’ll be provided with the app credentials. We’ll specifically be using the app ID, region, and auth key to connect to CometChat’s API.
Creating Vue App
Now that you’ve created the CometChat account, we will proceed to build a new Vue.js application by using Vue CLI. Make sure npm is installed on your computer and then run the following command to install Vue CLI:
npm install -g @vue-cli
Once its done, create a new Vue.js project with:
vue create vue-chat-app
The preceding command will initiate the creation of our Vue.js project. You will be prompted with an option to choose a “default” preset or “manually select features”. Select the latter and press enter. Next, a list of feature options will be displayed; use the arrow key to move down and use the spacebar to select Babel, Router, Linter / Formatter, and hit Enter once you are done. After that, type “y” to use history mode for the router and select ESLint with error prevention only. Use the link if you encounter any problems.
Run the application with the command below to view the the default homepage on http://localhost:8080.
npm run serve
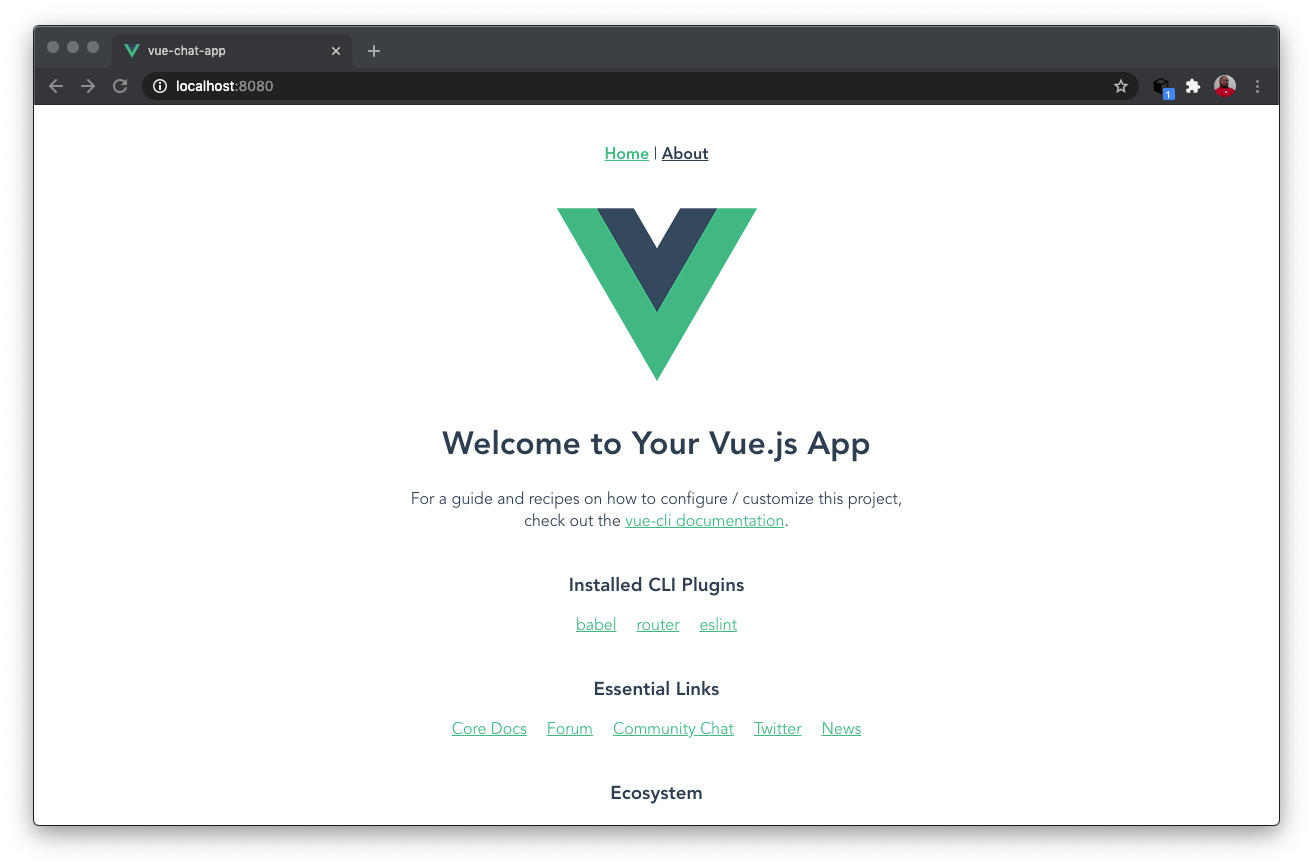
Setting up CometChat
Now, before we dive into push notifications and Firebase, we will set up a fully functional chat application.
To set up our CometChat SDK, run the code below.
npm install @cometchat-pro/chat --save
After installing our CometChat SDK, we will need to initialize it at the beginning of our
application. Navigate to the “App.vue” file and paste the code below,
if you take a look at the code, we have created a function initializeComet() in the method object of our file. This function handles the initializing of CometChat by calling the AppSettingsBuilder() to build our request. We will then call on the CometChat.init() and pass the built request with our APP_ID to initialize CometChat.
NOTE: Don’t forget to replace the APP_ID and REGION placeholders with your credentials.
Integrating CometChat UI Kit
To setup the CometChat UI Kit we need to first clone it to our project directory. To achieve that run the command below:
git clone https://github.com/cometchat-pro/cometchat-pro-vue-ui-kit.git
Once this is done, we copy the source folder to our source folder and rename it cometchat-ui. Next is for us to install all the needed dependency for the CometChat UI Kit, and to do that, copy the dependencies below to your package.json file.
To install these packages, run the following command:
After setting up and installing all the needed dependencies for the CometChat UI Kit, we will now be able to make use of the components to add a chat interface and logic to our application.
Creating our view components
After initializing and setting up our CometChat UI KIT, we will be having two (2) components i.e (login and chat components).
Login component
This component will handle both login and registration. To create this component, navigate to src/view and create the Login.vue file. Now, open the file and paste the below code.
On submitting the form we triggered the Login() that handles the API calls to CometChat. Next, we will be using some functions from the CometChat SDK:
CometChat.createUser(): handles creating a user, it accept two parameters(username and AUTH_KEY).
CometChat.login(): handles authentication, it accepts our username and AUTH_KEY as parameters.
In this component, we used the two(2) functions from CometChat SDK to both create a user and authenticate a user, alongside allowing already created user to be authenticated without duplication. The image below depicts what the login page will look like:
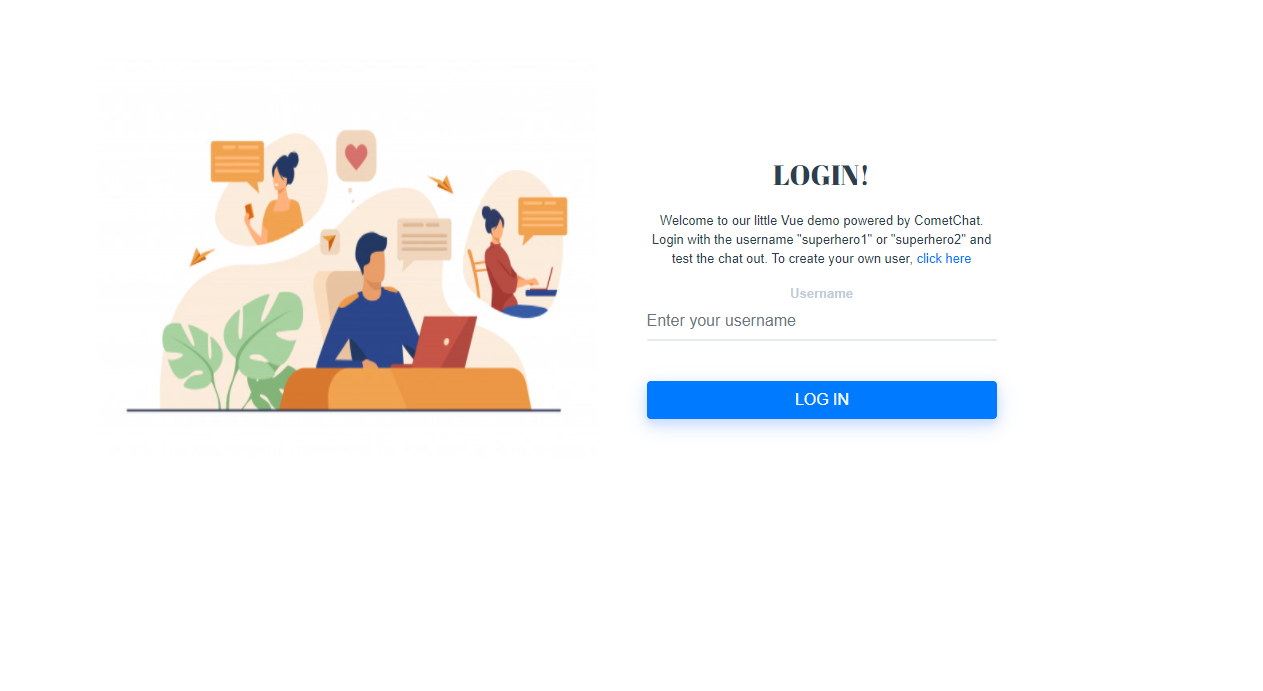
LogIn
NOTE: Don’t forget to replace the AUTH_KEY placeholders with your credentials.
Create Chat Component
After authenticating a user, we will be redirecting the user to the chat component which handles our chat functionality.
Navigate to src/view and create the Chat.vue component. paste the code below.
Looking at the code above, it looks very simple with no logic. This is because we are using the CometChat UI kit that handles all of our design and logic. We import:
CometChatUserListWithMessages: This component handles the display of users, their messages, and more.
We have also added a log out button for users to be able to logout. Clicking this button triggers the logout() which contains the function below from the CometChat SDK.
CometChat.logout(): This function logs out an user from CometChat.
Updating the router file
Open the router file in src/router/index.js file and replace its content with the following:
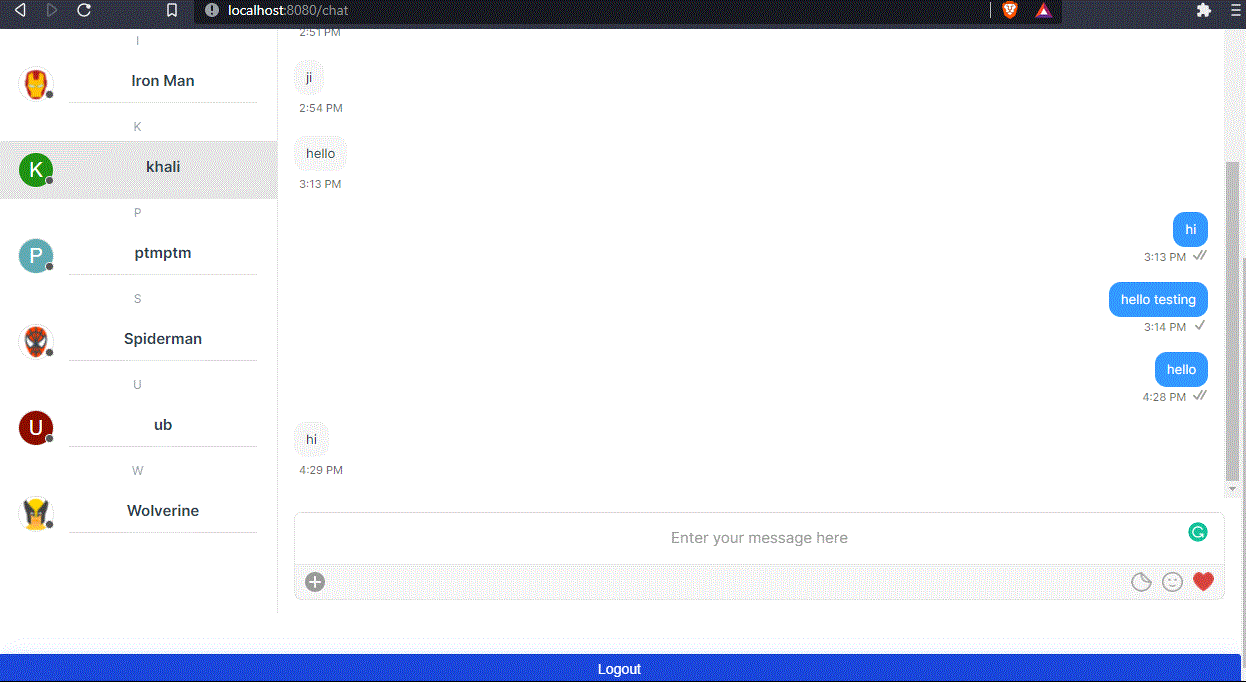
Test app
To test our application, run the following command to start it up:
npm run serve
Navigate to your browser and open http://localhost:8080 to access the application.
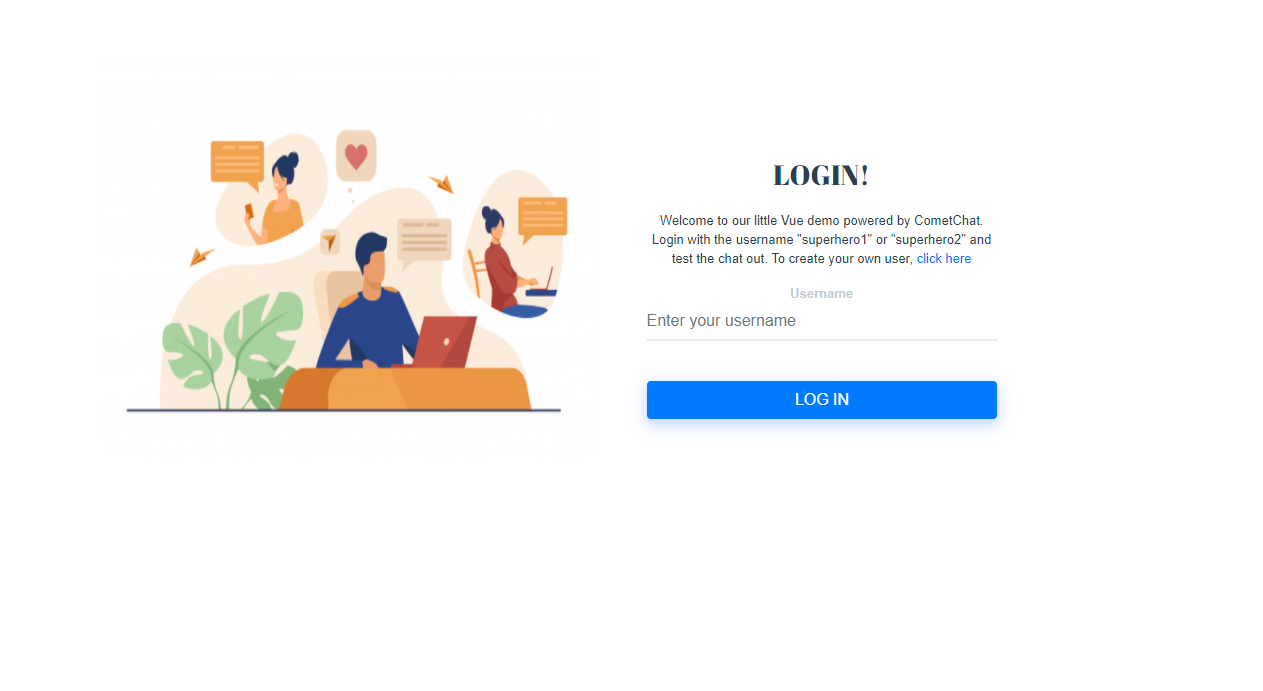
Test app
Summary
As seen from this tutorial, we were able to build a Vue.js application from scratch and leverage the custom UI kit made available by CometChat to easily implement the functionalities and proper user interface for our application. The CometChat UI Kit not only provides us with the chat boilerplates but also extends its functionalities by including image upload, text, video, and audio chat.
Hope you found this tutorial helpful. Don’t forget to check the official documentation of CometChat to explore further and add more features. The complete source code for this tutorial is available on GitHub.
Umar Elbelel
CometChat
