AI Integration Quick Reference
AI Integration Quick Reference
Fork the sandbox, insert your CometChat credentials (App ID, Region, Auth Key), and preview the UI in real time.
What You’re Building
Three sections working together:- Tab bar — switches between Chats, Calls, Users, and Groups
- Sidebar — renders the list for the active tab (conversations, call logs, users, or groups)
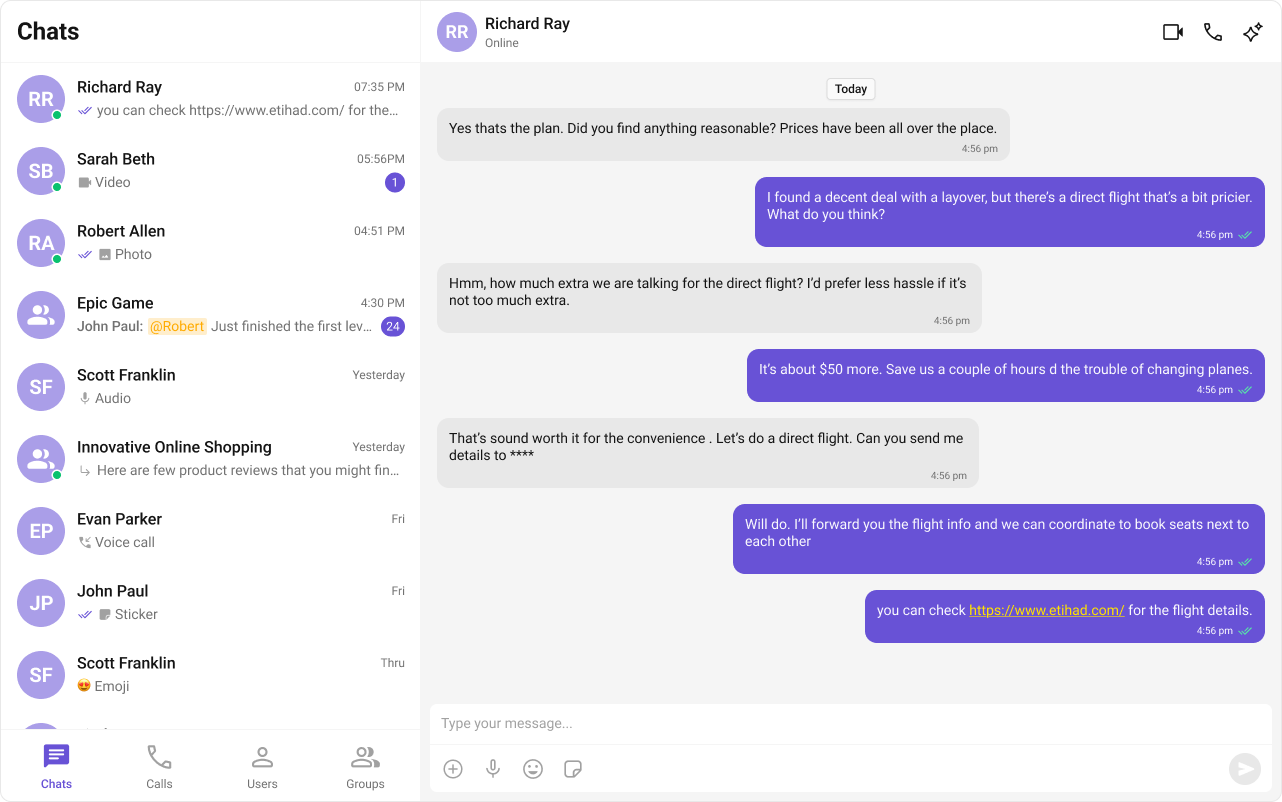
- Message view — header + messages + composer for the selected item
Step 1 — Create the Tab Component
Create aCometChatTabs folder inside src/:
src
CometChatTabs
assets
chats.svg
calls.svg
users.svg
groups.svg
CometChatTabs.tsx
CometChatTabs.css
- TypeScript
- CSS
CometChatTabs.tsx
Step 2 — Create the Sidebar Component
The sidebar renders the list for whichever tab is active, plus the tab bar at the bottom.src
CometChatSelector
CometChatSelector.tsx
CometChatSelector.css
- TypeScript
- CSS
CometChatSelector.tsx
- The
activeTabstate drives which list component renders —CometChatConversations,CometChatCallLogs,CometChatUsers, orCometChatGroups. - Each list component passes its selection back to the parent via
onSelectorItemClickedwith a type string so the parent knows what was selected. CometChatTabsrenders at the bottom of the sidebar.
Step 3 — Update App.tsx and App.css
Wire everything together. The app handles selections from any tab — conversations, users, groups, or calls.- TypeScript
- CSS
App.tsx
- Selections from any tab (Chats, Calls, Users, Groups) flow through the same
onSelectorItemClickedcallback. - Conversation items are unwrapped via
getConversationWith()to extract the underlyingUserorGroup. - Call selections are tracked separately in
selectedCall— add your own call details UI as needed. - Only one of
selectedUser/selectedGroup/selectedCallis set at a time — the others are cleared.
Step 4 — Run the Project
- Vite
- Create React App
Next Steps
Theming
Customize colors, fonts, and styles to match your brand
Components Overview
Browse all prebuilt UI components
React.js Integration
Back to the main setup guide
Core Features
Chat features included out of the box