Tip: You can fork the sandbox, insert your CometChat credentials (App ID, Region, Auth Key.) in the code, and immediately preview how the UI and messages respond in real time.
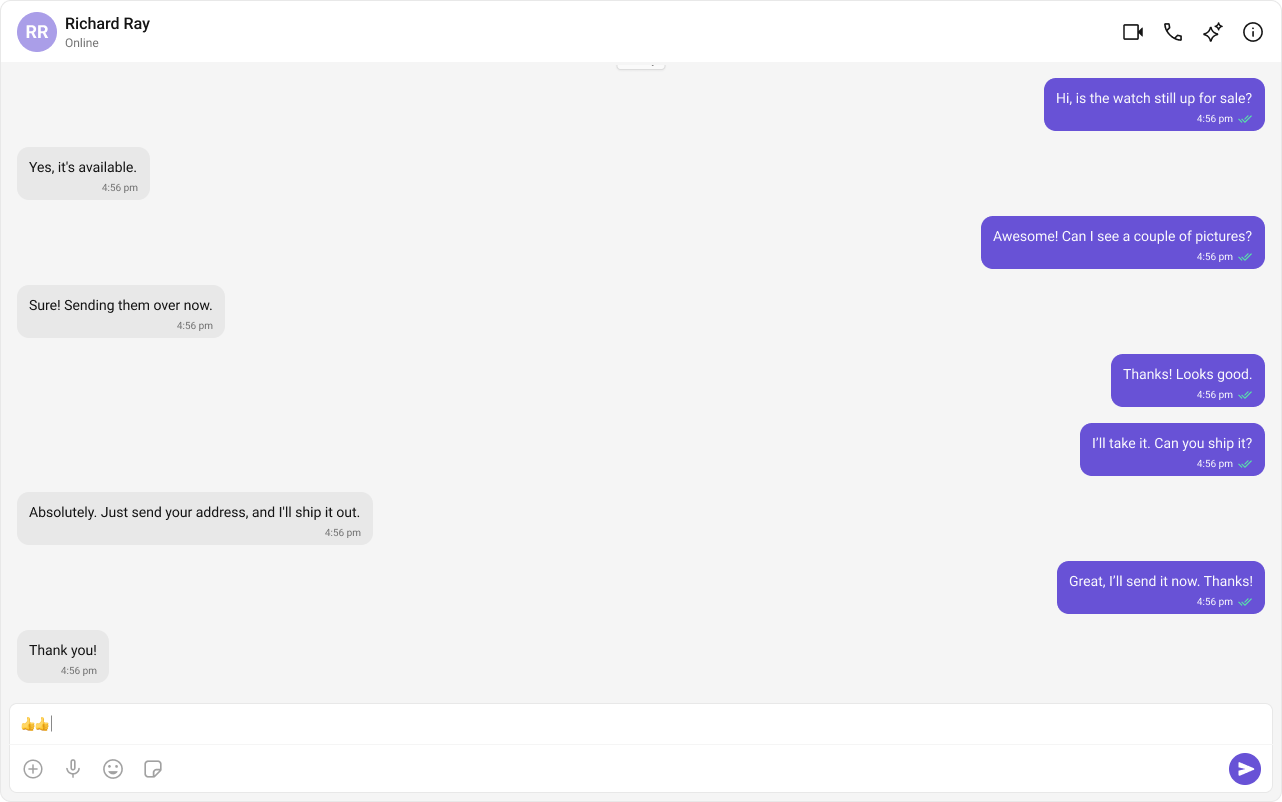
User Interface Preview

Key Components
- Chat Header – Displays recipient details and optional call/video call buttons.
- Message View – Shows real-time chat history.
- Message Input Box – Enables users to send messages, media, and reactions.
Step-by-Step Guide
Step 1: Implement the Chat Header
- Display profile picture, name, and online status.
- Add voice and video call buttons (optional).
Step 2: Build the Message View
- Load chat history and real-time messages.
- Ensure smooth scrolling and timestamp visibility.
Step 3: Add the Message Composer
- Include a text input field.
- Support media uploads, file attachments, emojis, and reactions.
Implementation
- TypeScript
- CSS
App.tsx
Fetching a User (One-on-One Chat)
Fetching a Group (Group Chat)
Step 4: Run the project
Next Steps
Enhance the User Experience
- Advanced Customizations – Personalize the chat UI to align with your brand.