Recording (Beta)
This section will guide you to implement call recording feature for the voice and video calls.
Implementation
Once you have decided to implement Default Calling or Direct Calling and followed the steps to implement them. Just few additional listeners and methods will help you quickly implement call recording in your app.
You need to make changes in the CometChatCalls.OngoingCallListener
constructor and add the required listeners for recording. Please make sure your callSettings is configured accordingly for Default Calling or Direct Calling.
A basic example of how to make changes to implement recording for a direct call/ a default call:
- Javascript
- Typescript
// Add listeners onRecordingStarted and onRecordingStopped to the startSession method
const audioOnly = false;
const deafaultLayout = true;
const callListener = new CometChatCalls.OngoingCallListener({
onRecordingStarted: recordingStartedBy => {
// This event will work in JS SDK v3.0.8 & later.
console.log("Listener => onRecordingStarted:", recordingStartedBy);
},
onRecordingStopped: recordingStoppedBy => {
// This event will work in JS SDK v3.0.8 & later.
console.log("Listener => onRecordingStopped:", recordingStoppedBy);
},
});
const callSettings = new CometChatCalls.CallSettingsBuilder()
.enableDefaultLayout(deafaultLayout)
.setIsAudioOnlyCall(audioOnly)
.setCallEventListener(callListener)
.build();
render(){
return(
<View style={{height: '100%', width: '100%', position: 'relative'}}>
<CometChatCalls.Component callsettings={callSettings} callToken={callToken} />
</View>
);
}
// Add listeners onRecordingStarted and onRecordingStopped to the startCall method
const audioOnly = false;
const deafaultLayout = true;
const callListener = new CometChatCalls.OngoingCallListener({
onRecordingStarted: recordingStartedBy => {
// This event will work in JS SDK v3.0.8 & later.
console.log("Listener => onRecordingStarted:", recordingStartedBy);
},
onRecordingStopped: recordingStoppedBy => {
// This event will work in JS SDK v3.0.8 & later.
console.log("Listener => onRecordingStopped:", recordingStoppedBy);
},
});
const callSettings = new CometChatCalls.CallSettingsBuilder()
.enableDefaultLayout(deafaultLayout)
.setIsAudioOnlyCall(audioOnly)
.setCallEventListener(callListener)
.build();
render(){
return(
<View style={{height: '100%', width: '100%', position: 'relative'}}>
<CometChatCalls.Component callsettings={callSettings} callToken={callToken} />
</View>
);
}
Settings for call recording
The CallSettings
class allows you to customise the overall calling experience. The properties for the call/conference can be set using the CallSettingsBuilder
class. This will eventually give you and object of the CallSettings
class which you can pass to the startSession()
method to start the call.
The options available for recording of calls are:
Setting | Description |
---|---|
showRecordingButton(showRecordingButton: boolean) | If set to true it displays the Recording button in the button Layout.if set to false it hides the Recording button in the button Layout.Default value = false |
startRecordingOnCallStart(startRecordingOnCallStart: boolean) | If set to true call recording will start as soon as the call is started.if set to false call recording will not start as soon as the call is started.Default value = false |
For the use case where you wish to align your own custom buttons and not use the default layout provided by CometChat, you can embed the buttons in your layout and use the below methods to perform the corresponding operations:
Start Recording
You can use the startRecording()
method to start call recording.
- Javascript
- Typescript
CometChatCalls.startRecording();
Stop Recording
You can use the stopRecording()
method to stop call recording.
- Javascript
- Typescript
CometChatCalls.stopRecording();
Downloading Recording
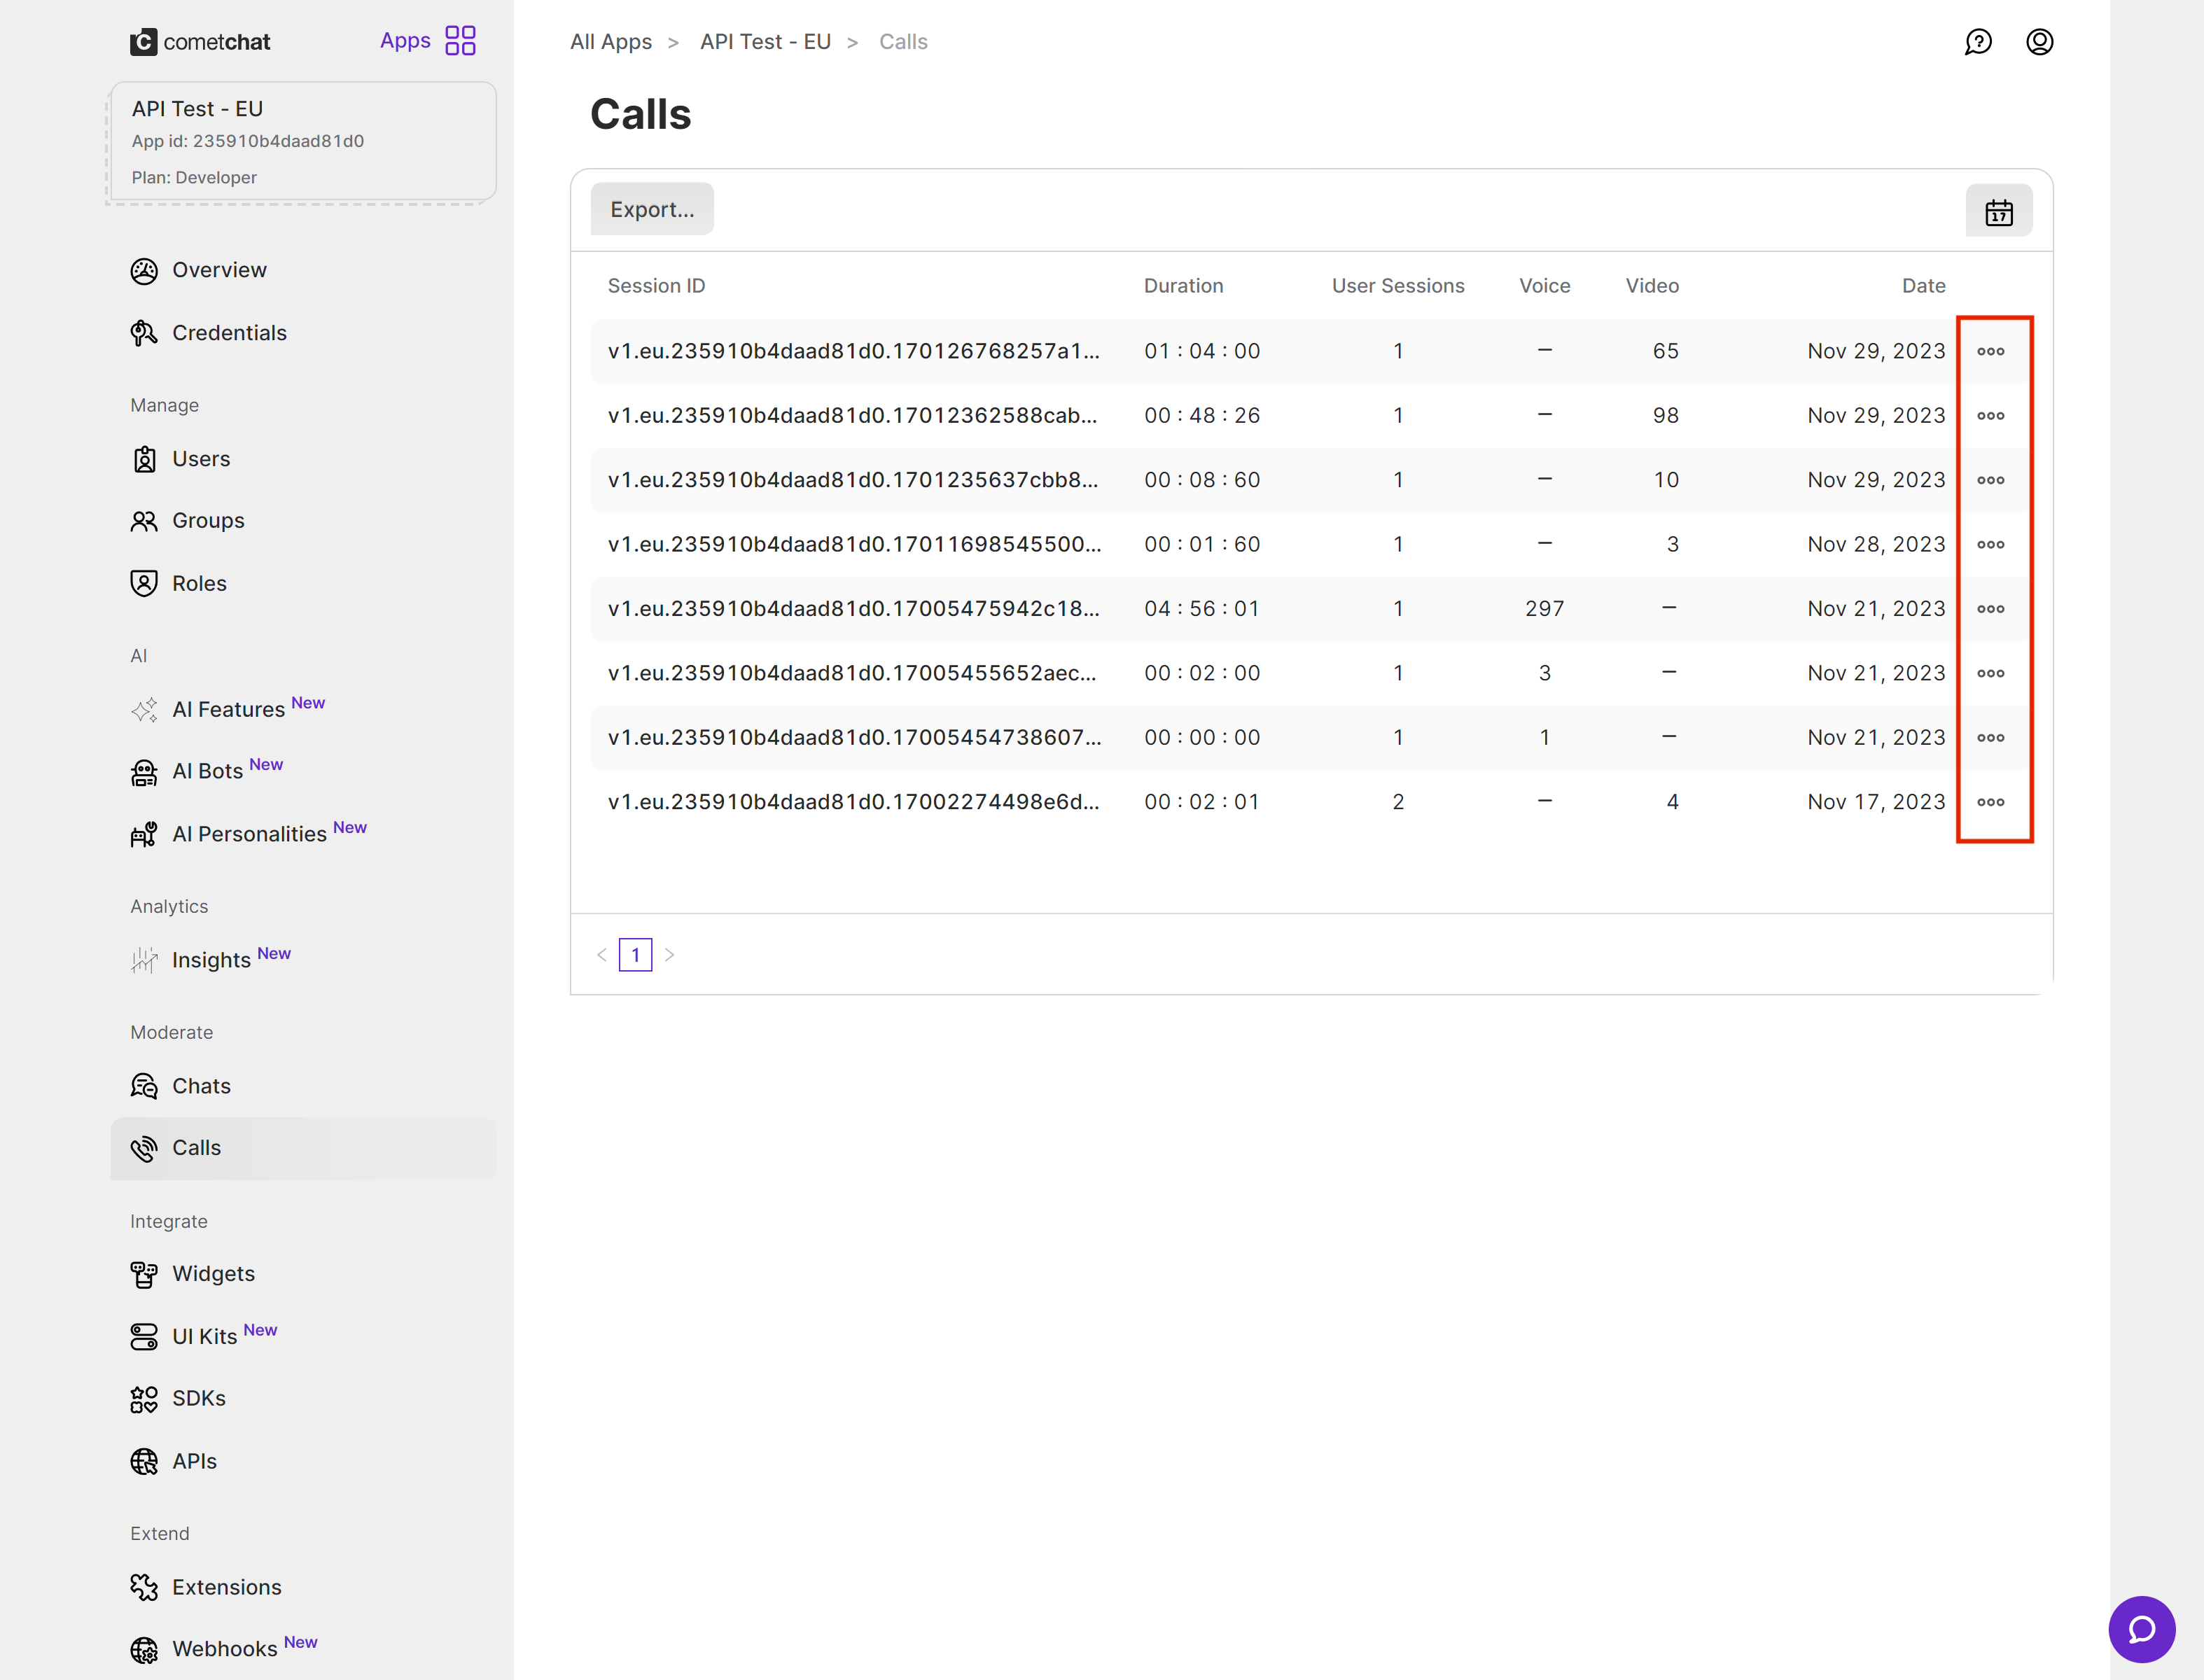
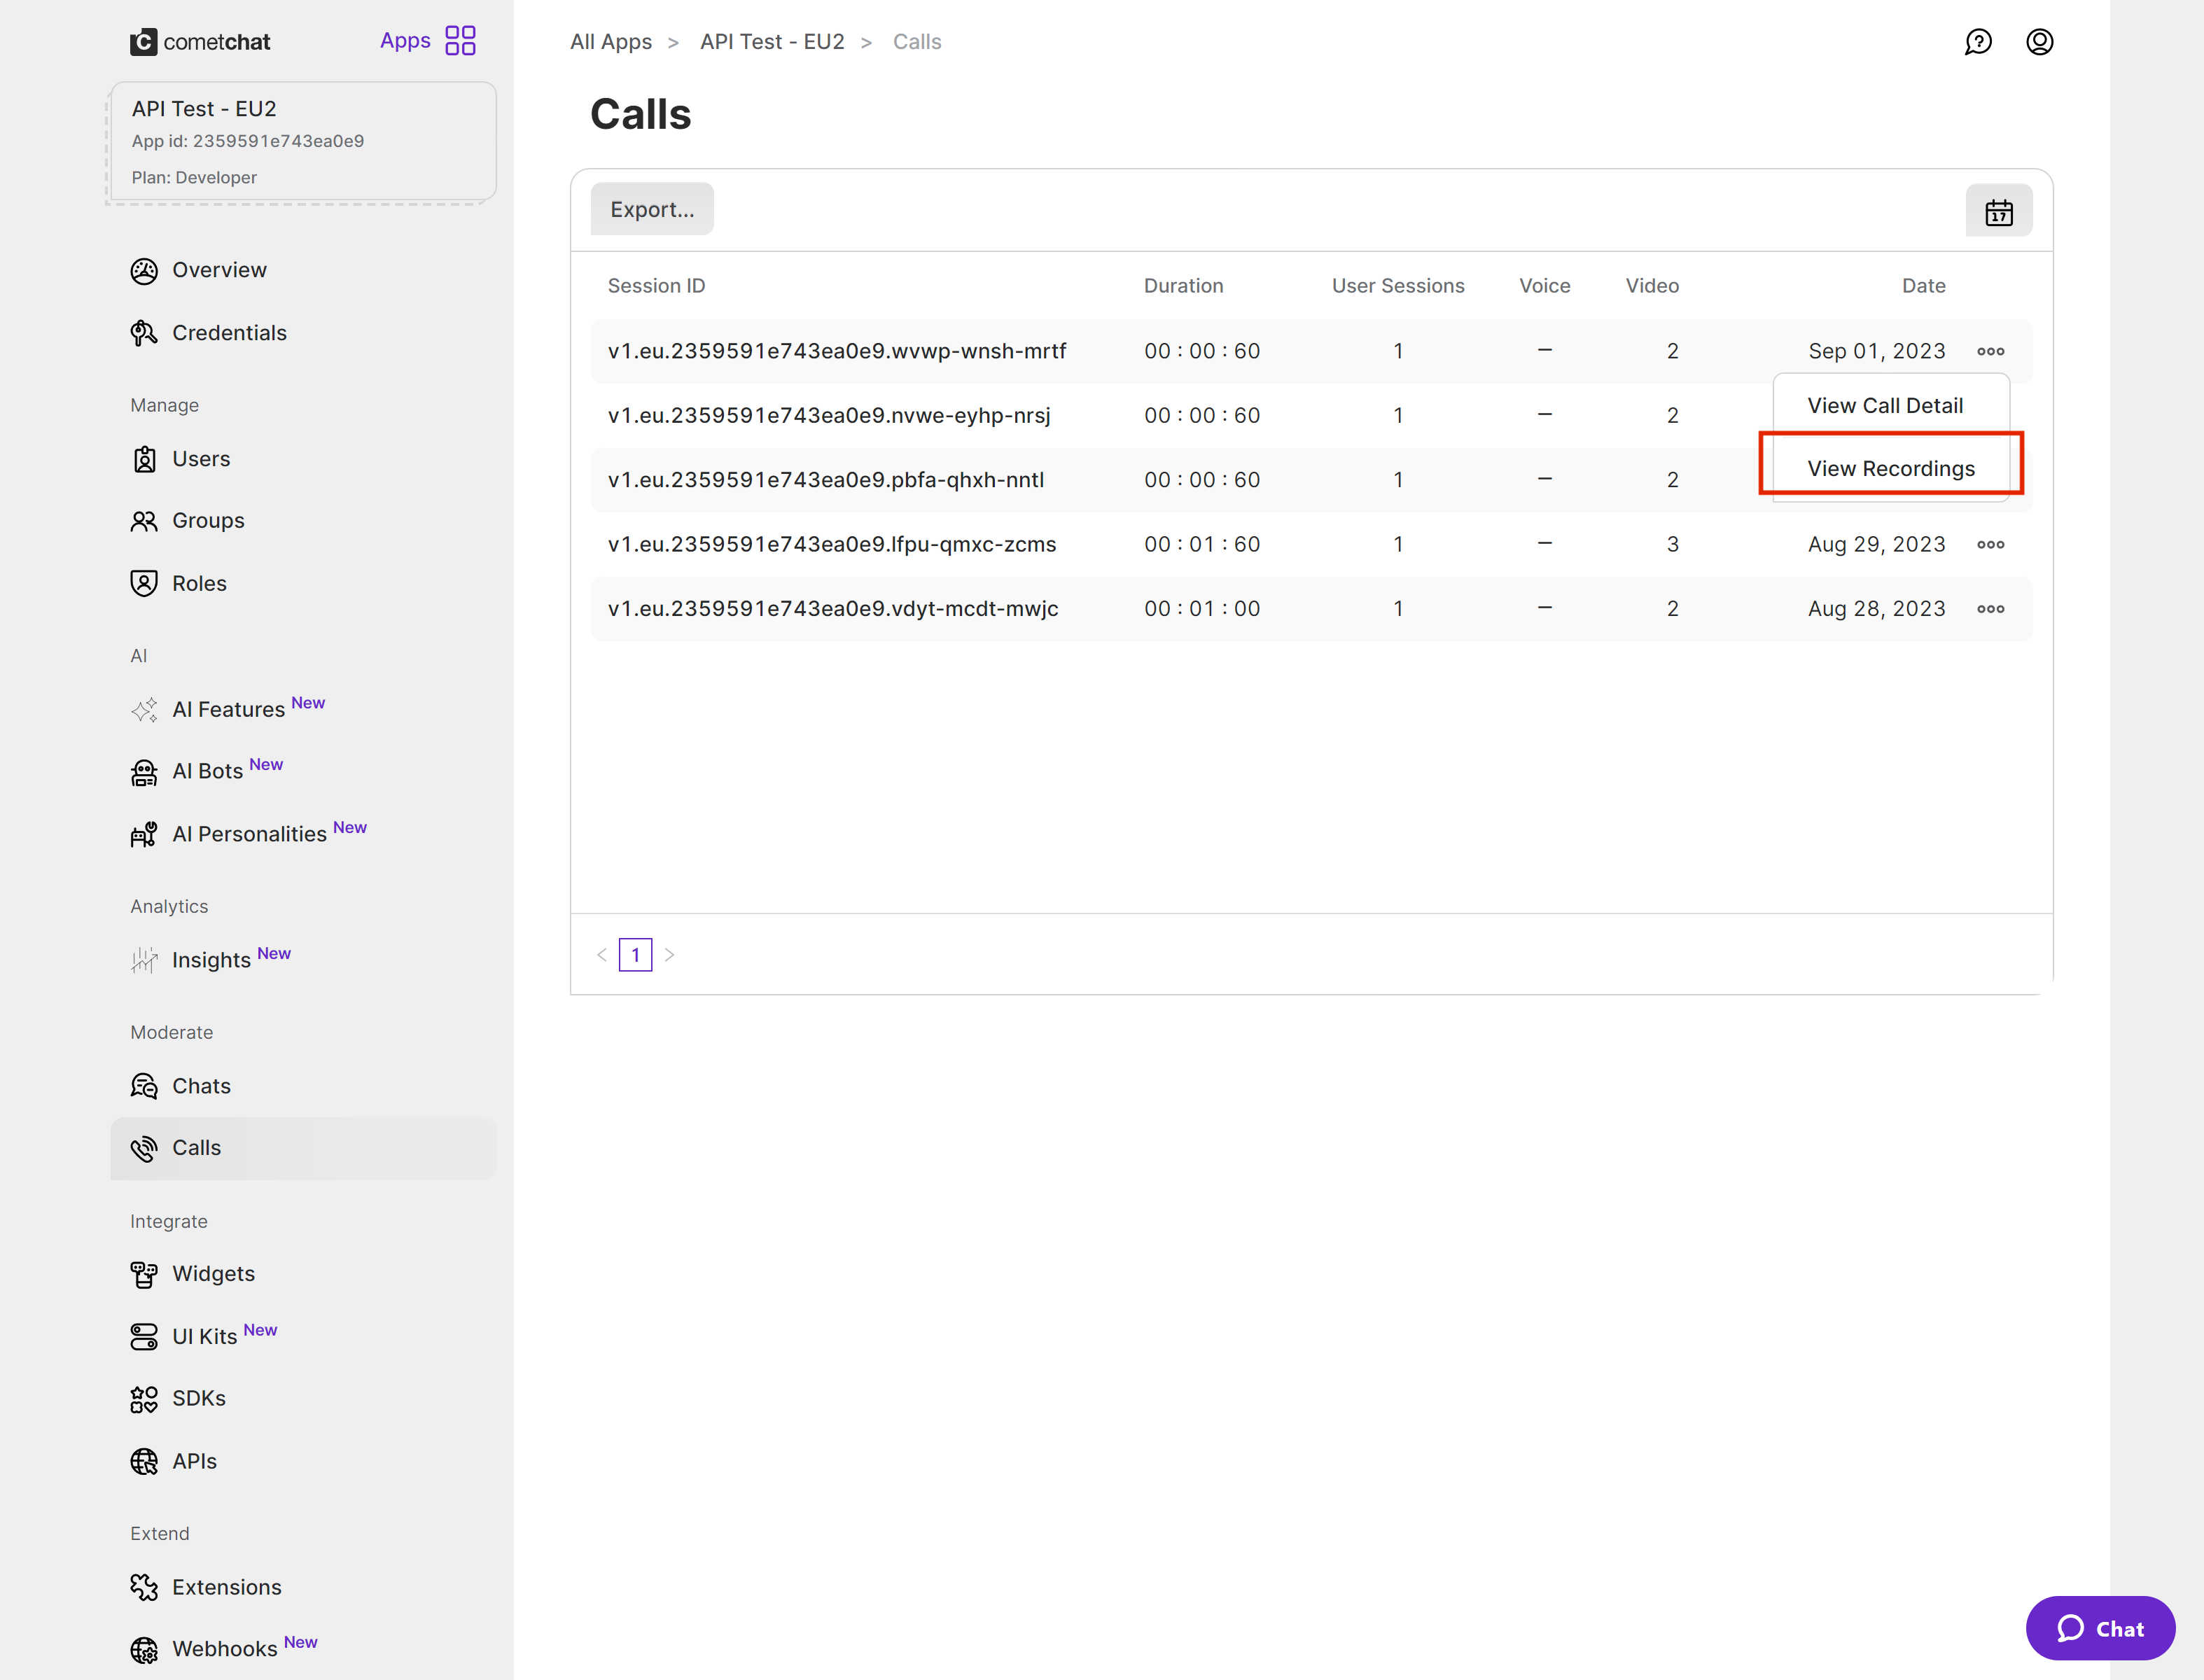
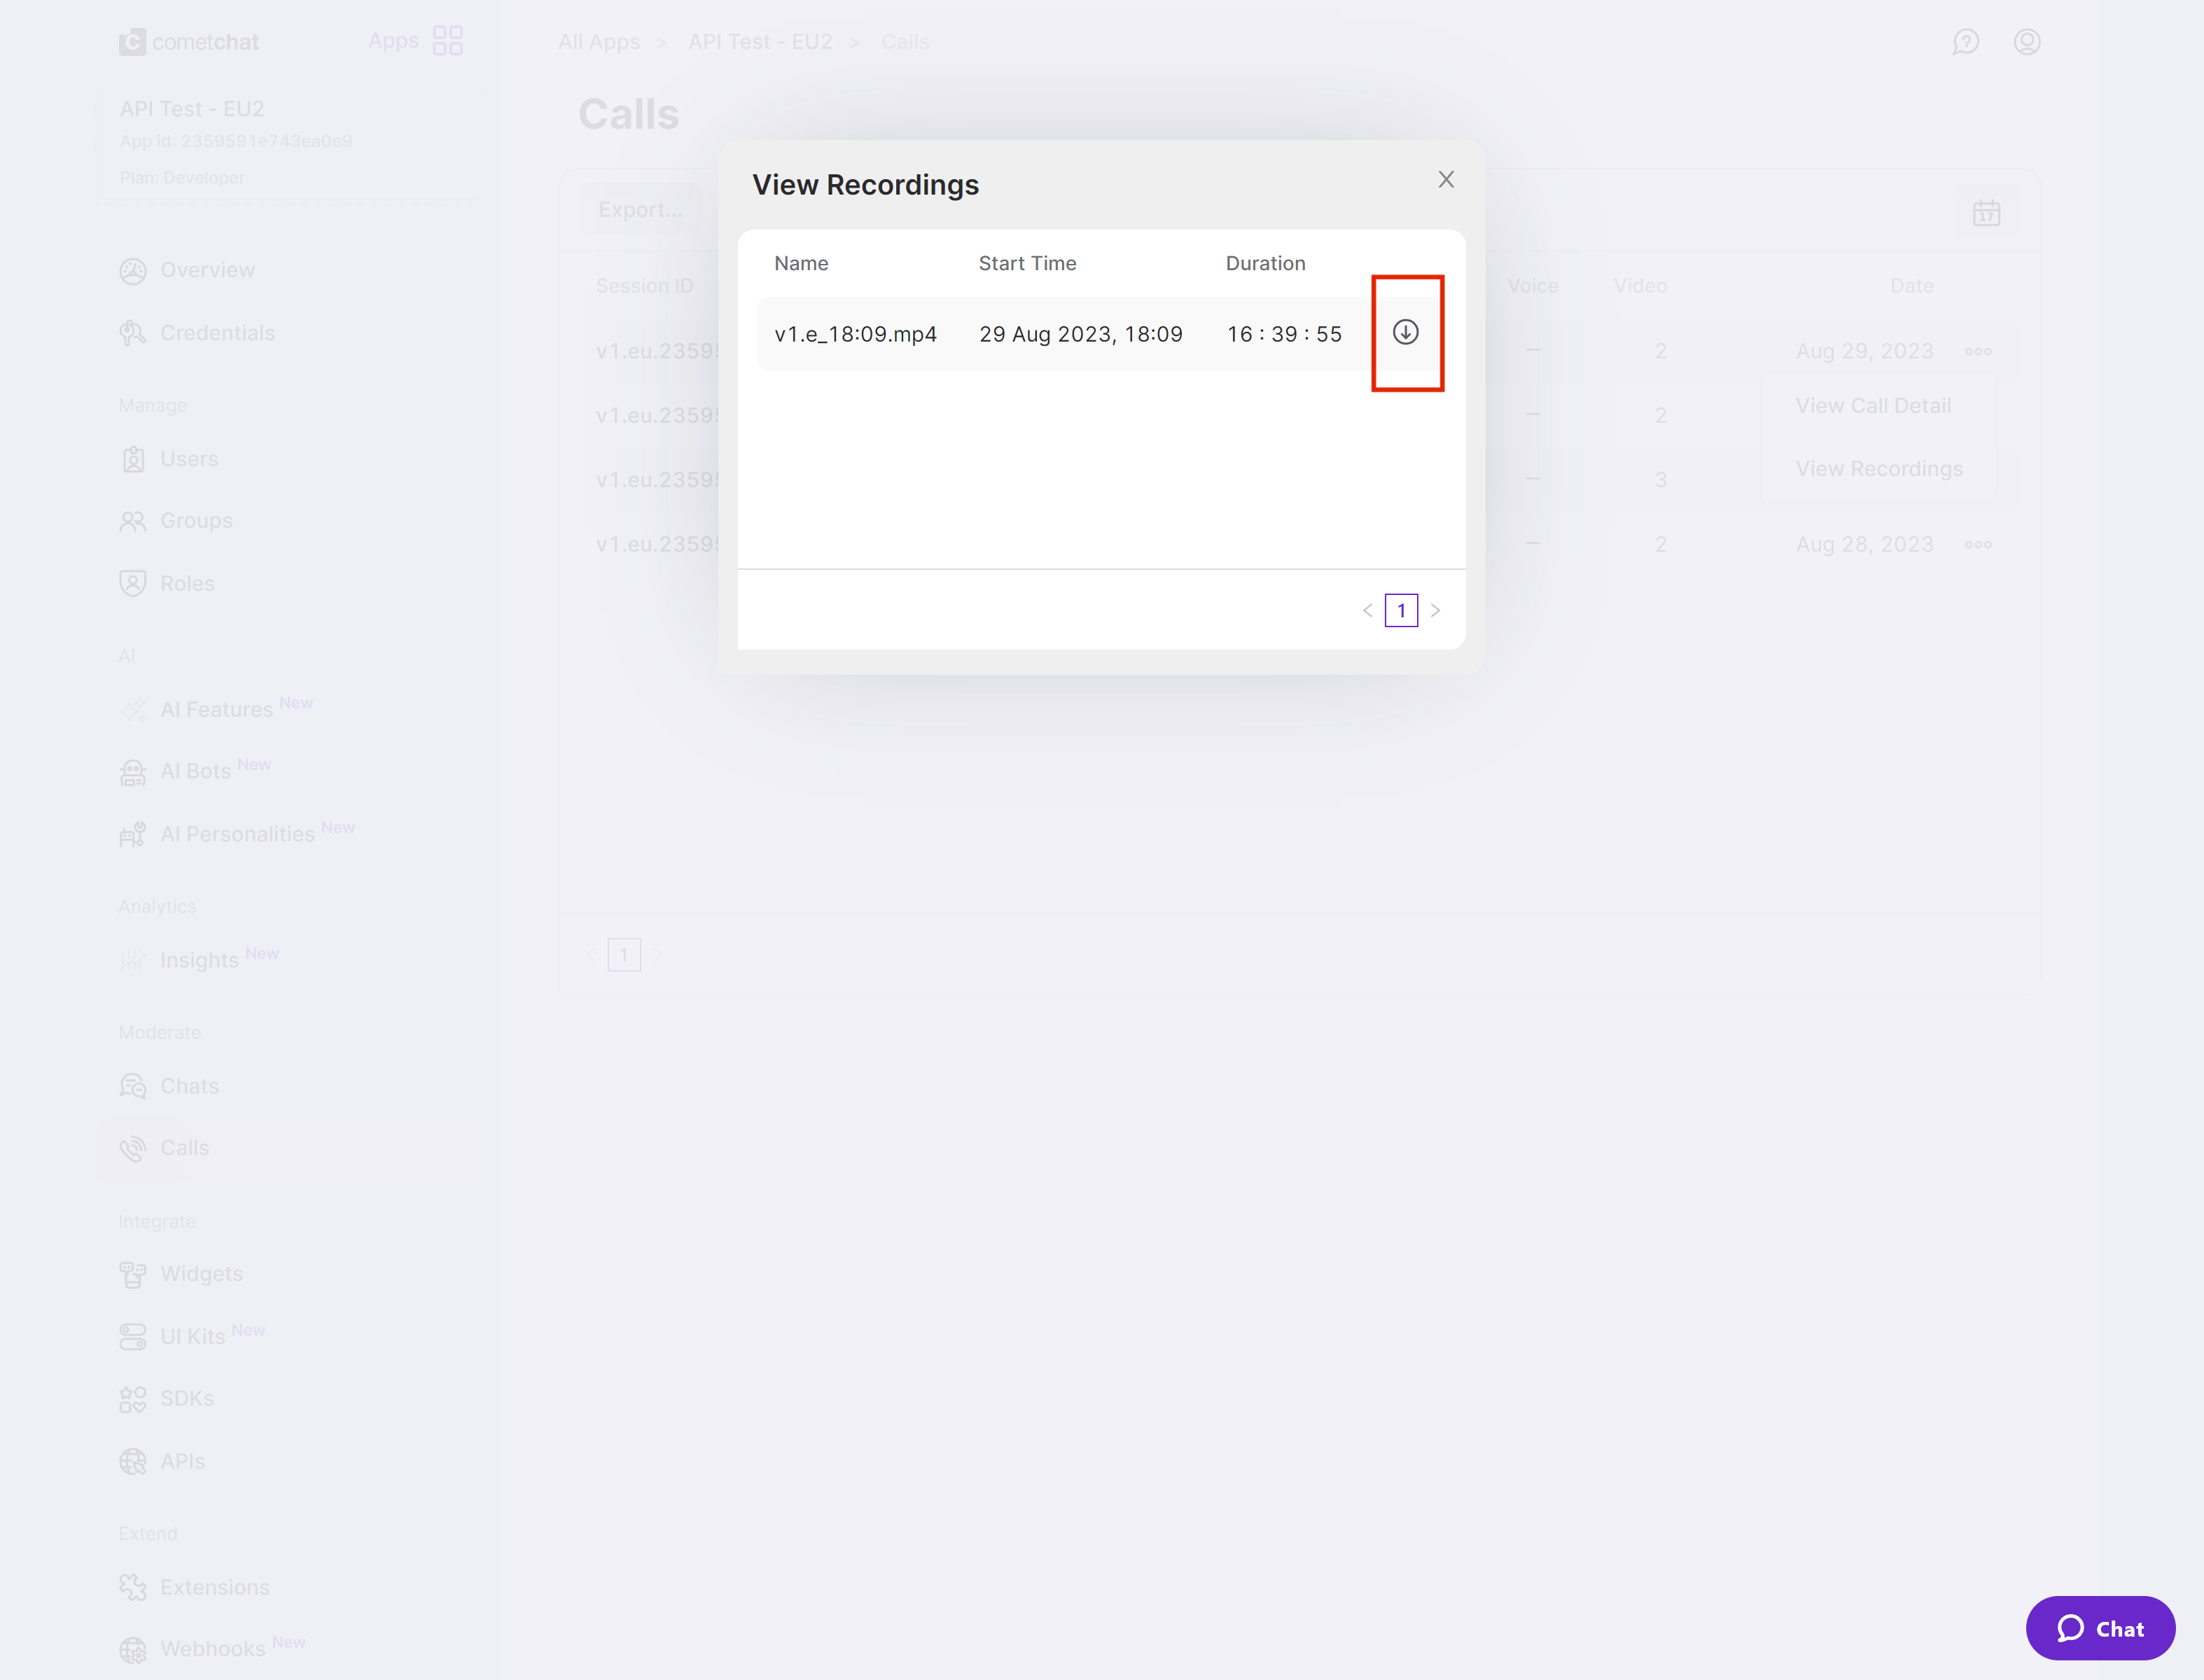
Currently, the call recordings are available on the CometChat Dashboard under the Calls Section. You can refer to the below screenshot.