Provider options
- SendGrid (recommended): Native integration with templates, unsubscribe groups, and replies.
- Custom provider: Bring your own email gateway/webhook. See Custom Provider for payload and endpoint details.
SendGrid setup
We have partnered with SendGrid for sending Email Notifications and hence you need to set up an account on SendGrid before you start using the extension.1. Get your SendGrid API key
- Log in to your SendGrid account.
- In the left navigation pane, go to Settings and select API Keys.
- If you don’t have an API Key yet, click on Create API Key.
- Give a name to your API Key and select Full Access to get started.
- Make a note of the API key for later use.
2. Create an email template
- Log in to your SendGrid account.
- In the left navigation pane, go to Email API and select Dynamic Templates.
- Click on “Create a Dynamic Template” and give a name to your template.
- In the Template listing, expand your template and click on “Add Version”.
- Under the “Your Email Designs” tab, select Blank Template.
- As we have the following HTML template ready for you, select the “Code Editor” option.
- Paste the code for the email template. You should be able to see the Preview in the Right pane.
- Click on Settings on the Left to expand the Settings drawer.
- Enter the Version name and the value for Subject as
{{subject}}and hit “Save”. - You have now successfully created a Template with a version.
- From the Dynamic Templates listing page, expand your Template and make a note of the Template ID for later use.
- The payload sent by the extension to SendGrid is as follows:
- For one-on-one conversation
- For group conversation
- (Optional) Use our starter template below. Replace
https://www.YOURSITE.comwith your site URL.
3. Add an unsubscribe group
An unsubscribe group will allow your users to unsubscribe to only chat email notifications and will allow you to continue to send other emails to that user via SendGrid.- In the left pane, go to Suppressions and select Unsubscribe Groups.
- Click on “Create New Group” and give it a name and proper description.
- Save your new group and make a note of the Unsubscribe Group ID for later use.
4. Store contact details
Store each user’s contact email/phone with the Update Contact details API. Use the user’s UID inonBehalfOf and call the region-specific base URL (api-us, api-eu, api-in).
Example request:
5. Enable Email notifications
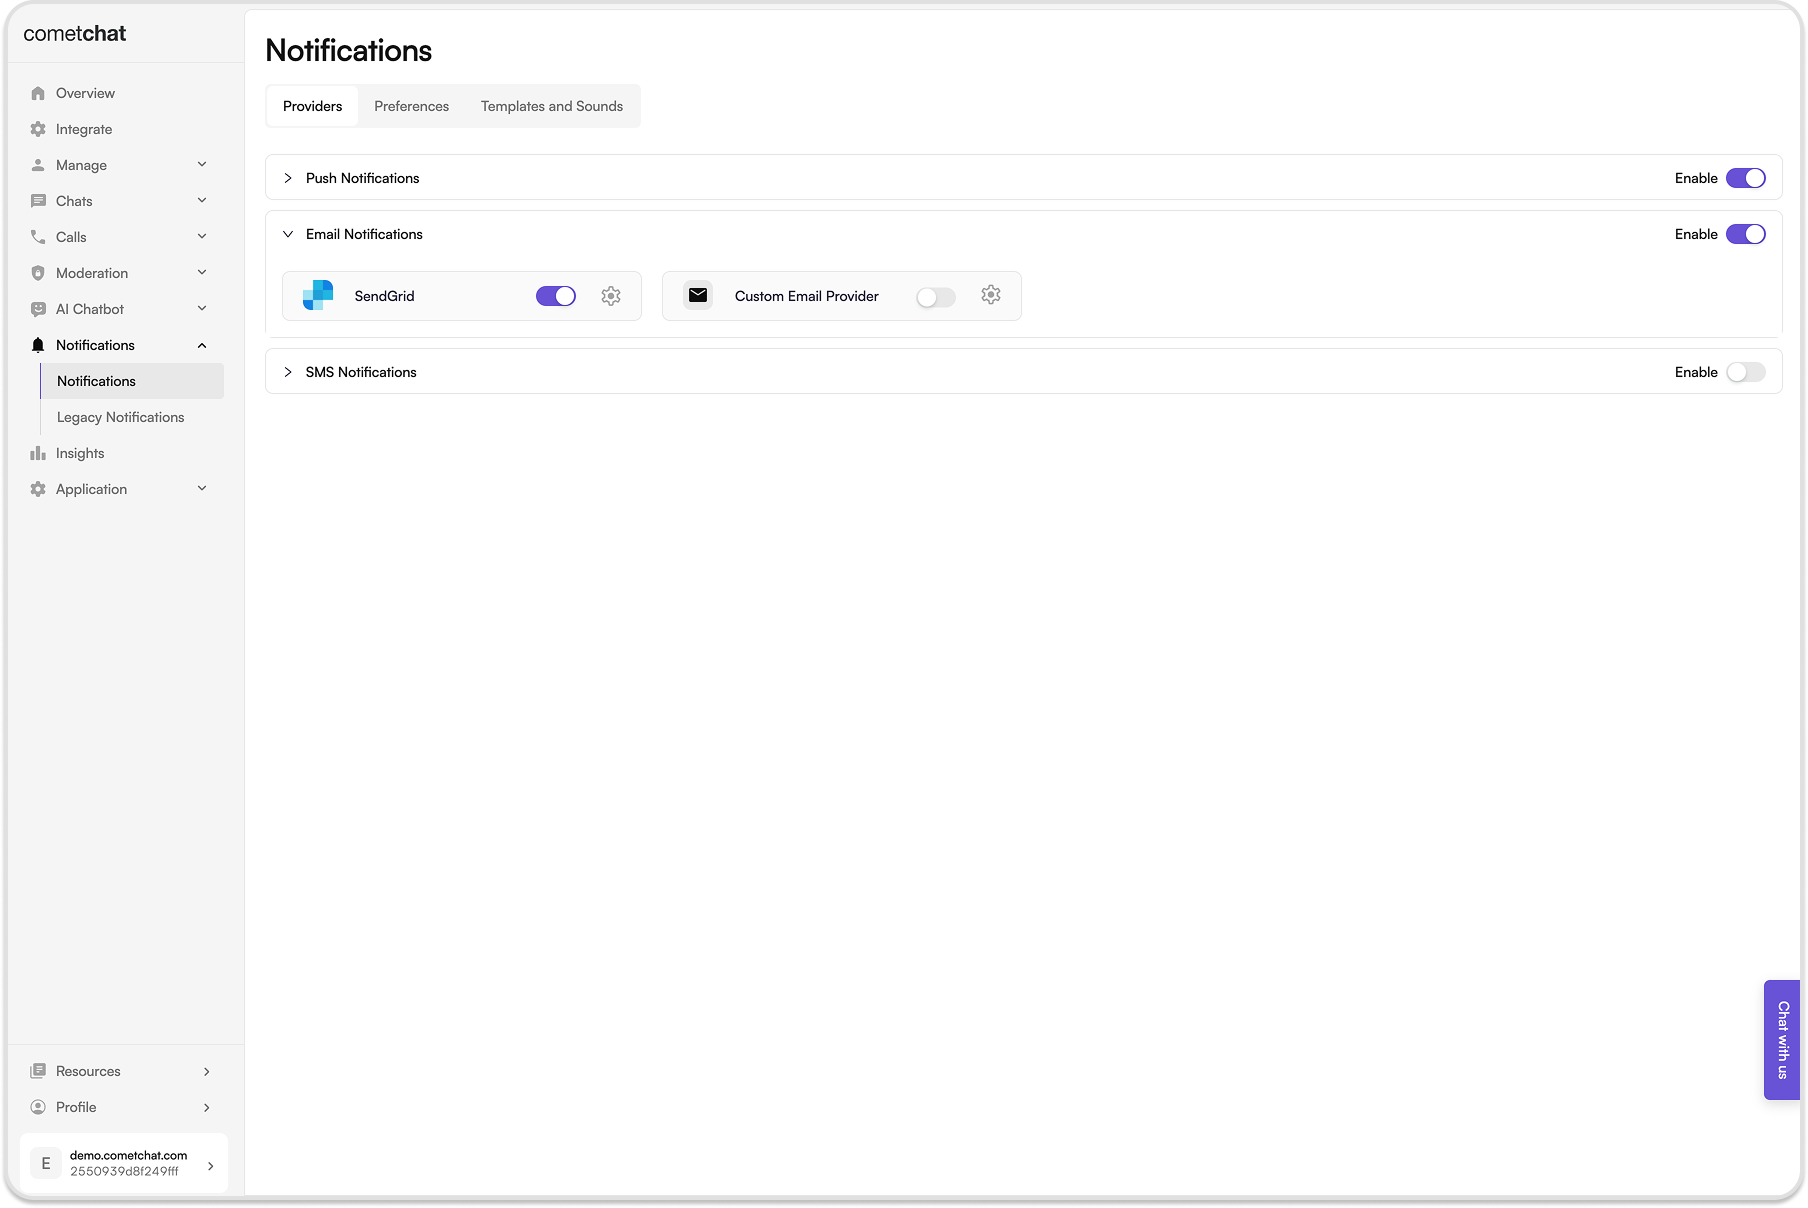
- Login to CometChat dashboard and select your app.
- Navigate to Notifications > Settings in the left-hand menu.
- Enable Email notifications feature.
6. Save the SendGrid credentials
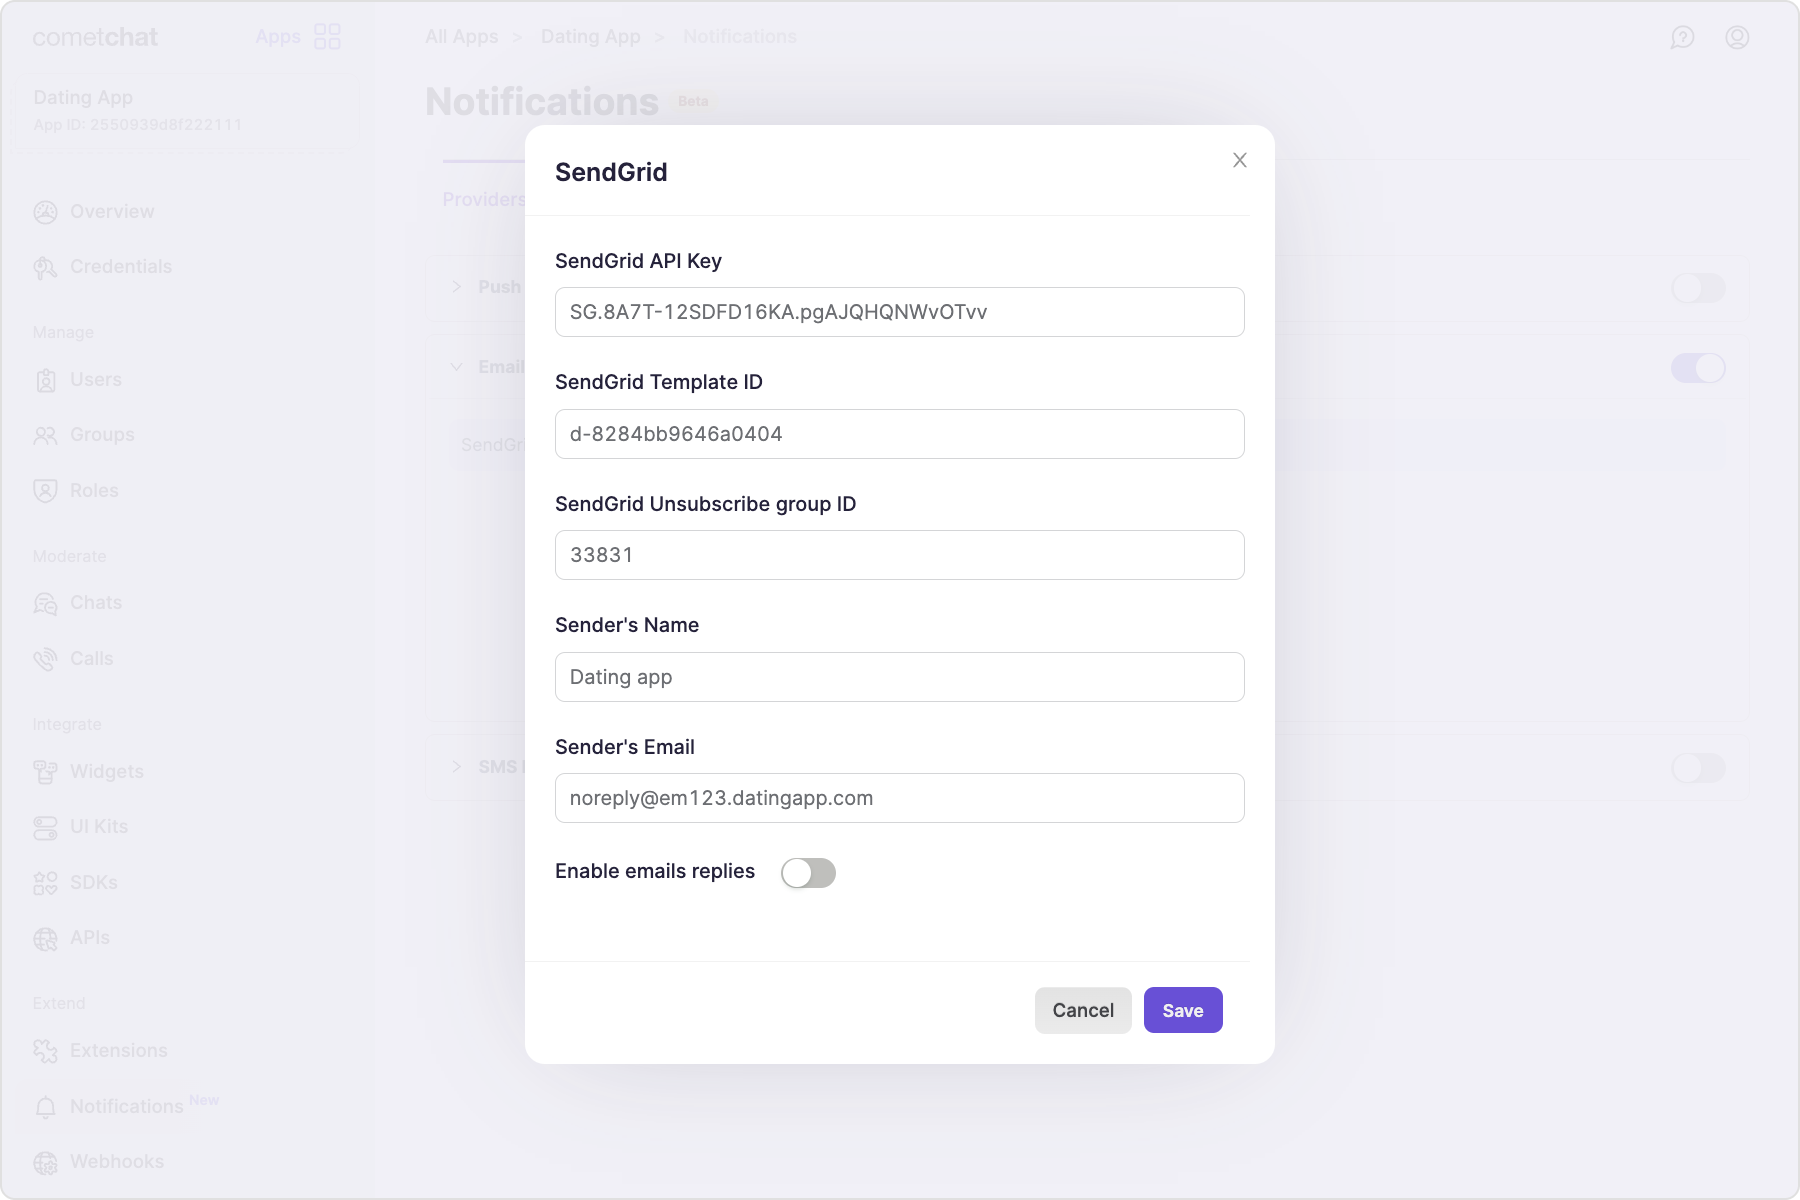
- SendGrid API key
- SendGrid Template ID
- SendGrid Unsubscribe Group ID
- Sender’s name
- Sender’s email
The domain used in Sender’s Email needs to be Authenticated. Refer to SendGrid’s documentation on Domain Authentication for more details. Use the complete authenticated domain in the sender’s email address. For eg, if your domain is example.com and the authenticated domain is em1235.example.com, then the sender’s email address should be sender@em1235.example.com and not sender@example.com
7. Save user timezones
A user’s timezone is required to allow them to set a schedule for receiving notifications. In case the timezone is not registered, the default timezone for- For US region: EST
- For EU region: GMT
- For IN region: Asia/Kolkata
updateTimezone() method of CometChatNotifications class.
This functionality is available in the following SDK versions:
- Android SDK version 4.0.9 and above
- iOS SDK version 4.0.51 and above
- Web SDK version 4.0.8 and above
- React Native SDK version 4.0.10 and above
- Ionic Cordova SDK version 4.0.8 and above (Deprecated - use JavaScript SDK)
- Flutter SDK version 4.0.15 and above
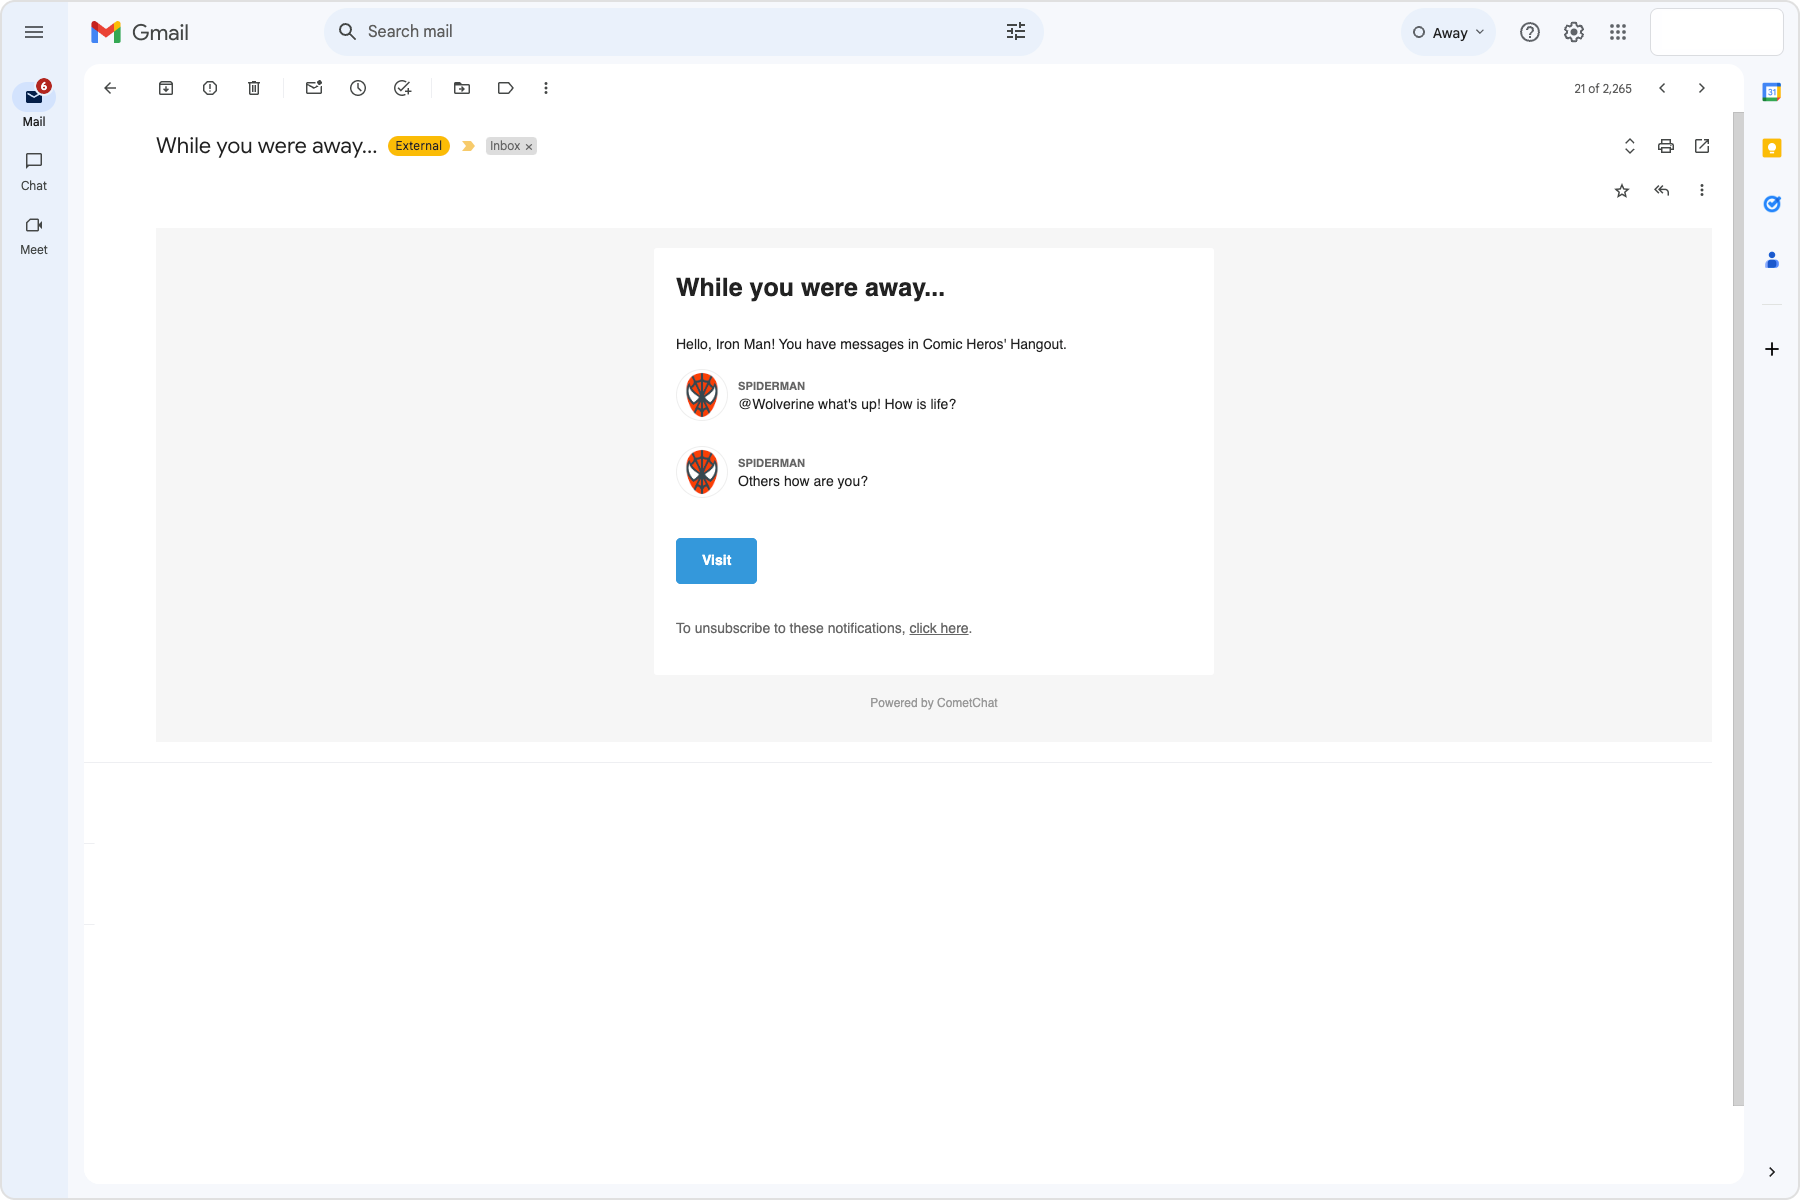
8. Receive notifications
9. Configure email replies (optional)
In the SendGrid provider settings, enable the email replies. Optionally, you can set a different sender’s email address. Only ensure that the it doesn’t contain any ”+” symbol in it. Copy the Replies webhook URL as that will be required for Inbound parse configuration on SendGrid’s end. Follow the SendGrid’s Inbound parse webhook steps. Before saving the Inbound Host and URL:- Uncheck Spam Check checkbox.
- Uncheck Send Raw checkbox.
Quick checklist
- Provider: SendGrid API key, Template ID, Unsubscribe Group ID saved in dashboard.
- Sender: Authenticated domain; sender name/email set.
- Users: Contact email stored via Update Contact details API; timezones synced via
updateTimezone. - Templates: Email templates configured (subject/body) and wait windows set in preferences.
Preferences
Control when and how users receive email notifications.
Templates
Customize email notification content.
Custom Providers
Integrate email providers other than SendGrid.