- Using FCM to implement push notifications for messaging on Android and iOS.
- Using APN to implement push notifications for messaging on iOS.
Flutter Push notifications supportPush Notifications are supported in Flutter for CometChat SDK v3.0.9 and above.
FCM: Push notifications for messaging on Android and iOS
For Push notifications from FCM to work on both Android and iOS, the push payload has to be of typeNotification message.
A Notification message is a push payload that has the notification key in it. These push notifications are handled directly by the OS and as a developer, you cannot customize these notifications.
This simple setup can be used for apps that only implement messaging feature of CometChat.
Learn more about FCM messages.
I want to checkout the sample app
Flutter Push notifications sample appImplementation using FCM for Android and iOS.View on Github
Step 1: Install packages
Add the following to your pubspec.yaml file under dependencies.- pubspec.yaml
- Command
Step 2: Configure with flutterfire_cli
Use the following command to installflutterfire_cli
- Command
- Command
android and ios.
The CLI tool will add the following files to your directory structure:
google-services.jsonto the android folder.GoogleService-Info.plistto the ios folder.firebase_options.dartto thelibfolder.
- Groovy

Step 3: FCM setup in app
This requires you to first set up a global context. It will help you in opening your app once your notification is tapped. Using this global context, you can write a function to navigate to the screen of choice once the notification is tapped.- Dart
- Write a top-level function that is outside of any call. This function will handle the notifications when the app is not in the foreground.
- Initialize firebase with the FirebaseOptions from the previous step.
- Get an instance of firebase messaging
- Request permissions
-
Set up listeners once the permission is granted:
- Background notification listener
- Refreshed token listener that records the FCM token with the extension.
- Notification tap listeners for background and terminated states of the app.
- Make a call to save the FCM token with the extension.
Step 4: Setup for iOS
- Open the project in XCode (
ios/Runner.xcworkspace) - Add Push notifications capability.
- Add Background execution capability with Background fetch & Remote notification enabled.
- Inside the
iosfolder, executepod install.
Step 5: Run your application
Running the app in profile mode for iOS enables you to see the working once the app is terminated.- Command on Android
- Command on iOS
Step 6: Extension setup (FCM)
- Login to CometChat dashboard.
- Go to the extensions section.
- Enable the Push notifications extension.
- Click on the settings icon to open the settings.
- Upload the service account file that is available on the Firebase Console.
- Make sure that you are including the
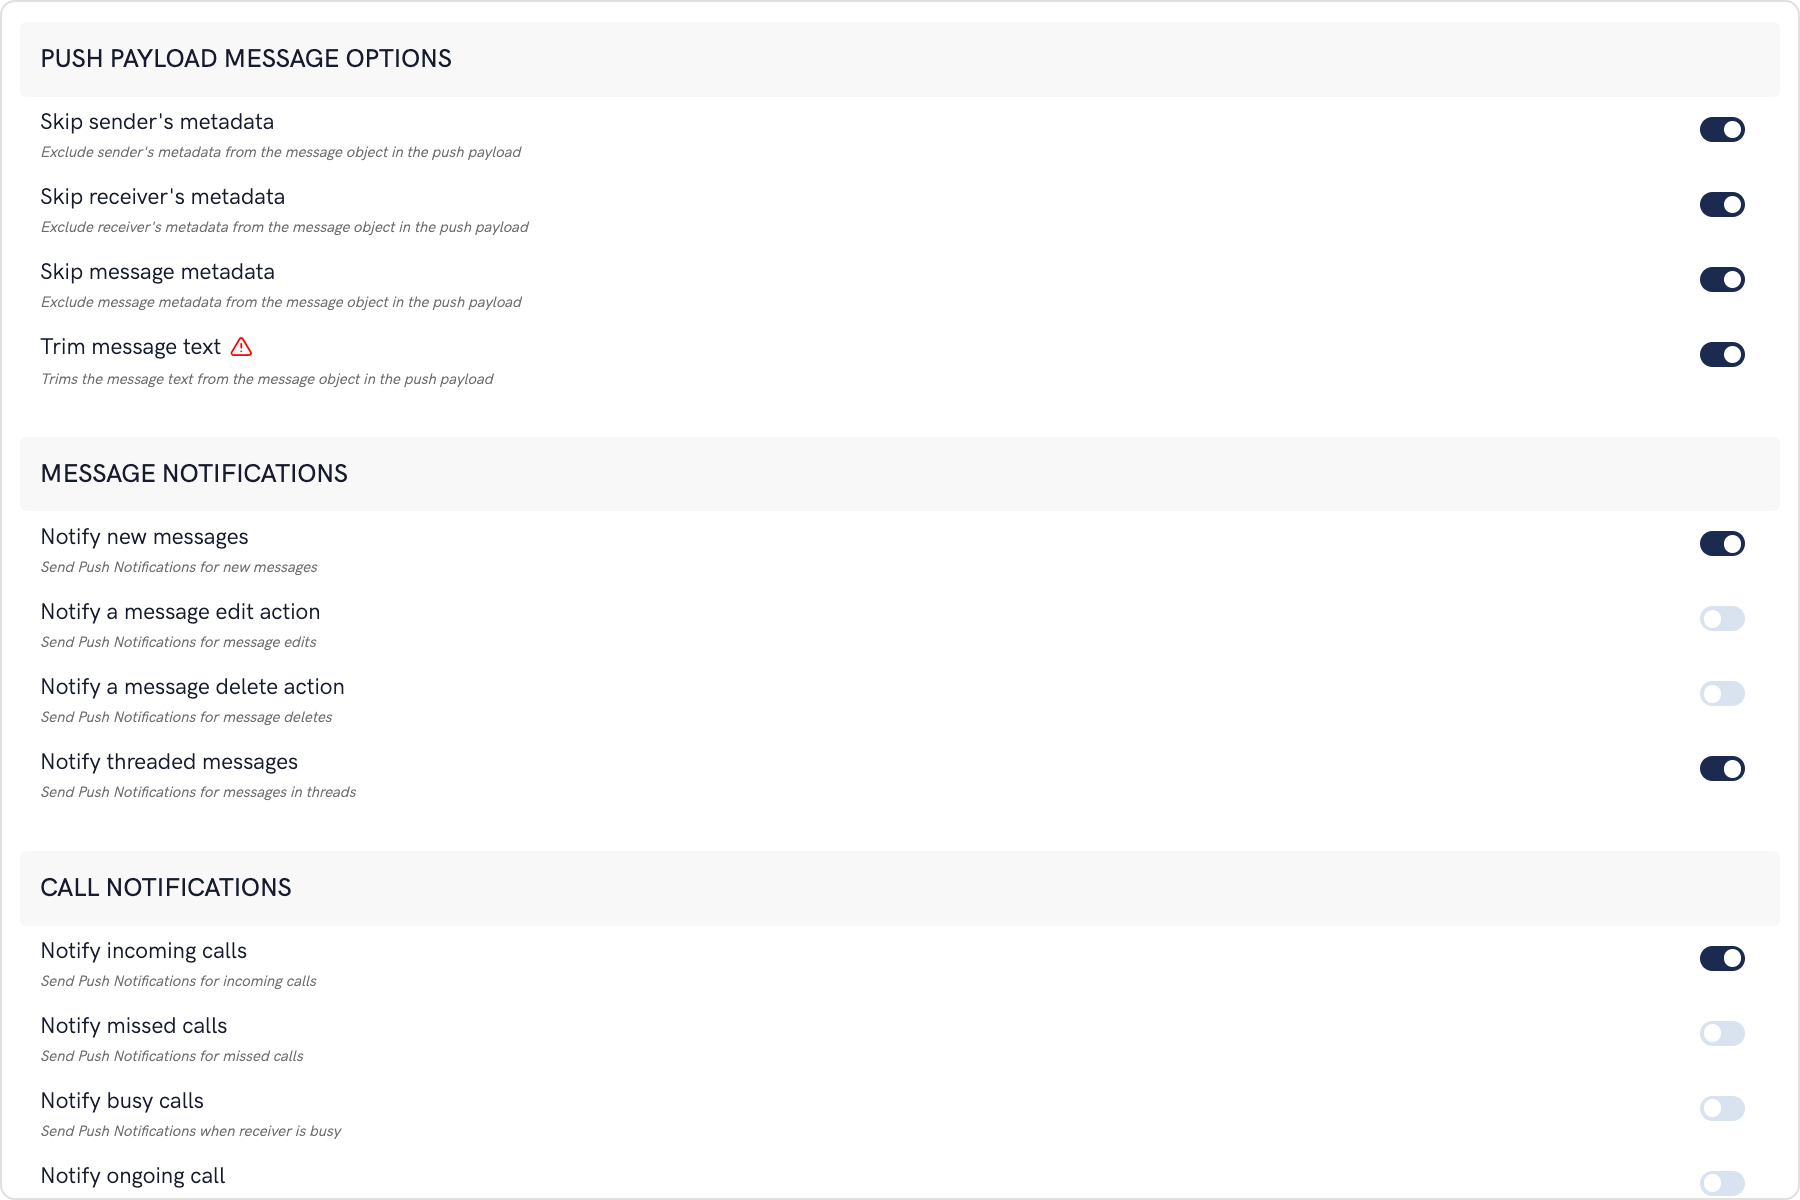
notificationkey in the payload. Otherwise, this won’t work. - Push payload message options

APN: Push notifications for messaging on iOS
Apple Push Notifications service or APNs is only available for Apple devices. This will not work on Android devices. This setup ensures that the Push notifications for CometChat messages is sent using APNsdevice token.
I want to checkout the sample app
Flutter Push notifications sample appImplementation using APNs for iOS.View on Github
Step 1: Install dependencies
Add the following to your pubspec.yaml file under dependencies.- pubspec.yaml
Step 2: Add capabilities
- Open the project in XCode (
ios/Runner.xcworkspace) - Add Push notifications capability.
- Add Background modes capability with:
- Remote notifications
Step 3: Update AppDelegate.swift
Add the below to your AppDeletegate.swift file.- Swift
Step 4: APN setup in app
Setup a global context to be able to open your app to a specific screen if the notification is tapped. Using the global context, write a function to navigate to the screen of your choice:- Dart
Step 5: Run on a device
Run your app on a real device as Push notifications don’t work on emulators. Use the profile mode to see the behavior when the app is in the background or terminated states.- Command on iOS
Step 6: Extension setup (APN)
- Login to CometChat dashboard.
- Go to the extensions section.
- Enable the Push notifications extension.
- Click on the settings icon to open the settings.
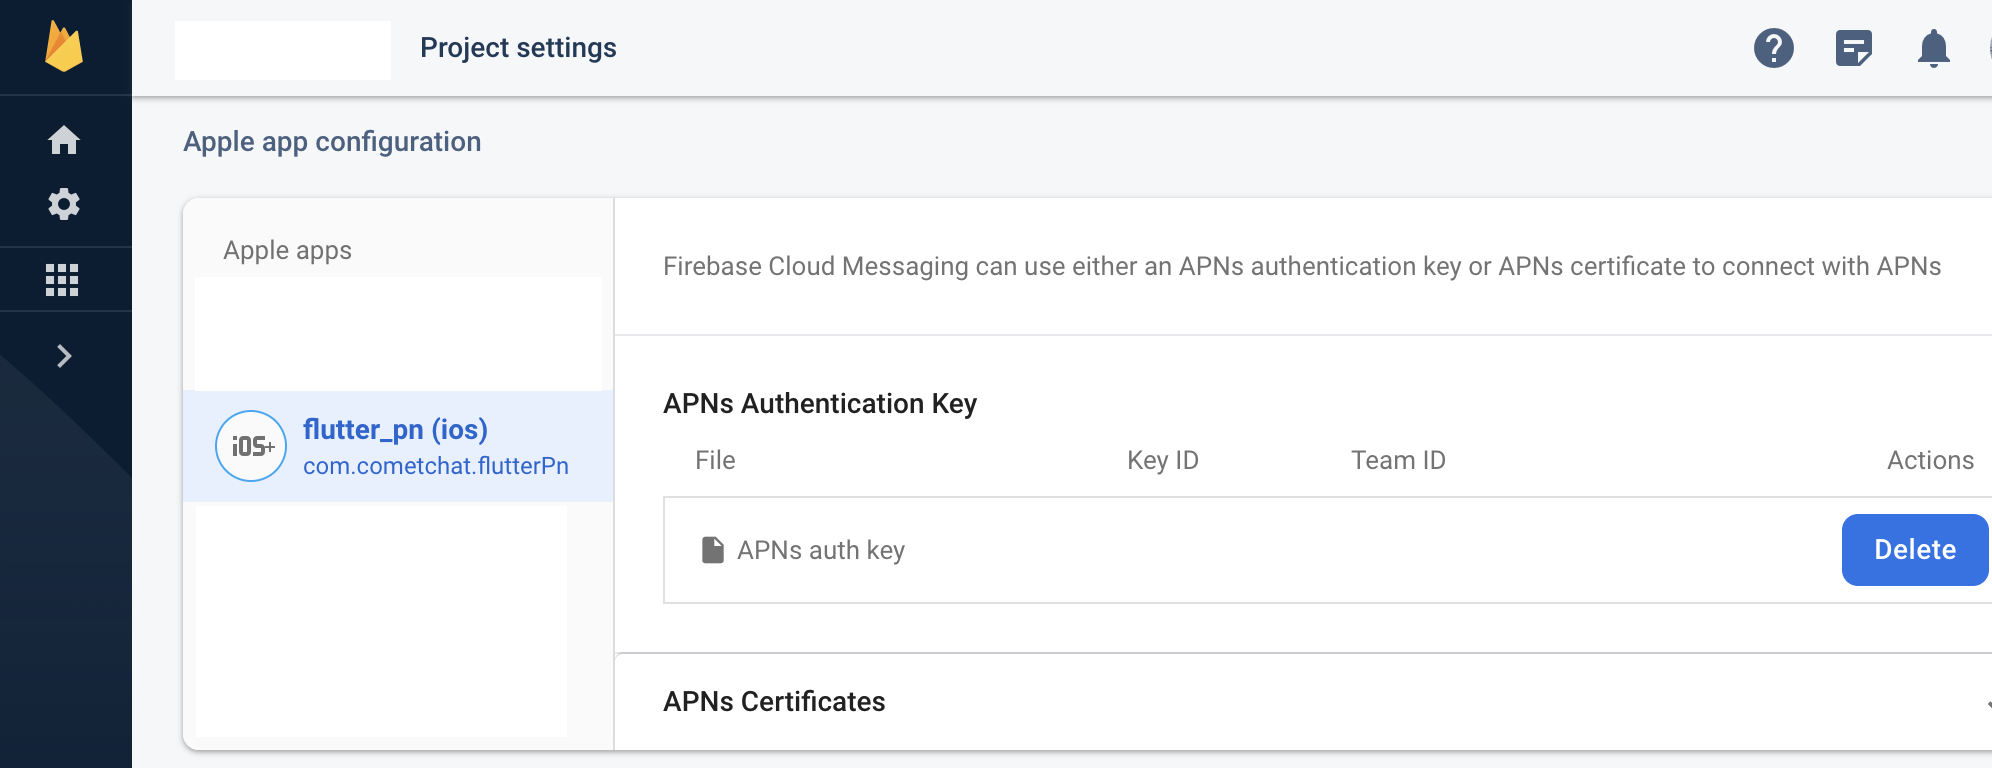
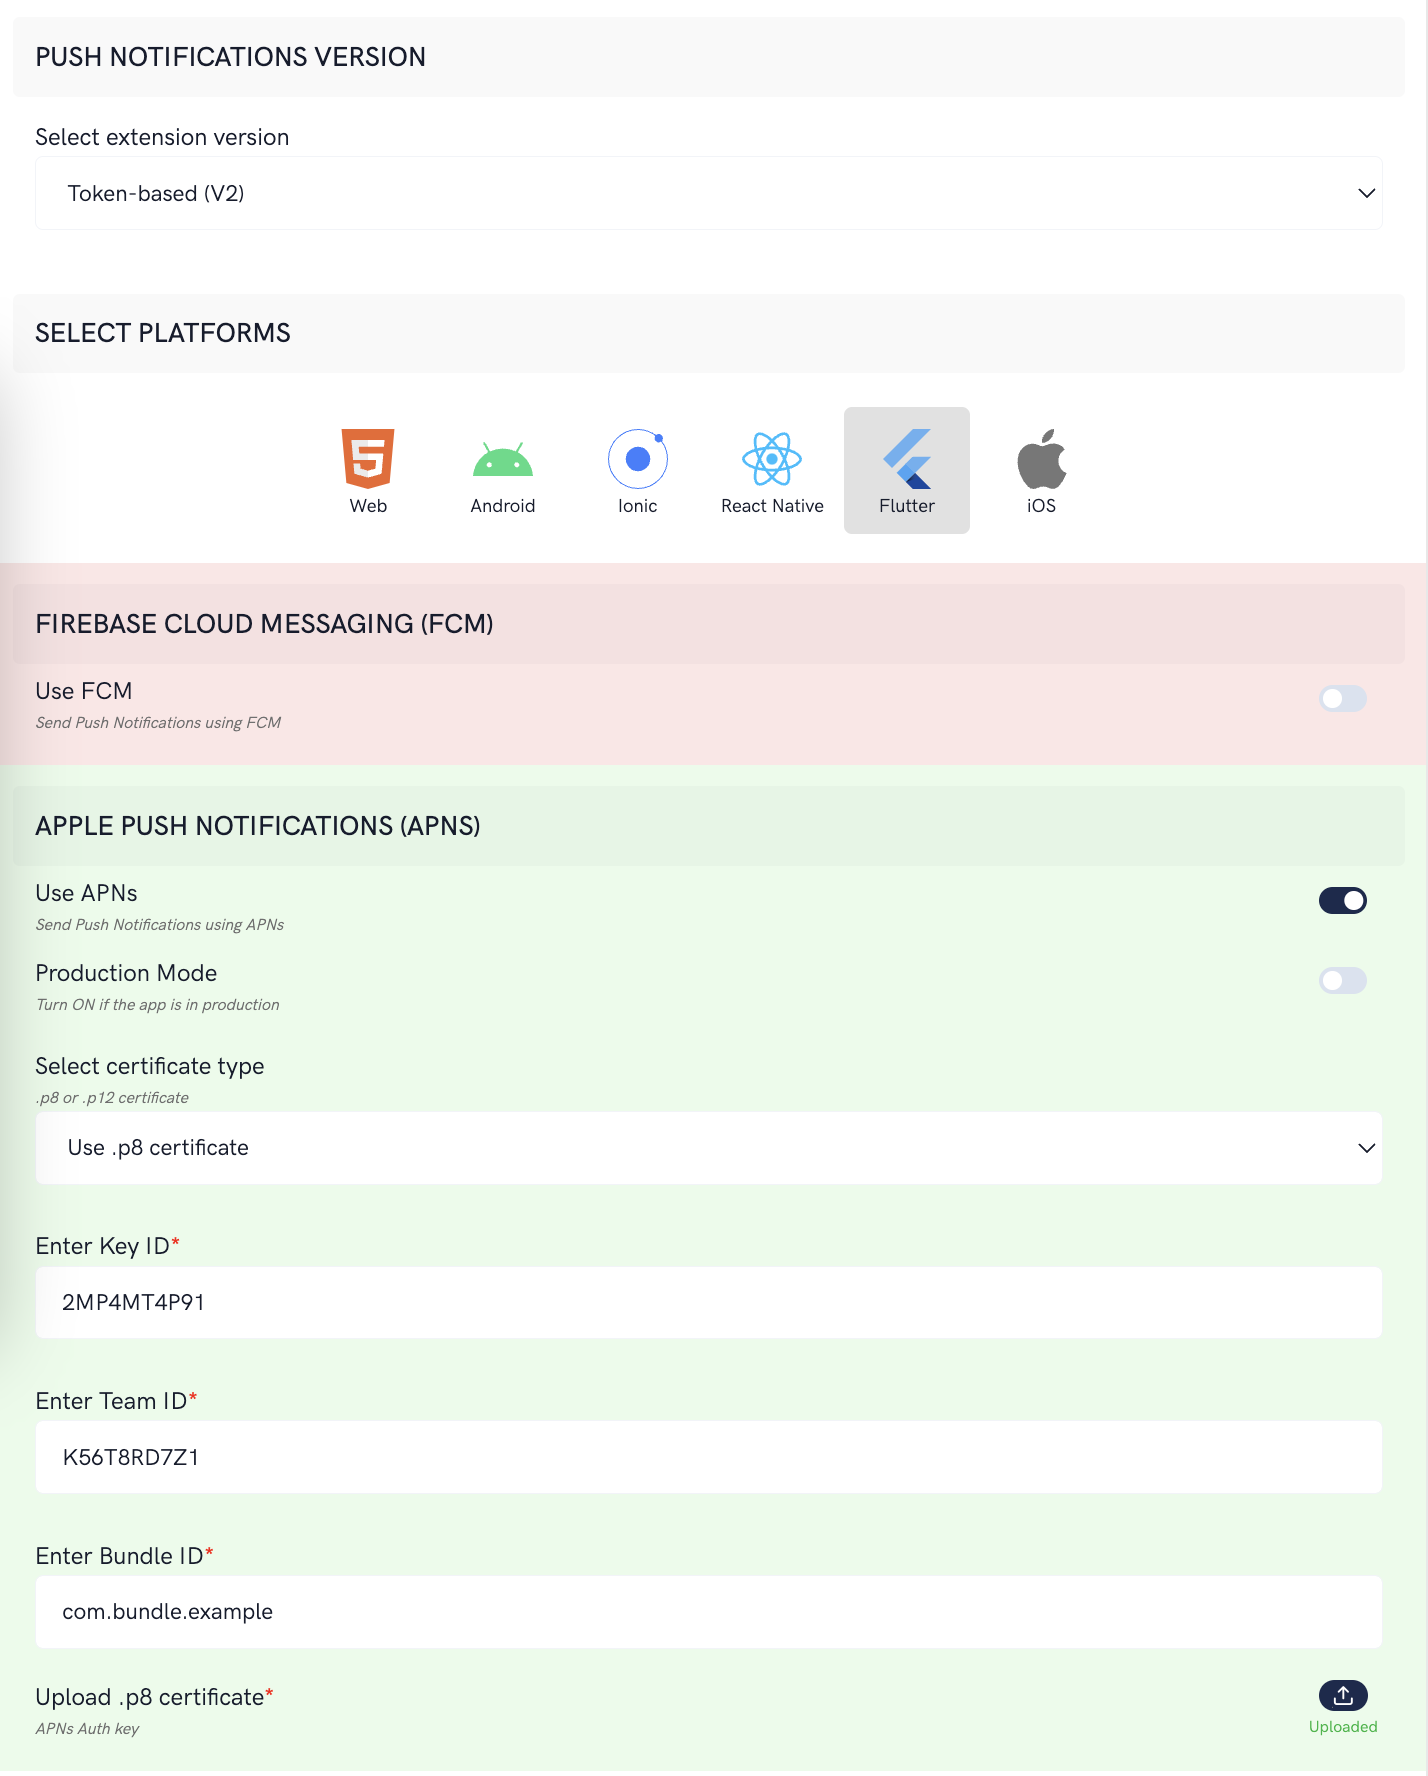
- Save the Team ID, Key ID, Bundle ID and upload the p8 certificate obtained from Apple Developer console.
- Push payload message options
- The message metadata includes the outputs of the Thumbnail Generation, Image Moderation, and Smart Replies extensions. You may want to retain this metadata if you need to customize the notification displayed to the end user based on these outputs.
- Save the settings.
