Chatwoot
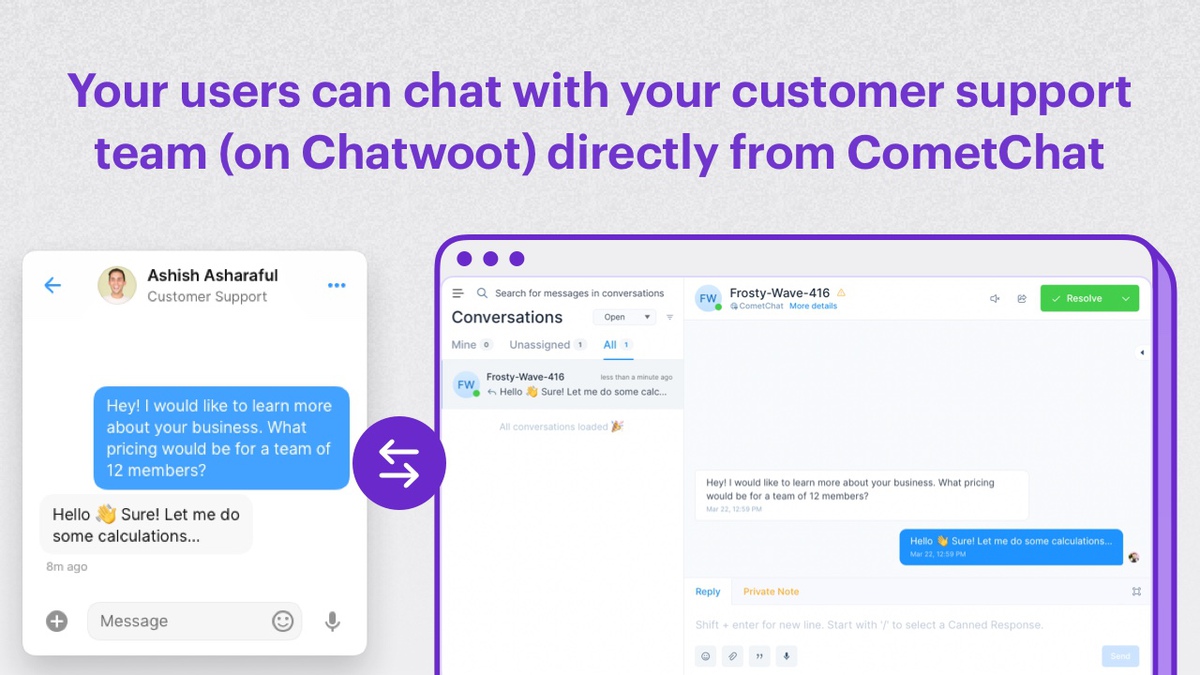
The Chatwoot extension makes customer support seamless for your users. Instead of having two interfaces- one for chat between users and one for chat with your support team, you can use CometChat as a front-end for your customer support use case as well!
Before you begin
-
You may have an existing account created with Chatwoot. If not, sign up with Chatwoot.
-
Do the following mandatory setup on Chatwoot:
- To add Agent(s): Click here
- To create a Channel and Inbox: Click here
- Only mention the name of the channel for now. The webhook URL can be skipped.
-
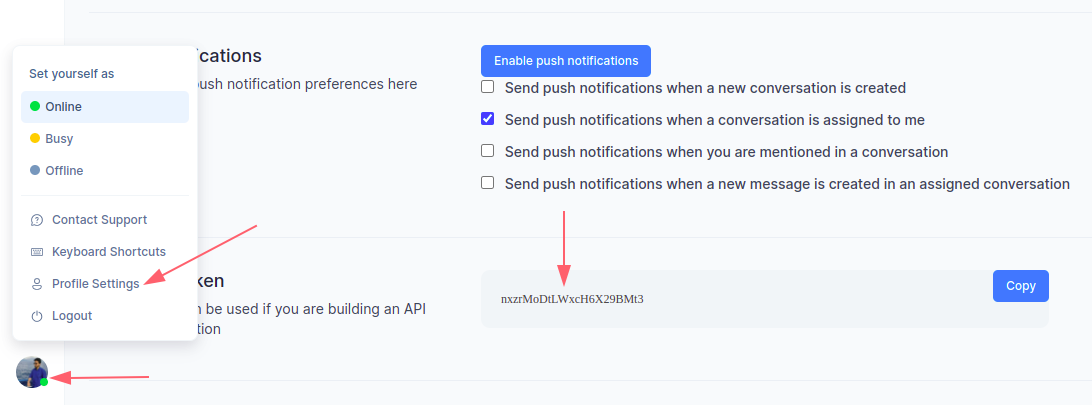
Get your Chatwoot Access token:
- Once you have logged in, click on your avatar in the bottom left corner.
- Scroll to the bottom of the Account settings section that opens up.
- You should find the Access token.
-
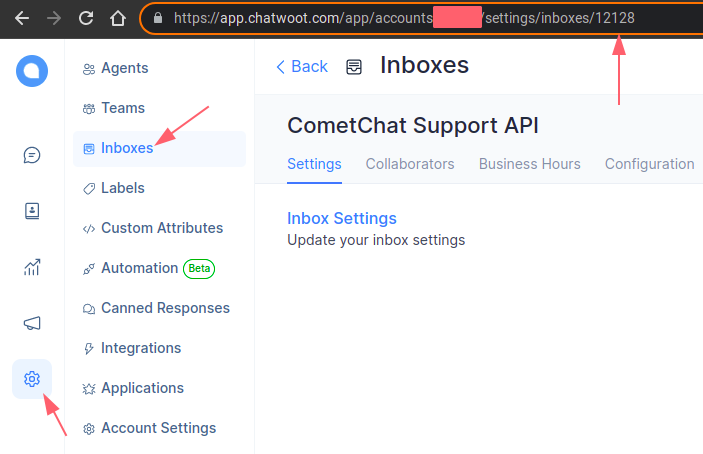
Get the inbox id:
- Once you have logged in, click on the Settings icon in the left bar.
- Click on the "Inboxes" in the navigation.
- Click on the Inbox that you want to set up for the CometChat support.
- Copy the Inbox ID from the URL. For eg, if the URL is:
https://app.chatwoot.com/app/accounts/123/settings/inboxes/12128then the Inbox ID is12128.
-
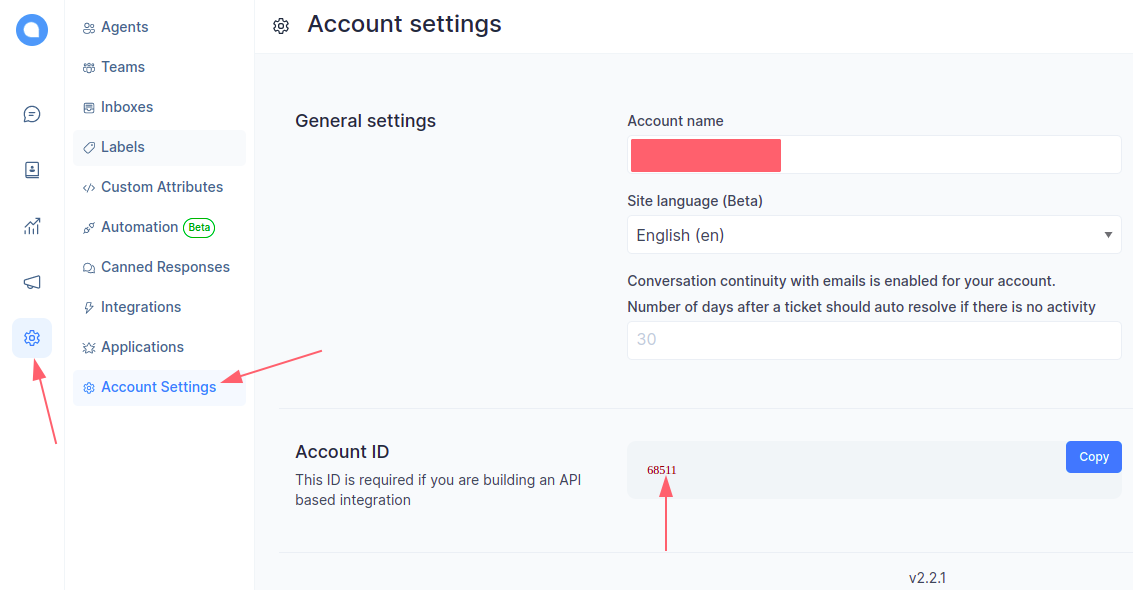
Get the Account ID:
- While you have the settings open, click on the Account Settings in the navigation bar
- Copy the Account ID from there.
-
The above details will be required during the Extension's settings.
Extension settings
On CometChat Dashboard
-
Login to CometChat and select your app.
-
Go to the Extensions section and enable the Chatwoot extension.
-
Open the Settings for this extension.
-
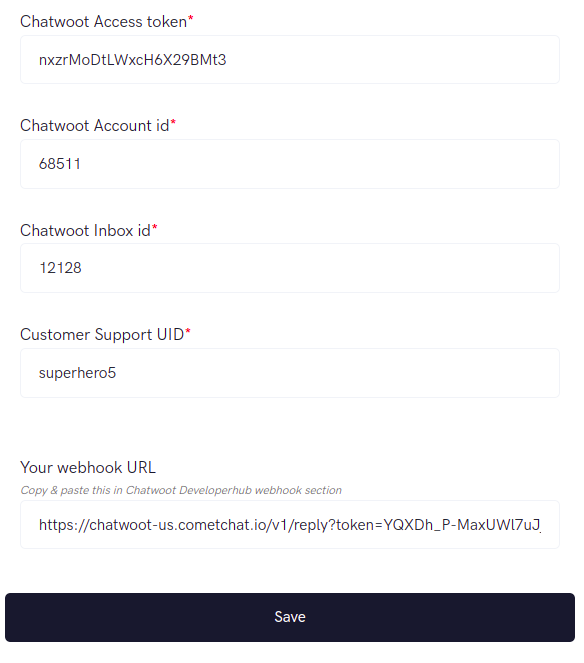
Enter the following details about your Chatwoot account (copied earlier):
- Chatwoot Access token
- Chatwoot Account ID
- Chatwoot Inbox ID
-
Enter the user's UID on CometChat who's going to be the Customer Support contact.
-
Once you save the settings, a webhook URL will be generated for you.
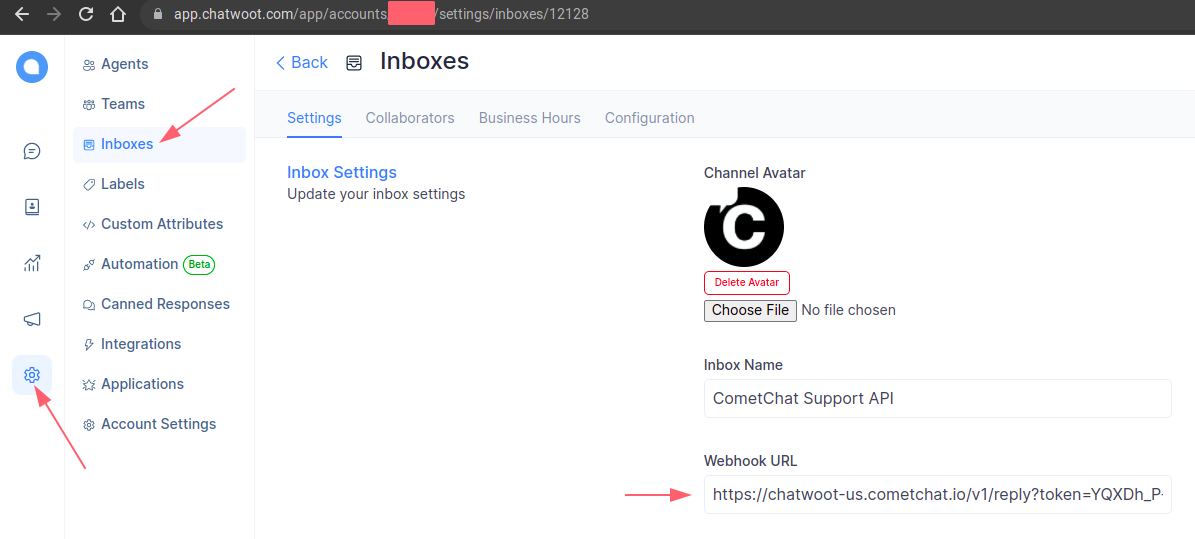
On Chatwoot Dashboard
- Go to the Settings and the Inboxes section.
- Click on the settings icon for the inbox in use.
- Paste the above copied URL in the Webhook URL section.
How does it work?
- The end users of your app can send queries to the Customer Support user that you have set in the extension's settings.
- These queries will be forwarded to the configured Chatwoot inbox.
- When an agent replies to the queries, those will be sent over to CometChat and received by your end user.
- With this, your end users can communicate with each other as well as your Customer support team using the same Chat interface.