I want to checkout Angular UI Kit
Follow the steps mentioned in the
README.md file.Kindly, click on below button to download our Angular UI Kit.Angular UI KitView on GithubI want to explore the sample app
Prerequisites
- A text editor. (e.g. Visual Studio Code, Notepad++, Sublime Text, Atom, or VIM)
- Node
- npm
- Angular CLI
- CLI
Installing Angular UI Kit
Setup
-
Register on CometChat
a. To install the Angular UI Kit, you need to first register on the CometChat Dashboard. Click here to sign up -
Get Your Application Keys 🔑
- Create a new app
- Head over to the QuickStart or API & Auth Keys section and note the App ID, Auth Key, and Region.
- Add the CometChat Dependency
- CLI
Configure CometChat inside your app
- Import CometChat SDK
- JavaScript
- Initialize CometChat 🌟 The
init()method initializes the settings required for CometChat. We suggest calling theinit()method on app startup, i.e main.ts file of the application.
- JavaScript
Replace APP_ID and REGION with your CometChat App ID and Region in the above code
- Create user This method takes a
Userobject and theAuth Keyas input parameters and returns the createdUserobject if the request is successful.
- JavaScript
- Login your user 👤
- JavaScript
Replace AUTH_KEY with your CometChat Auth Key in the above code.
We have set up 5 users for testing having UIDs: cometchat-uid-1, cometchat-uid-2, cometchat-uid-3, cometchat-uid-4, and cometchat-uid-5.We have used uid cometchat-uid-1 as an example here. You can create a User from CometChat Dashboard as well.
Add UI Kit to your project
- Clone this repository
- CLI
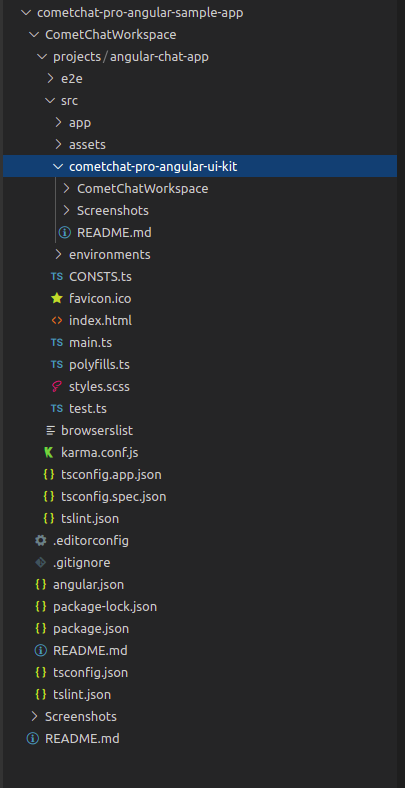
- Copy the cloned repository into your project src folder.

- Import the Components in the respective module where the component will be used.
- Install @ctrl/ngx-emoji-mart according to the angular version of your project @ctrl/ngx-emoji-mart
- Add these styles to your angular.json
- Wrap all the selectors in a div with class=responsive as shown in the next step
- JavaScript
Launch CometChat
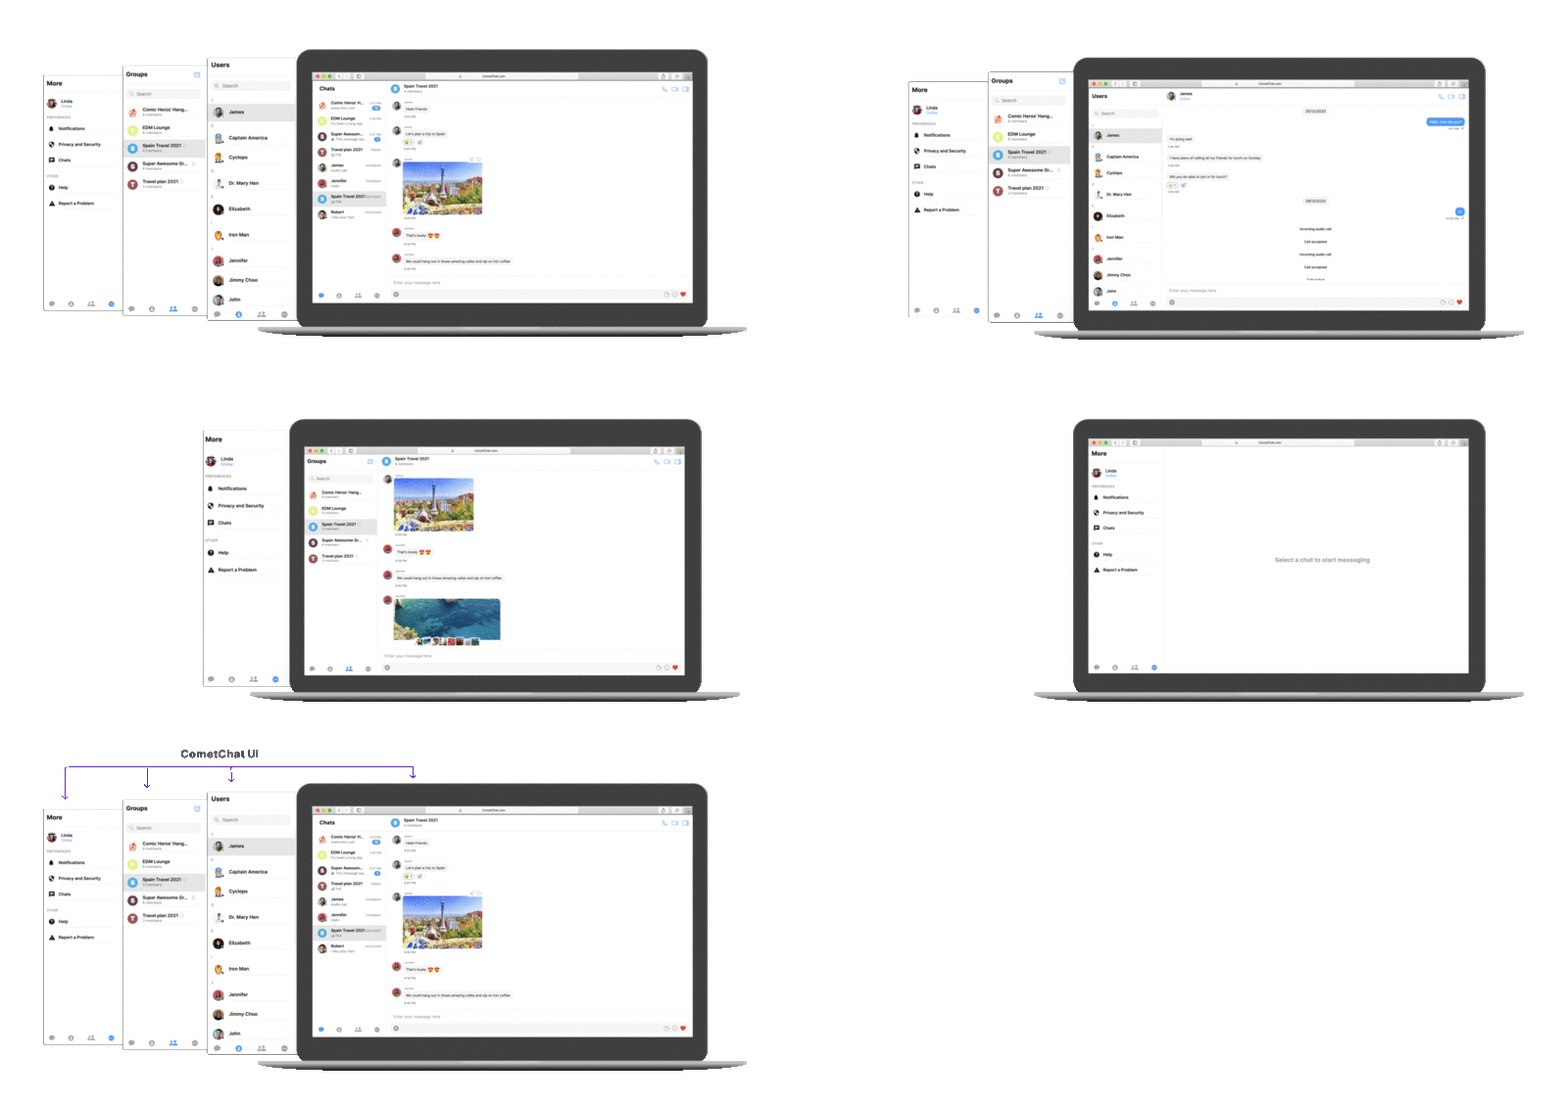
CometChatUI is an option to launch a fully functional chat application using the UI Kit. In UI Kit all the UI Components are interlinked and work together to launch a fully functional chat on your website/application.
Usage
- Angular