Callback URL that you configure. Upon receiving the message, you can process it according to your business logic and send a response using CometChat’s API.
Create a callback endpoint
Callback endpoint requirements
- Your callback endpoint must be accessible over HTTPS. This is essential to ensure the security and integrity of data transmission.
- This URL should be publicly accessible from the internet.
- Ensure that your endpoint supports the HTTP POST method. Event payloads will be delivered via HTTP POST requests in JSON format.
- Configure your endpoint to respond immediately to the CometChat server with a 200 OK response. (CHECK THIS).
Security
It is recommended to set up a Basic Authentication that is usually used for server-to-server calls. This requires you to configure a username and password. Whenever your callback endpoint is triggered, the HTTP Header will contain:Configuring a bot
Create a user
CometChat requires each bot to be linked to a user account. This approach offers a significant benefit: It allows you to log in as the bot at any time and send personalized responses. Therefore, before setting up a bot, you must first create a new user. You can create a user from CometChat dashboard or make use of CometChat’s Create user REST API to do so.Create a bot
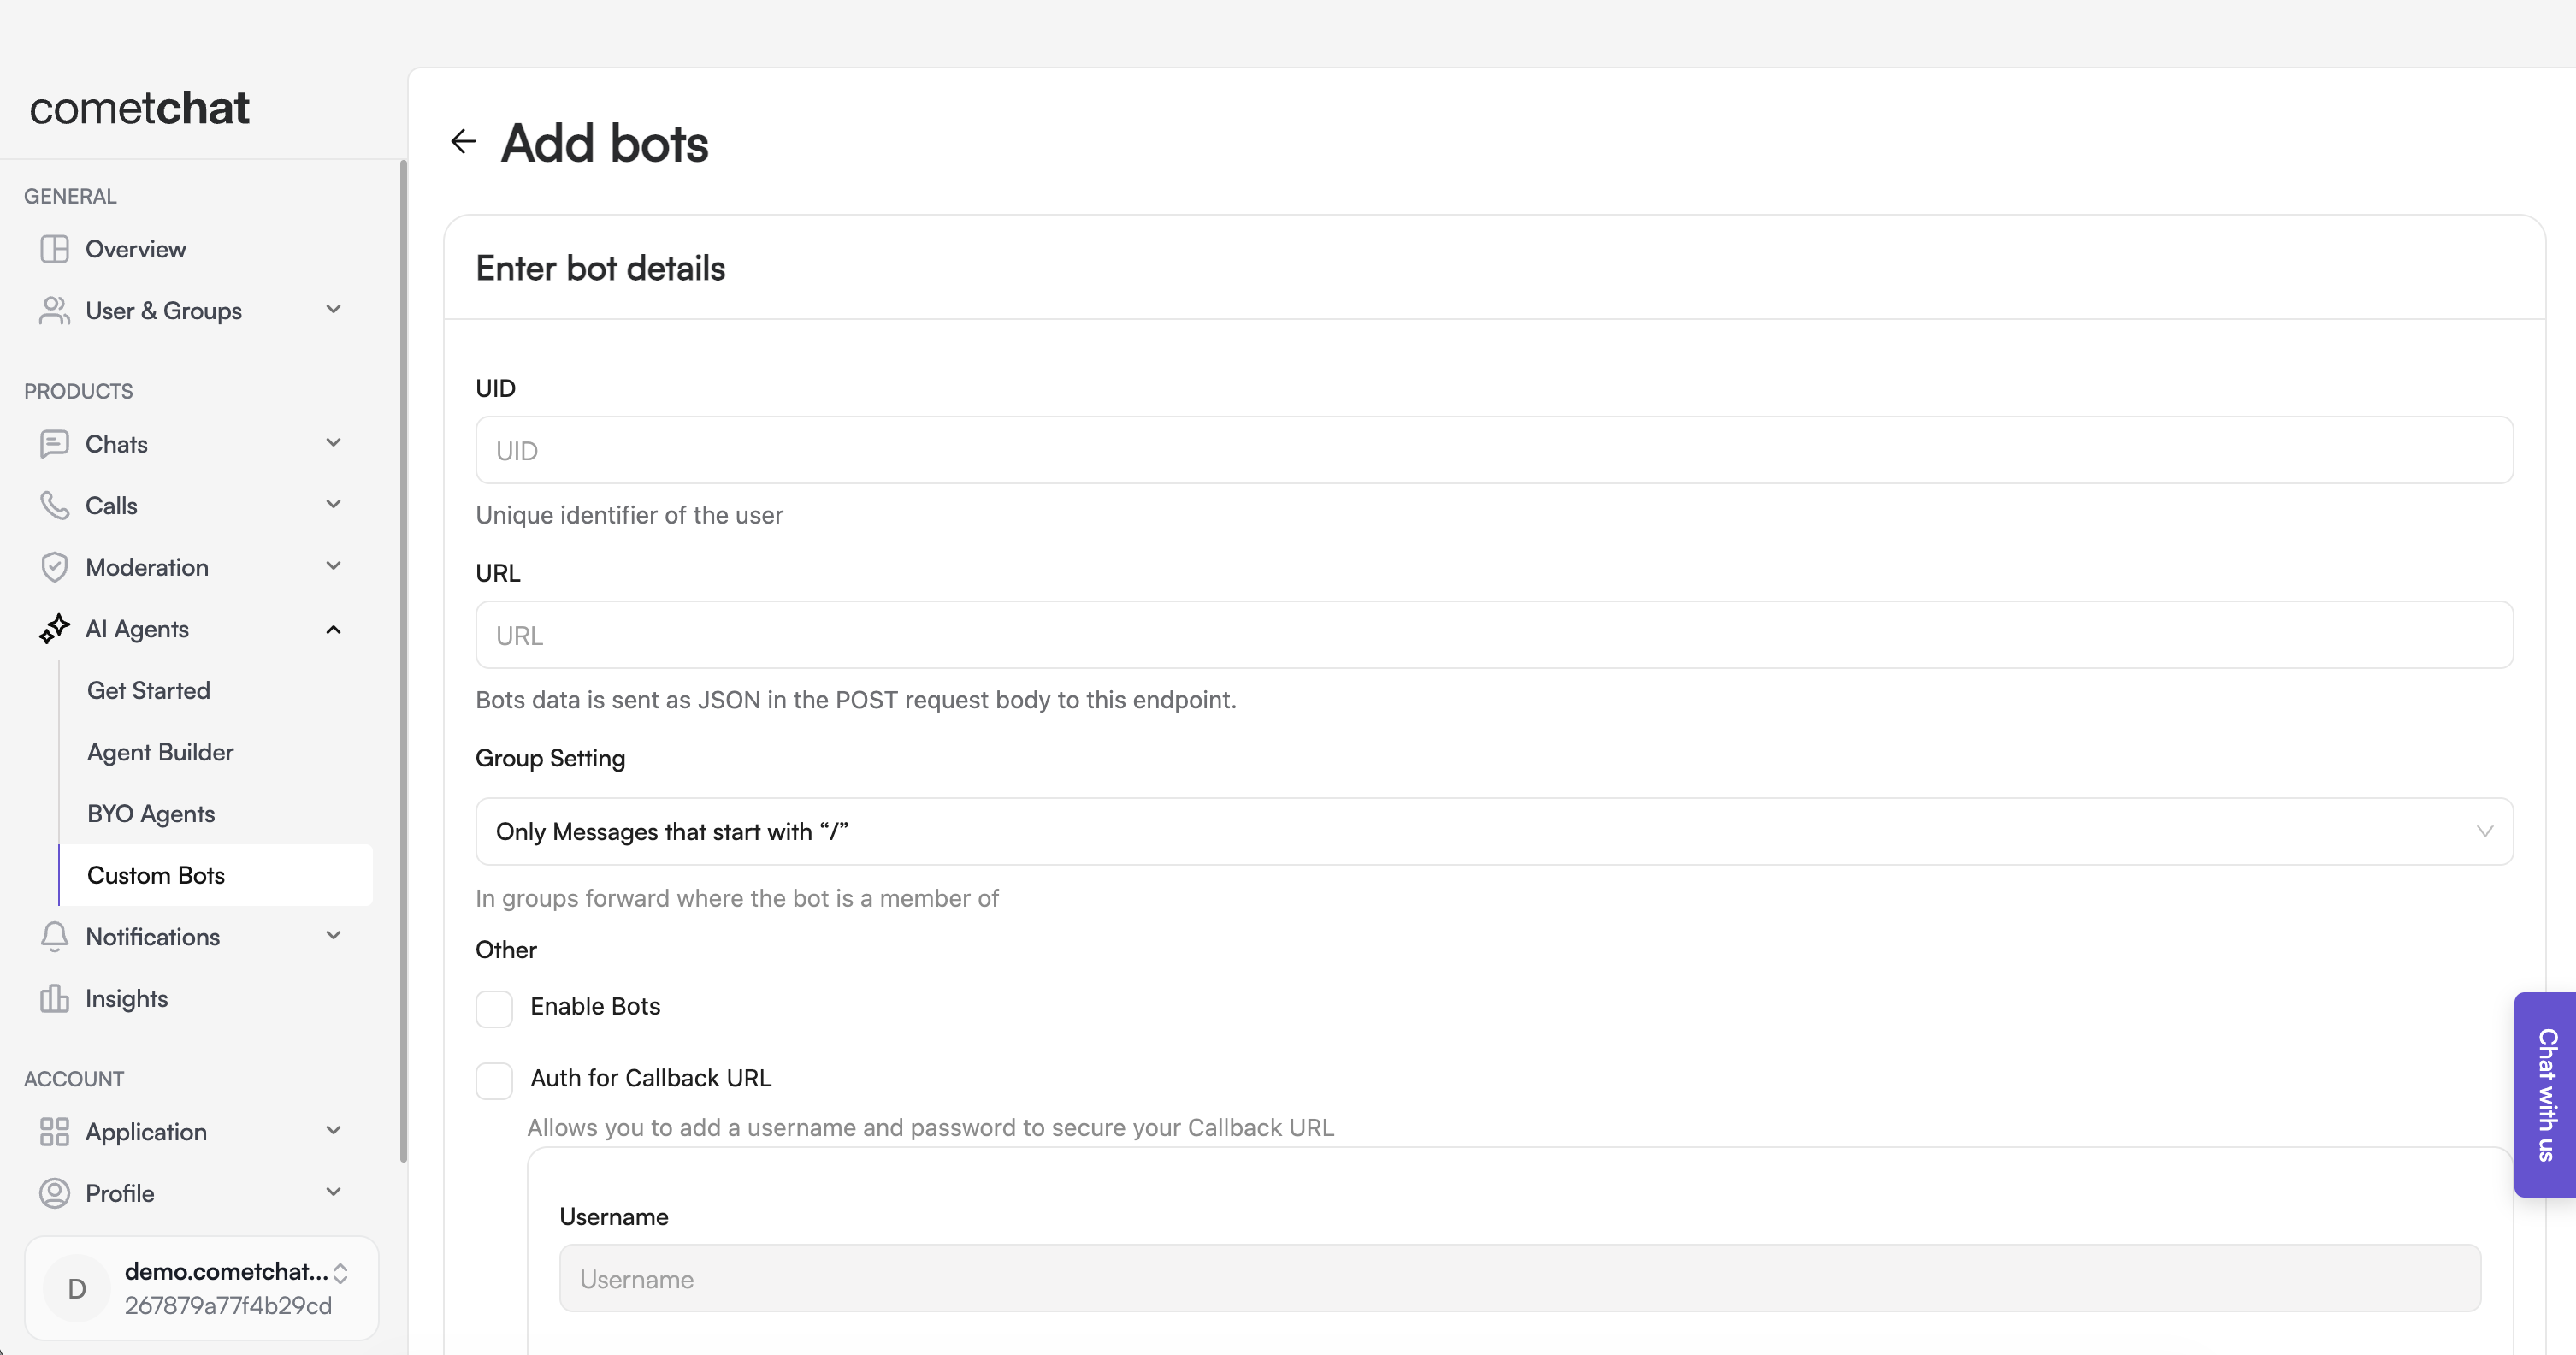
- Login to CometChat dashboard and select your app.
- Navigate to AI Agents > Custom Bots in the left-hand menu.
- Add a new bot.
- Configure the bot by saving the following details:
- UID: The identifier (UID) of the user that was created in the previous step.
- URL: The callback URL of your bot.
- Group Setting: Select the criteria for relaying a group message to your bot.
- Security: It is recommended to enable authentication for your callback URL.
- Enable the bot.
- Save the configuration.